Baby’s Cot: Episode 7
Posted 6 February 2019
This is an episode in a paid series. Want to watch it? You just need to sign up as a paid member, and you can enjoy this video and many other videos we think you will love.
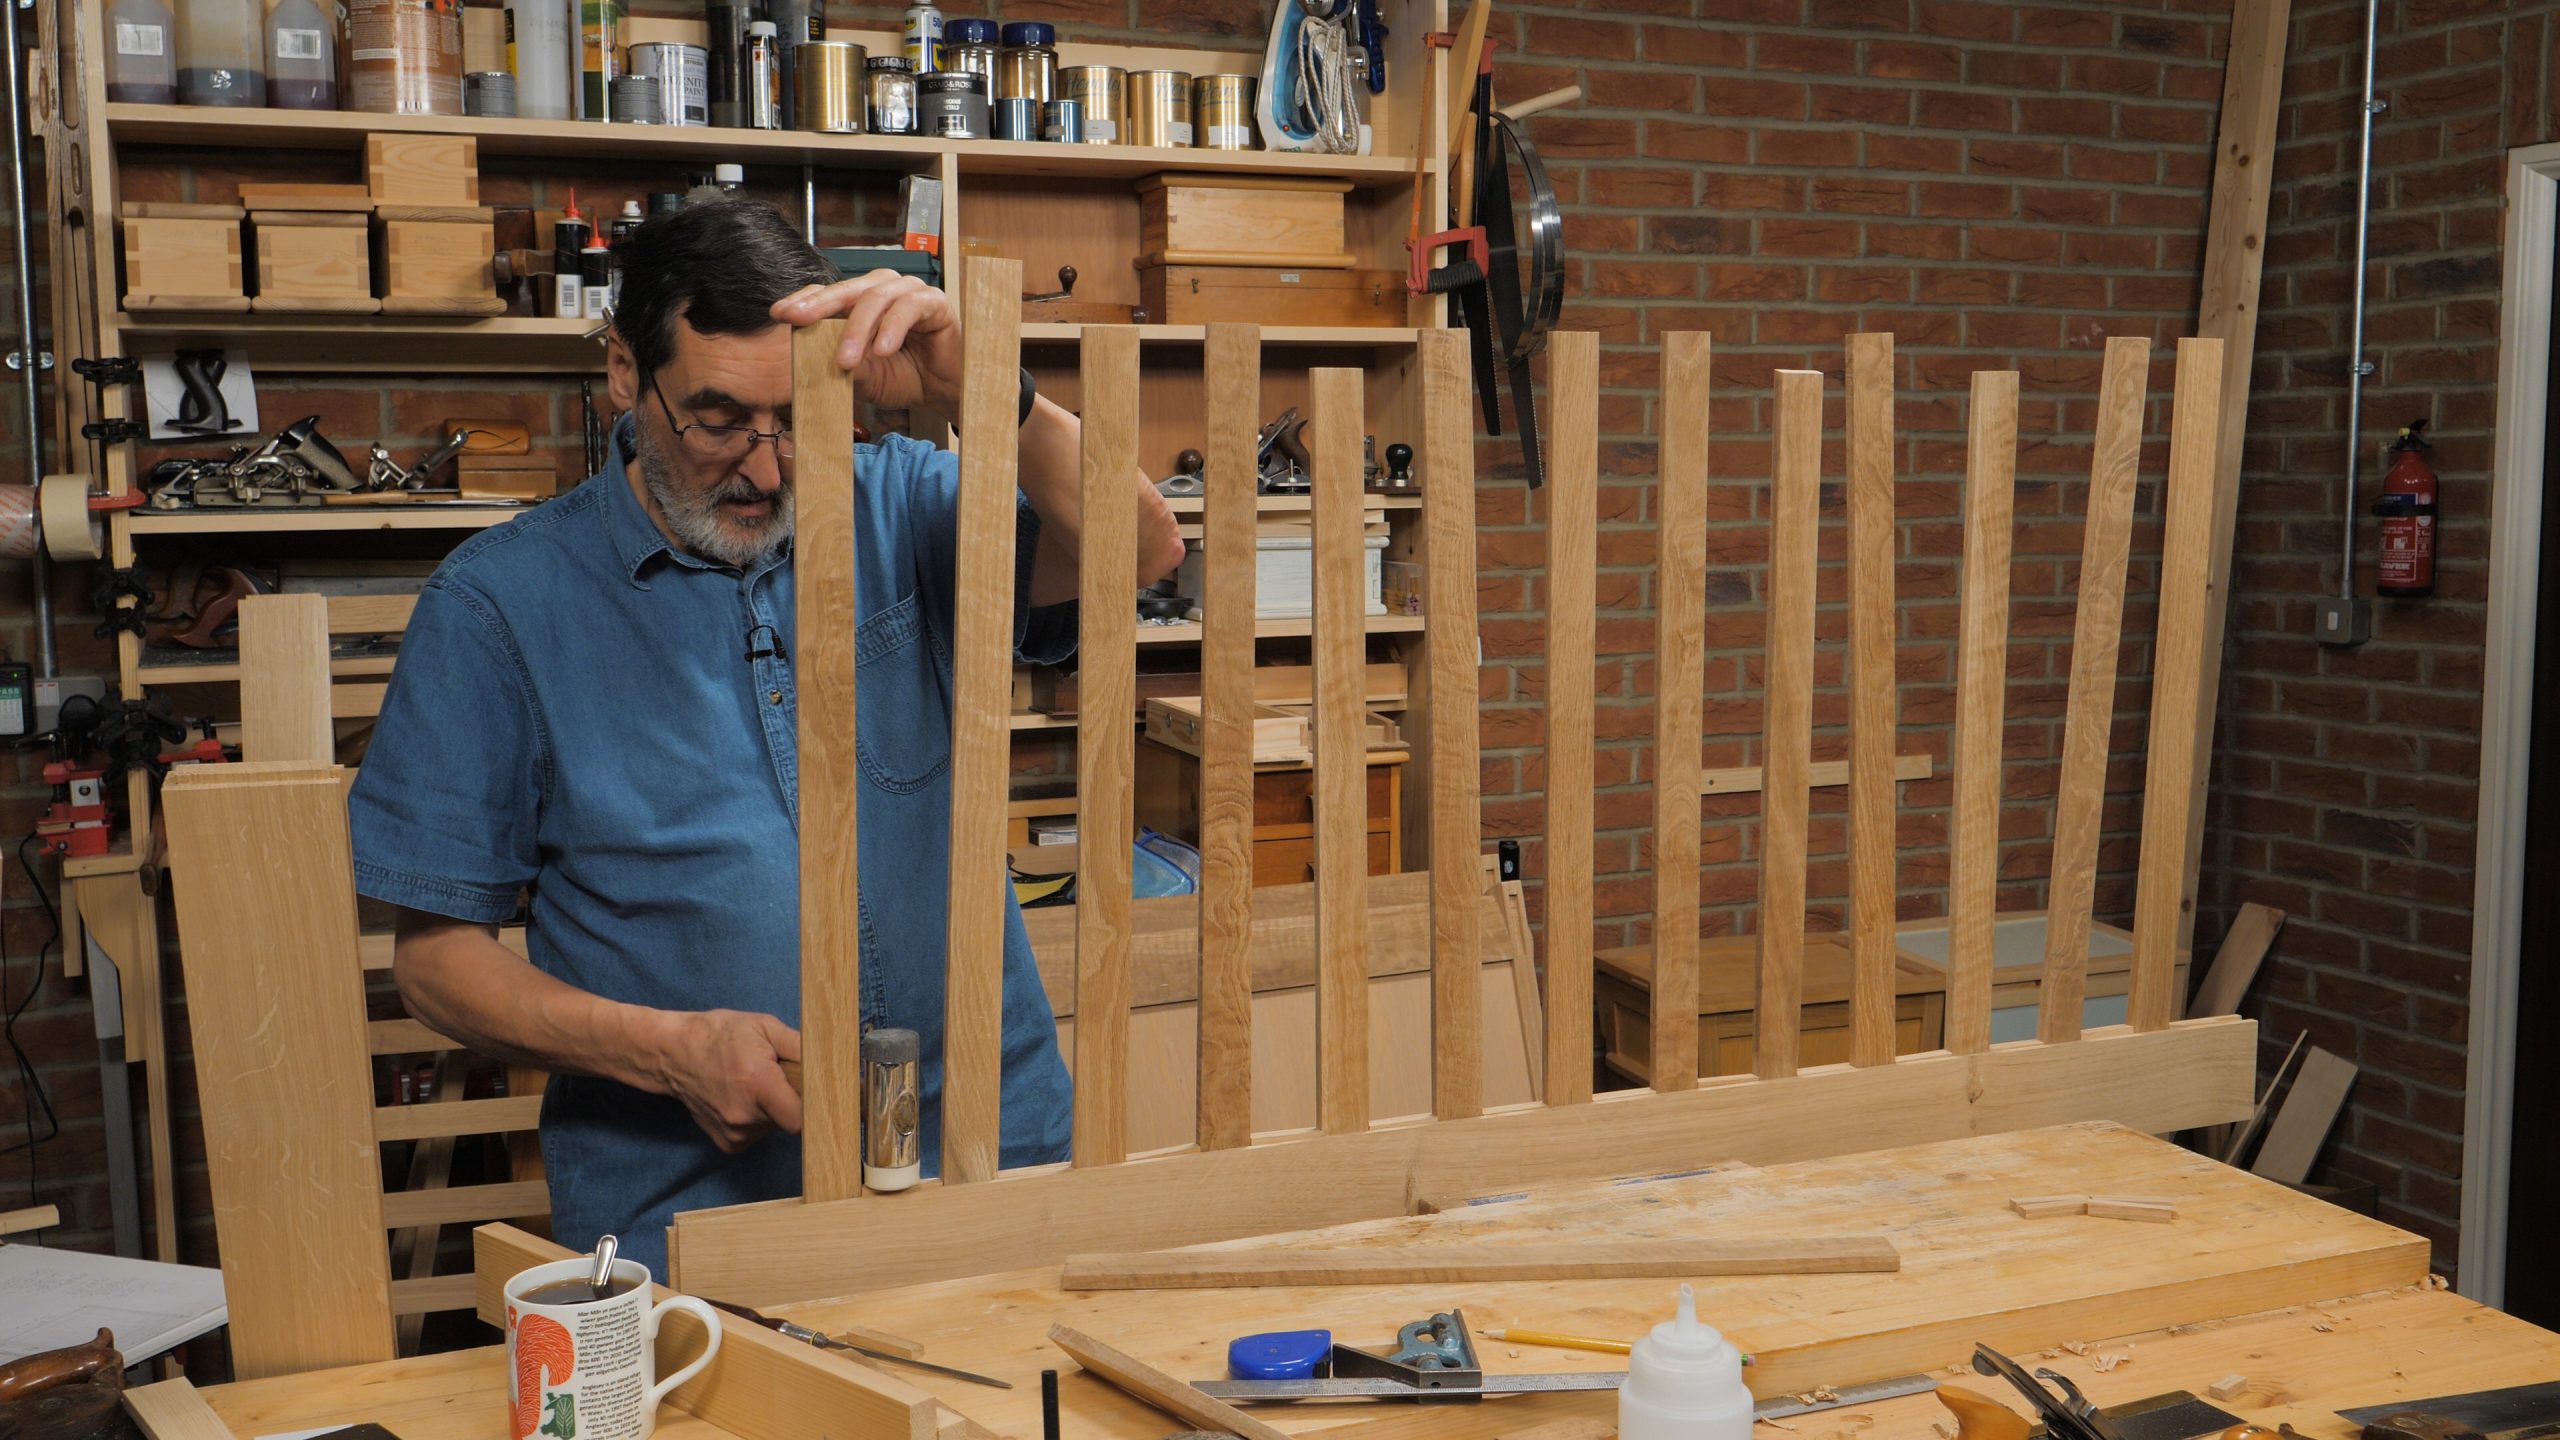
In this episode, starting with the top to bottom rails, Paul takes you through placing the slats into the rails by cutting to size small pieces of wood to sit in between each slat. After piecing the slats together with the rail, Paul is then able to establish the measurement for the upright and the exact position of the mortise hole. Paul then continues to cut the upper rail tenon with his dovetail saw and then walks through how to cut the mortise hole in the long frame.
Important: Baby safety is a very important issue and many countries and regions have rules on how to keep babies safe. In building this cot we read through our own country’s guidance on this and we have done our best to interpret it and follow it. However, if you build a cot you should do your own research and make sure you follow the relevant guidance. This guidance changes regularly and differs from one place to another. Please do not follow what we have shown without checking it for yourself. The instruction we give should only be used as a starting point for the construction method. Setup, configuration and measurements of the cot you make should be checked to ensure that they are compliant with the guidance relevant to you.
I guess I don’t understand the purpose of the angled tenon….can someone explain?
I think all will be explained when the ends are fixed on. You are getting the maximum sized tenon and maintaining as much “meat” on the end of the mortise. I imagine that a normal haunched tenon would suffice but we wouldn’t learn something new 🙂
Hi Bill,
Paul says:
I felt that a parallel tenon would have been weaker on the mortise and by angling the mortise hole together with the tenon I retained the integrity of the joint.
Kind Regards,
Izzy
I actually do enjoy watching things happen, like the slats all falling out. It’s real 🙂
Paul,
I thank you for showing the humor in all the balusters falling out, it shows that nothing in woodworking has to be taken that seriously.
About the adjusting of the router plane, I have noticed that same stickiness on my Veritas plane. The plane blade gets hung up due to the collar not releasing the blade in a straight manner. I found the collar must be wiggled a bit to get the blade to release its grip and move to the adjusted position.
Cheers;
Ed
It looks like the rail was starting to split out at 33:10-33:20.
I saw that as well