Bread Stow: Episode 1
Posted 8 October 2019
This is an episode in a paid series. Want to watch it? You just need to sign up as a paid member, and you can enjoy this video and many other videos we think you will love.
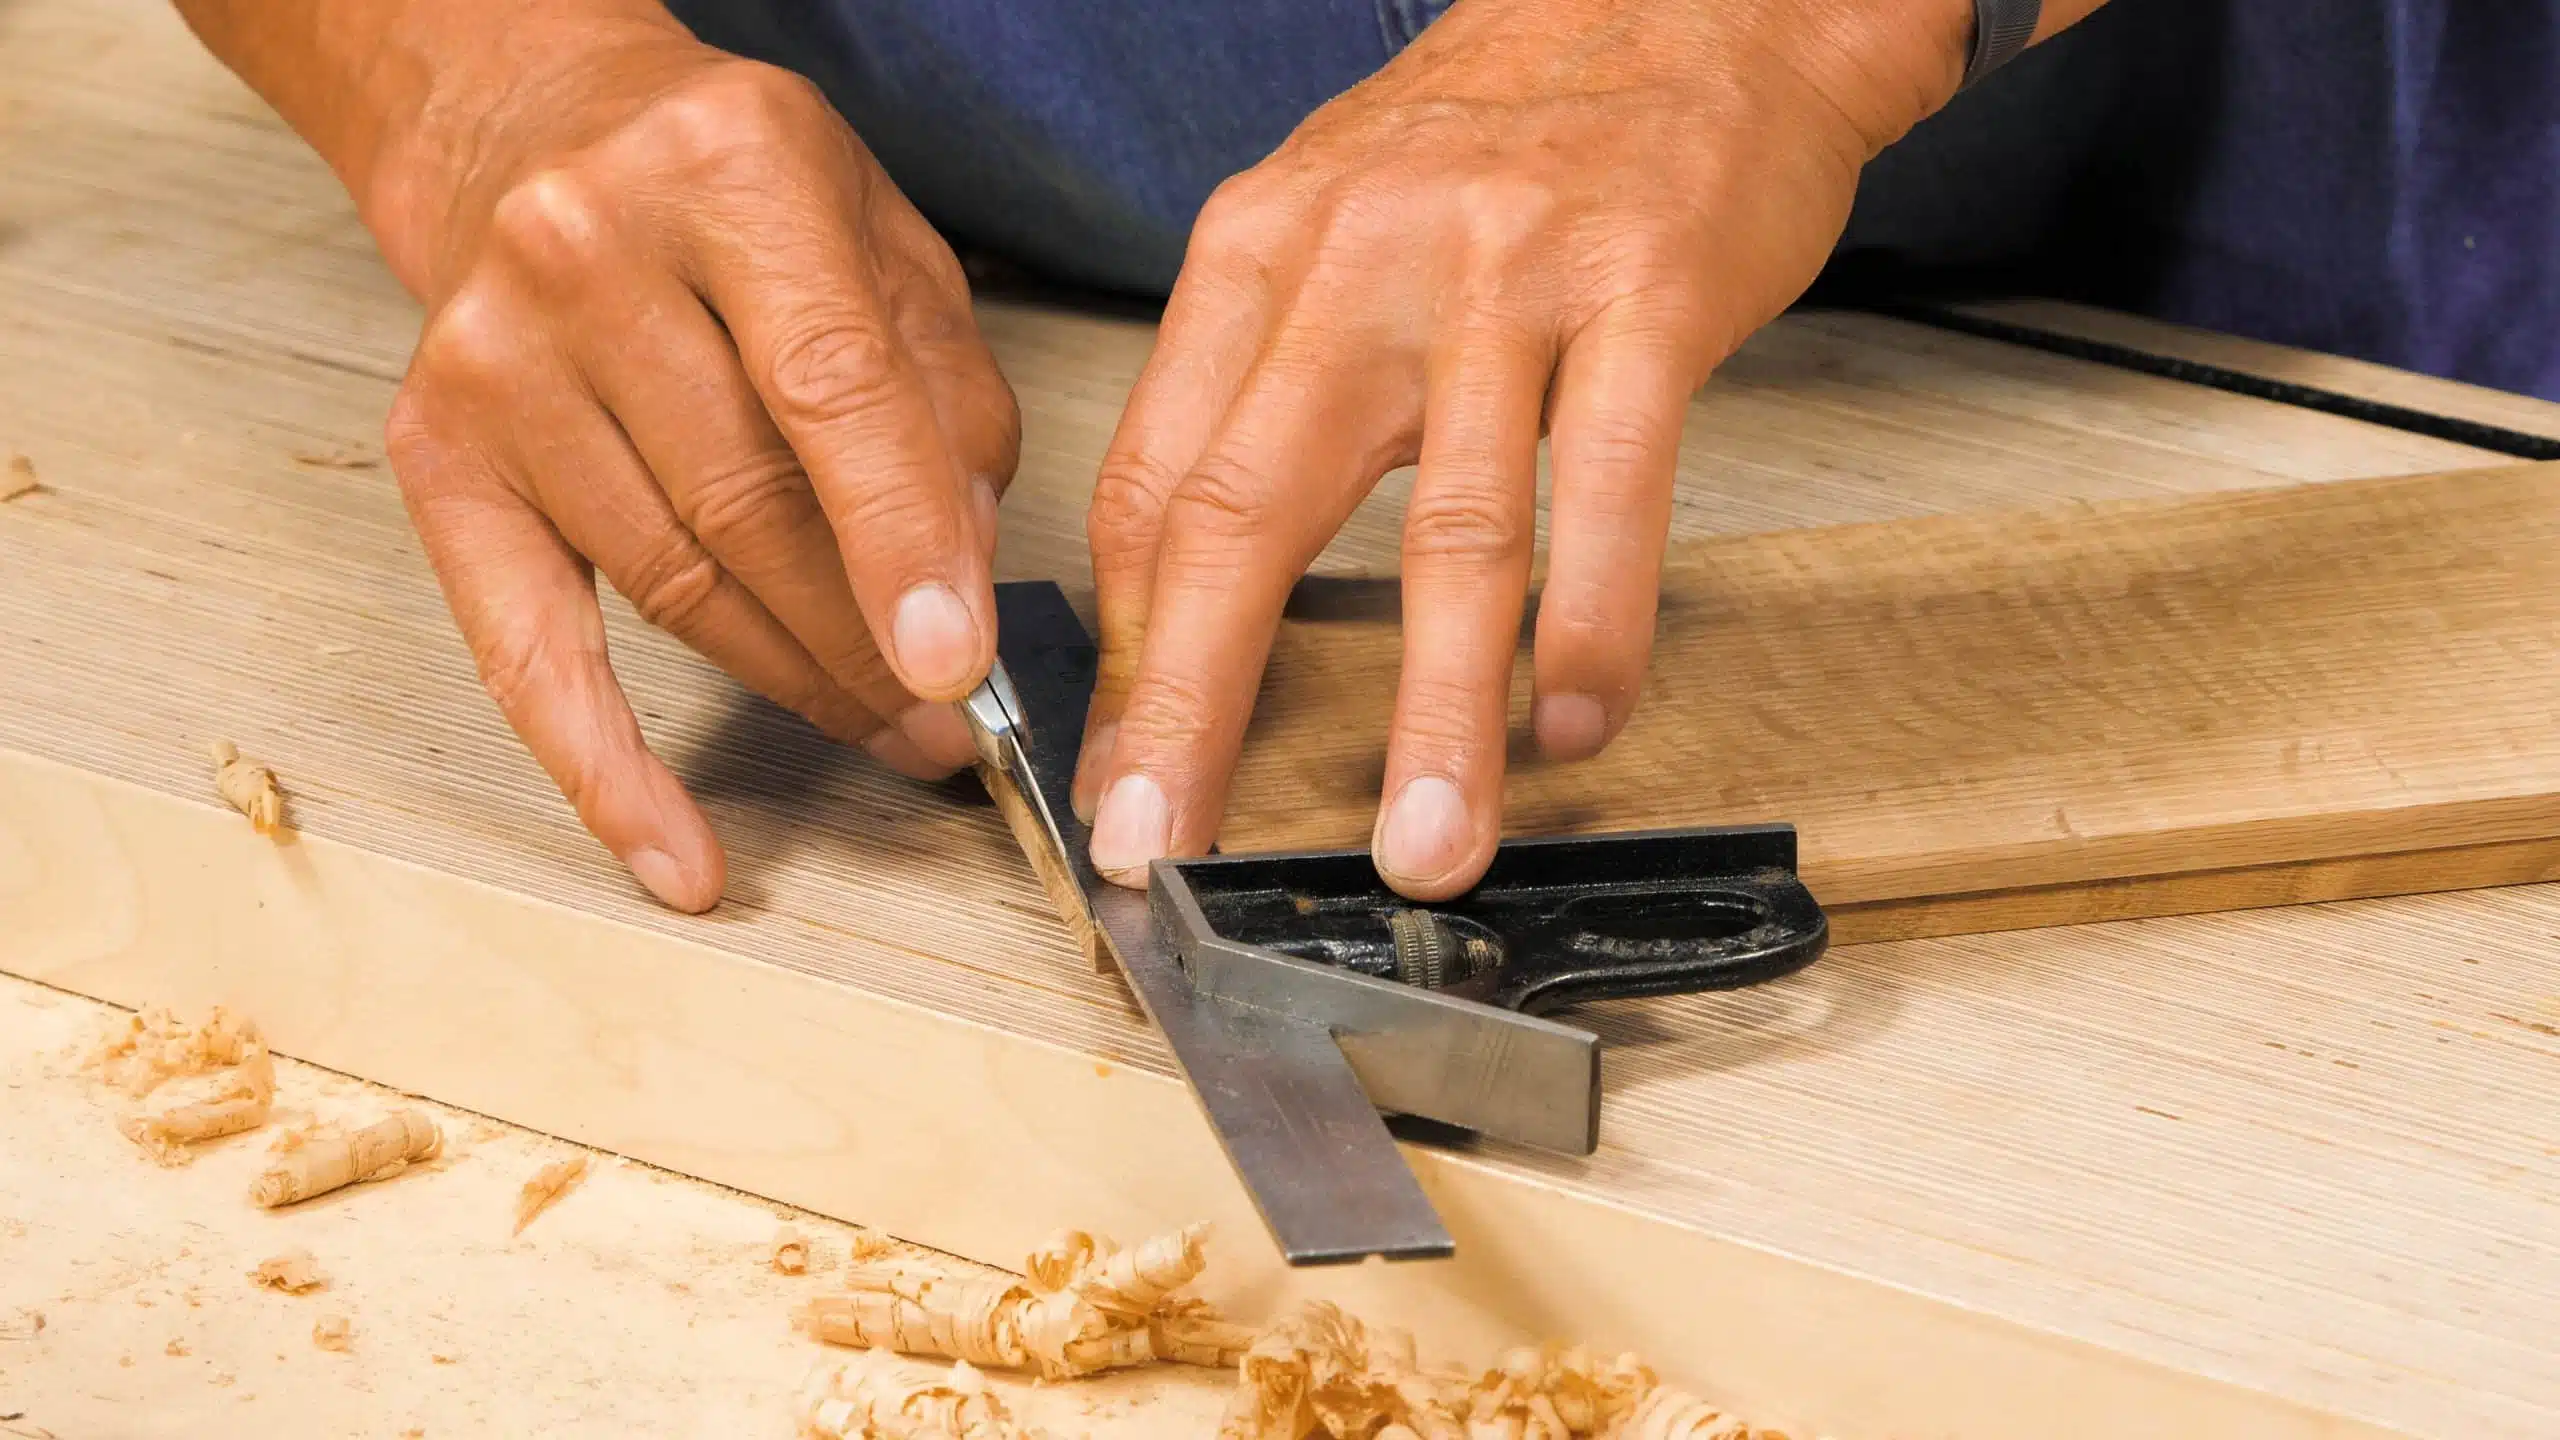
Working the materials in readiness for joinery can be difficult due to the thickness of the material, and the arrangement of the wood itself is key to the final appearance of your project. In this video, Paul takes you step by step through the edge jointing of thin pieces and then on to gluing up the panels. Cross cutting the pieces to ensure accuracy, he uses his double knifewall technique that gives a guaranteed outcome needing only minimal planing.
Do you just plane down to the low spot with planer snipe? Is the thickness lost tolerable or should you start your cuts for projects outside of the snipe area?
Hi Keith,
Paul says:
It depends on what wood you’ve got, the snipe is usually very minimal, only a fraction of a mm.
Kind Regards,
Izzy
This looks like a great project. I have left over tongue and groove oak flooring from a stair project (which gave me beautiful patchwork in the risers, as well as strong treads) , and I think I can get the wood I need from those left overs. It will involve planing off the tongue and grooves, as well as the molded back of the wood — but that provides lots of nice shavings to go around the blue berry bushes! I may keep the thickness at about 5/8″ which will be a little heavier, but it should look quite nice.
That should work great. I have done the same with samples from floor dealers. Hardwood is hardwood. Have fun!
I enjoyed reviewing edge and face planing again. It sure reduces the final sanding. Thanks
Paul…
You may be an eco-greenie goofball on many of your blog posts, but you are without doubt the greatest hand-tool woodworking teacher ever. I and thousands of others have become confident hand-tool furniture builders by following your example.
As such, I don’t think you’d mind if I suggested that you drop the “furniture for the new house” thing and instead keep on doing what you’re doing. It works.
There is no information about the width and or depth of the strips; does this matter? Or have I missed it?
You haven’t missed it.
You build this with what wood you have to hand, to the size that you need, bearing in mind the useful proportions of the thing.
There are some dimensions stated here and there, but only for guidance.
To add to that: The assumption is we all know how big a breadbox is supposed to be — as in “Is it bigger than a breadbox?”. From there one can work out the dimensions of the strips. As for the thickness of the stock, somewhere Paul says he is using 5/16″ (~8mm) but that’s also just another guideline.
Yes there is. Go to the introductory video.
What the h is eco greenie goofball, all Paul is doing is what we should all be doing to help our enviroment and look after our health.
Like flying hundreds of fuel filled jets across the world for “green” summits about how we need to reduce carbon emissions?
It’s refreshing to see even the best can make a mistake once in awhile (@28:20). A good woodworker knows how to work-around these occasional pitfalls, and sometimes even turn them into a feature.
This is a great-looking project and I am going to make it. I have but one quibble: I would like to see all of the completed item at the very beginning of the video. Show all the outsides, insides, and open the lid completely. A lot of video howtos make this same mistake, though, thankfully, Paul gets to the point and does not waste the first five or ten minutes being a talking head.
check out the intro video, its separate from this one. i missed it first time around too.
There it is, thanks
Hmm, the outer surface of the sides might look interesting if they were textured with a scrub plane.