Console Table: Episode 7
Posted 7 August 2019
This is an episode in a paid series. Want to watch it? You just need to sign up as a paid member, and you can enjoy this video and many other videos we think you will love.
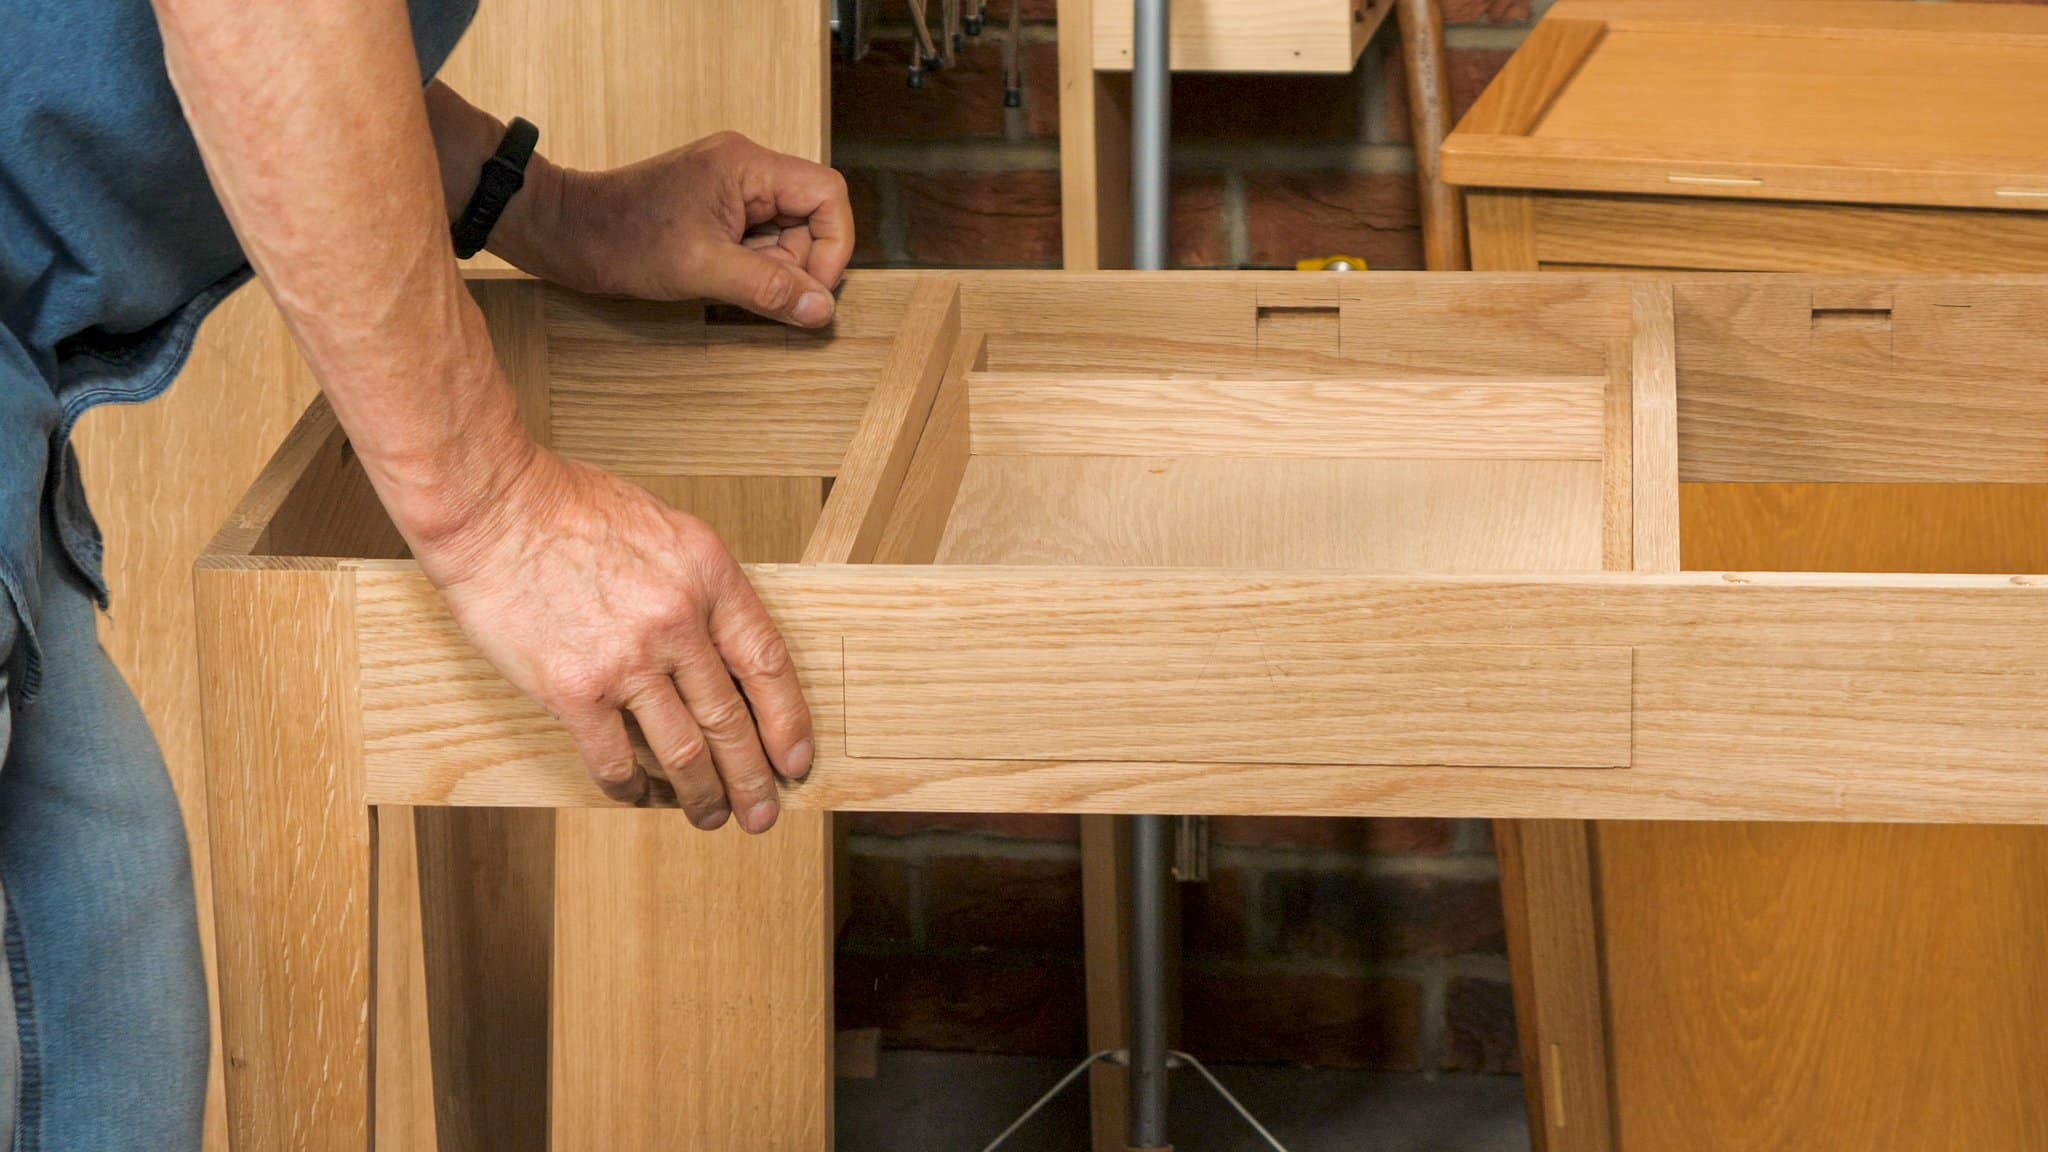
Drawer making is an art in itself and this episode is packed with information on getting the drawer just right. Most of these details are functional, hidden aspects that just make the drawer work better. Paul runs through fitting the drawer back and bottom, as well as glue up and fitting. These skills can be applied widely to other projects that have drawers. So, watch and learn!
I like that technique of putting the drawer in backwards in order to scribe a cutoff line on the sides. Very clever!
Hi Paul ….thank you for latest on console table…..very interesting
Can I please say that following your recent release on Utube of instruction using moulding planes…….the first time I watched this I researched the book “British Planemakers from 1700”. Price was far too high for me I’m afraid…….I tried again following Utube and price has shot up …ranging from £60 to £474!!!!
I found one for £23 from America plus PP at about 40…….I’m sure I’ll be stung for import taxes and vat……
Best John
Hi John
If you are really keen to start using moulding planes I can’t recommend more highly “Mouldings in Practice” by Matthew Sheldon Bickford. Published by Lost Art Press and available in the UK from Classic Hand Tools. Very clear instruction on how to create just about any moulding from a very small number of planes. You don’t get the history so it depends what you want.
Best wishes Ian
Hi Ian and thank you for information……today I took the plunge and bought from ‘ classic hand tools ‘
Can I recommend to you a series of very interesting books by a very skilled furniture maker and restorer ..
Mr Charles H Hayward…..Cabinet making for beginners ….staining and polishing….Practical veneering. To list a few
I have bought these from ABE books for a few pounds each! Also ‘ the woodworkers pocket book ‘ £2.80 inc pp !! An amazing read
Best wishes John
When would you use the mortise and tenon of the rear piece into the sides as you have done before with other drawers?
Hi,
Thank you for your comment, Paul says:
It’s just a matter of choice, it’s a signature of my own work. If I were making this for a customer, then I might add this extra feature as standard but not always.
Kind Regards,
Izzy
Lol. Not that long ago I finished a nightstand for my daughter’s bedroom. For the back of the drawer, did the dado that also had a through mortise and tennon that was wedged based on Paul’s earlier videos. It is a little thing no one will notice but I was quite proud of it and it made me happy while I did it.
I am new to the finer points of woodworking so everything you do is amazing to me. I was impressed with putting the drawer in backwards to get the length correct.
Rather than buying another plane for cutting the grooves for the drawer bottom I plan to use my router plane. I suspect it will take more time but that’s fine. Have you any suggestions for using a router plane for this task?
And thank you and your team for your wonderful work. I love your unplugged, quiet, dust free way of woodworking.
Router planes are good for removing a little bit of material accurately but incredibly slow for removing the bulk. Perhaps consider marking the groove with a gauge, defining the walls of the groove with a saw, removing the bulk with a chisel, and flattening the bottom at the end with the router. The question is, how to make such long saw cuts accurately since saws tend to wallow around for such long cuts. One option is to use a batten to guide the saw. Another is to mark the groove with a gauge, take a couple passes with the router to make little walls to guide the saw, then saw. Plow planes are expensive, but you may be able to find an affordable antique wooden grooving plane. It will only cut one thing, perhaps 1/4″ groove 1/4″ in and 1/4″ deep, but that is all that you need for a drawer bottom.
Another idea that comes to mind is to treat the groove like a long mortise: Mark the groove with a gauge and clamp the work to the bench top. Start at one end of the groove and go in maybe 1/8″ of an inch. Using a chisel with width equal to the groove, make a vertical chop. Now orient the chisel horizontally and cut in from the end to remove a chip. You now have a little groove that is 1/8″ long, the width of your chisel and maybe 1/8″ deep from the vertical chop. Do another vertical chop for a few mallet blows, remove the chip with a horizontal cut and repeat until you get close to the desired depth. Now step along the groove another 1/8 and repeat. This is probably faster than it sounds and would let you hog out the groove without making the saw cuts. Once roughed out, you can flatten the bottom with the router.
Keep in mind that you will need a narrow router blade, about 1/4″ wide. If you don’t own one, the cost of the blade may be better applied to a plow plane or grooving plane, though.
I have had success using the PS router plane for grooves. As Ed suggested, I first defined the walls with a saw and removed the bulk with a chisel. I then had no trouble staying within the groove and even refining the lower/interior parts of the walls with the router. Paul demonstrates the saw part of this technique most recently in the drawer for the Drinks Cabinet.
I asked Paul and this was his reply:
You could do it with a suitably sized chisel more like mortise chopping along the length- a router plane won’t do the same job as a plough plane. Use a chisel then clean with the Router Plane.
Great project as always! My drawer is protruding about 2mm out on one side. Should I plane the front to fit, or plane the sides of the drawer to allow the drawer to slot in further in one side?