Moving Workshop Table: Episode 5
Posted 19 June 2019
This is an episode in a paid series. Want to watch it? You just need to sign up as a paid member, and you can enjoy this video and many other videos we think you will love.
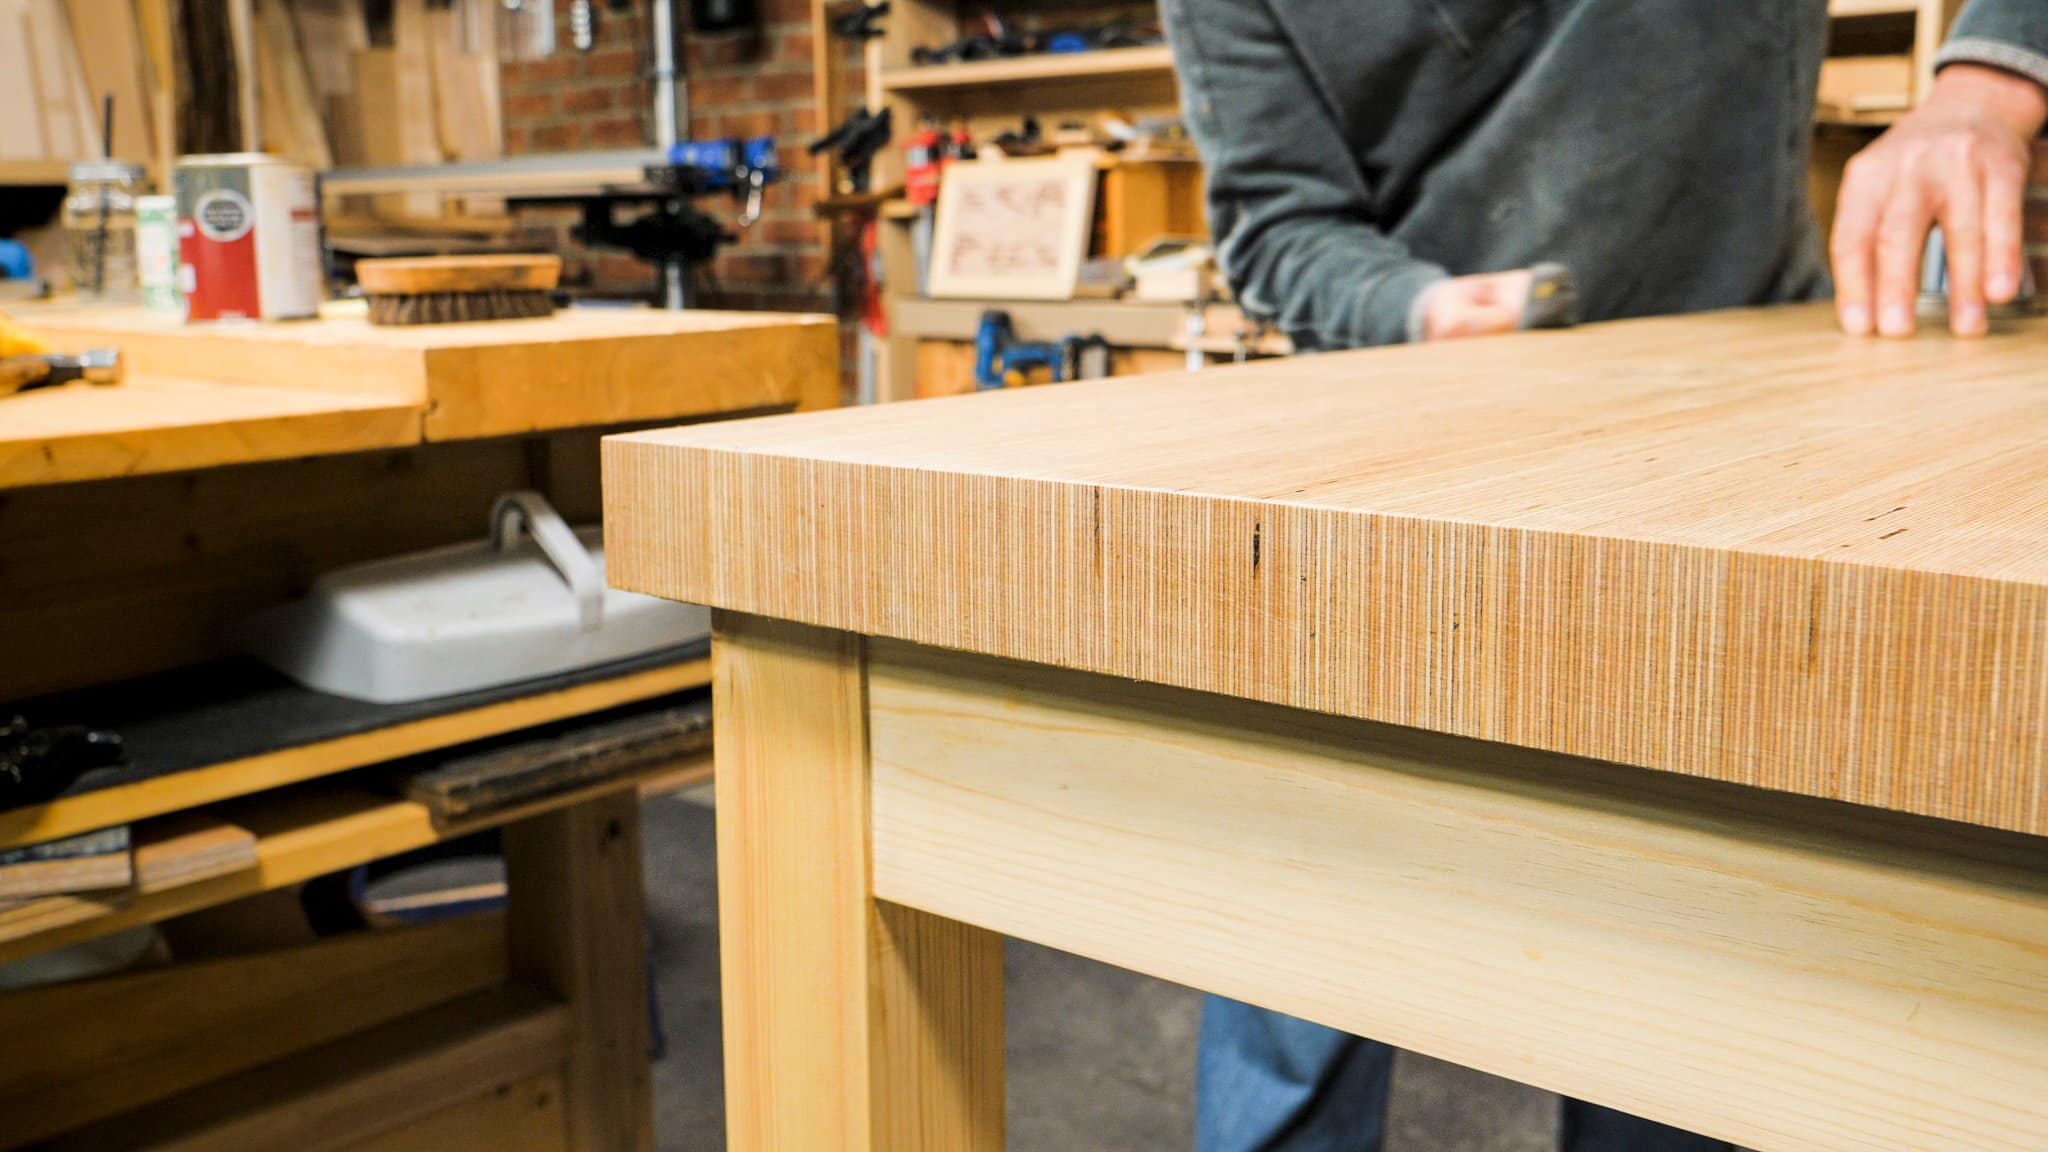
In this episode, Paul attaches the support strips around the inside rim of the top frame and a few shorter support strips for the shelf. He then fixes the top and shelf in place. Then he attaches the castors and this workshop table is moving! Finally, he applies some coats of water based finish, using a roller to apply the finish but a brush to smooth the application.
Hi Paul
What kind of countersinking bits you are using?
I have wondered about that on previous videos (not yet watched this one).
Personally I always used the ones with multiple straight cutters emanating from the central point, called “rose head” bits sometimes. It often created multi-sided polygons on the faces and outer edge of my countersunk hole, seemingly due to bad vibration. Experimenting with drill speed and pressure didn’t provide an obvious fix.
I recently bought a bit that looks like Paul’s, i.e. with a hole diagonally through it, the edge of the hole at the front is very close to the point and acts as a cutter. The rear of the hole acts as an outlet to vent shavings. These are sometimes called “chamfer” countersinks I believe. I’m very pleased with the purchase: it makes a MUCH smoother, and perfectly circular, hole.
The one I bought was HSS (high speed steel) but unbranded, from a decent highstreet tool shop. I would have preferred a branded one, since I prefer buying quality once, but grabbed this on impulse (tut!).
Hi,
Try searching
“cross hole countersink Set” on your favorite auction/eshop site.
Even the Far Eastern offerings are more than adequate for woodworking
Hi Andras,
Paul says:
The countersink bits I use are actually deburring bits used in metalworking for removing the burrs to holes. Best countersink I ever used, you can get them on eBay for £5 for 3.
Kind Regards,
Izzy
~::-poof-::~
Yet another reason to favor hand tools over machines 🙂
At first I thought it was just the battery going out, until it decided all on its own that it didn’t like being a drill, and instead wanted to be an incense burner 😀
I notice Paul is using steel wool to apply the final wax coat. I’ve always heard that steel wool shouldn’t be used with waterborne finishes. Can I assume that this doesn’t create a problem as long as it’s only used for rubbing out the last coat (applying the wax)?
I did see that Paul was using sandpaper between coats.
I wouldn’t do it. If you get steel fibers in the water born finish or cracks and crevices and later need to make a repair using water born finish, you could have problems. If you never need to bring wet water born materials in contact with the piece again, I suppose it’ll be okay (??), but I wouldn’t want to be in that position when you can just use a different applicator.
Hi Don,
Paul says:
You can use steel wool on finish that is dried, there is no problem. So I’m not sure how this was brought to you, or why.
Kind Regards,
Izzy
Any insight into the “smoking gun” drill problem?
Pretty surprised to see that in a cordless drill.
Hi,
Paul assumes it was due to a faulty drill.
Kind Regards,
Izzy
Eh, what’s a little fire in a shop full of wood? You need to remind your tools that you have high expectations.
Wow. Art. I wouldn’t want to use mine if it was that nice. Great project Paul.
A suggestion for gluing and screwing – if you’re like me and find the piece (like the cleat with the glue on it) slides as you attempt to drive the screws and keep the piece from shifting – try dry fitting first – that is, fit the piece into place without the glue, maybe even clamping it. Then undo, add the glue and re-tighten the screws. Not so critical in this case with cleats – as Paul mentions, a little low is OK because it will pull the shelf or top down to it – but often saves a lot of stuffing around later.
Thank you for this great projekt, Paul!
One question:
Would it be possible to build in one or several drawers in the top rail? Or does the toprail become too weak?
Thank you!
Hi Philipp,
Paul says:
You can put drawers in and of course you could make the top rail wider to accommodate drawers too.
Izzy