Sellers Home Dining Chairs: Episode 4
Posted 27 April 2022
This is an episode in a paid series. Want to watch it? You just need to sign up as a paid member, and you can enjoy this video and many other videos we think you will love.
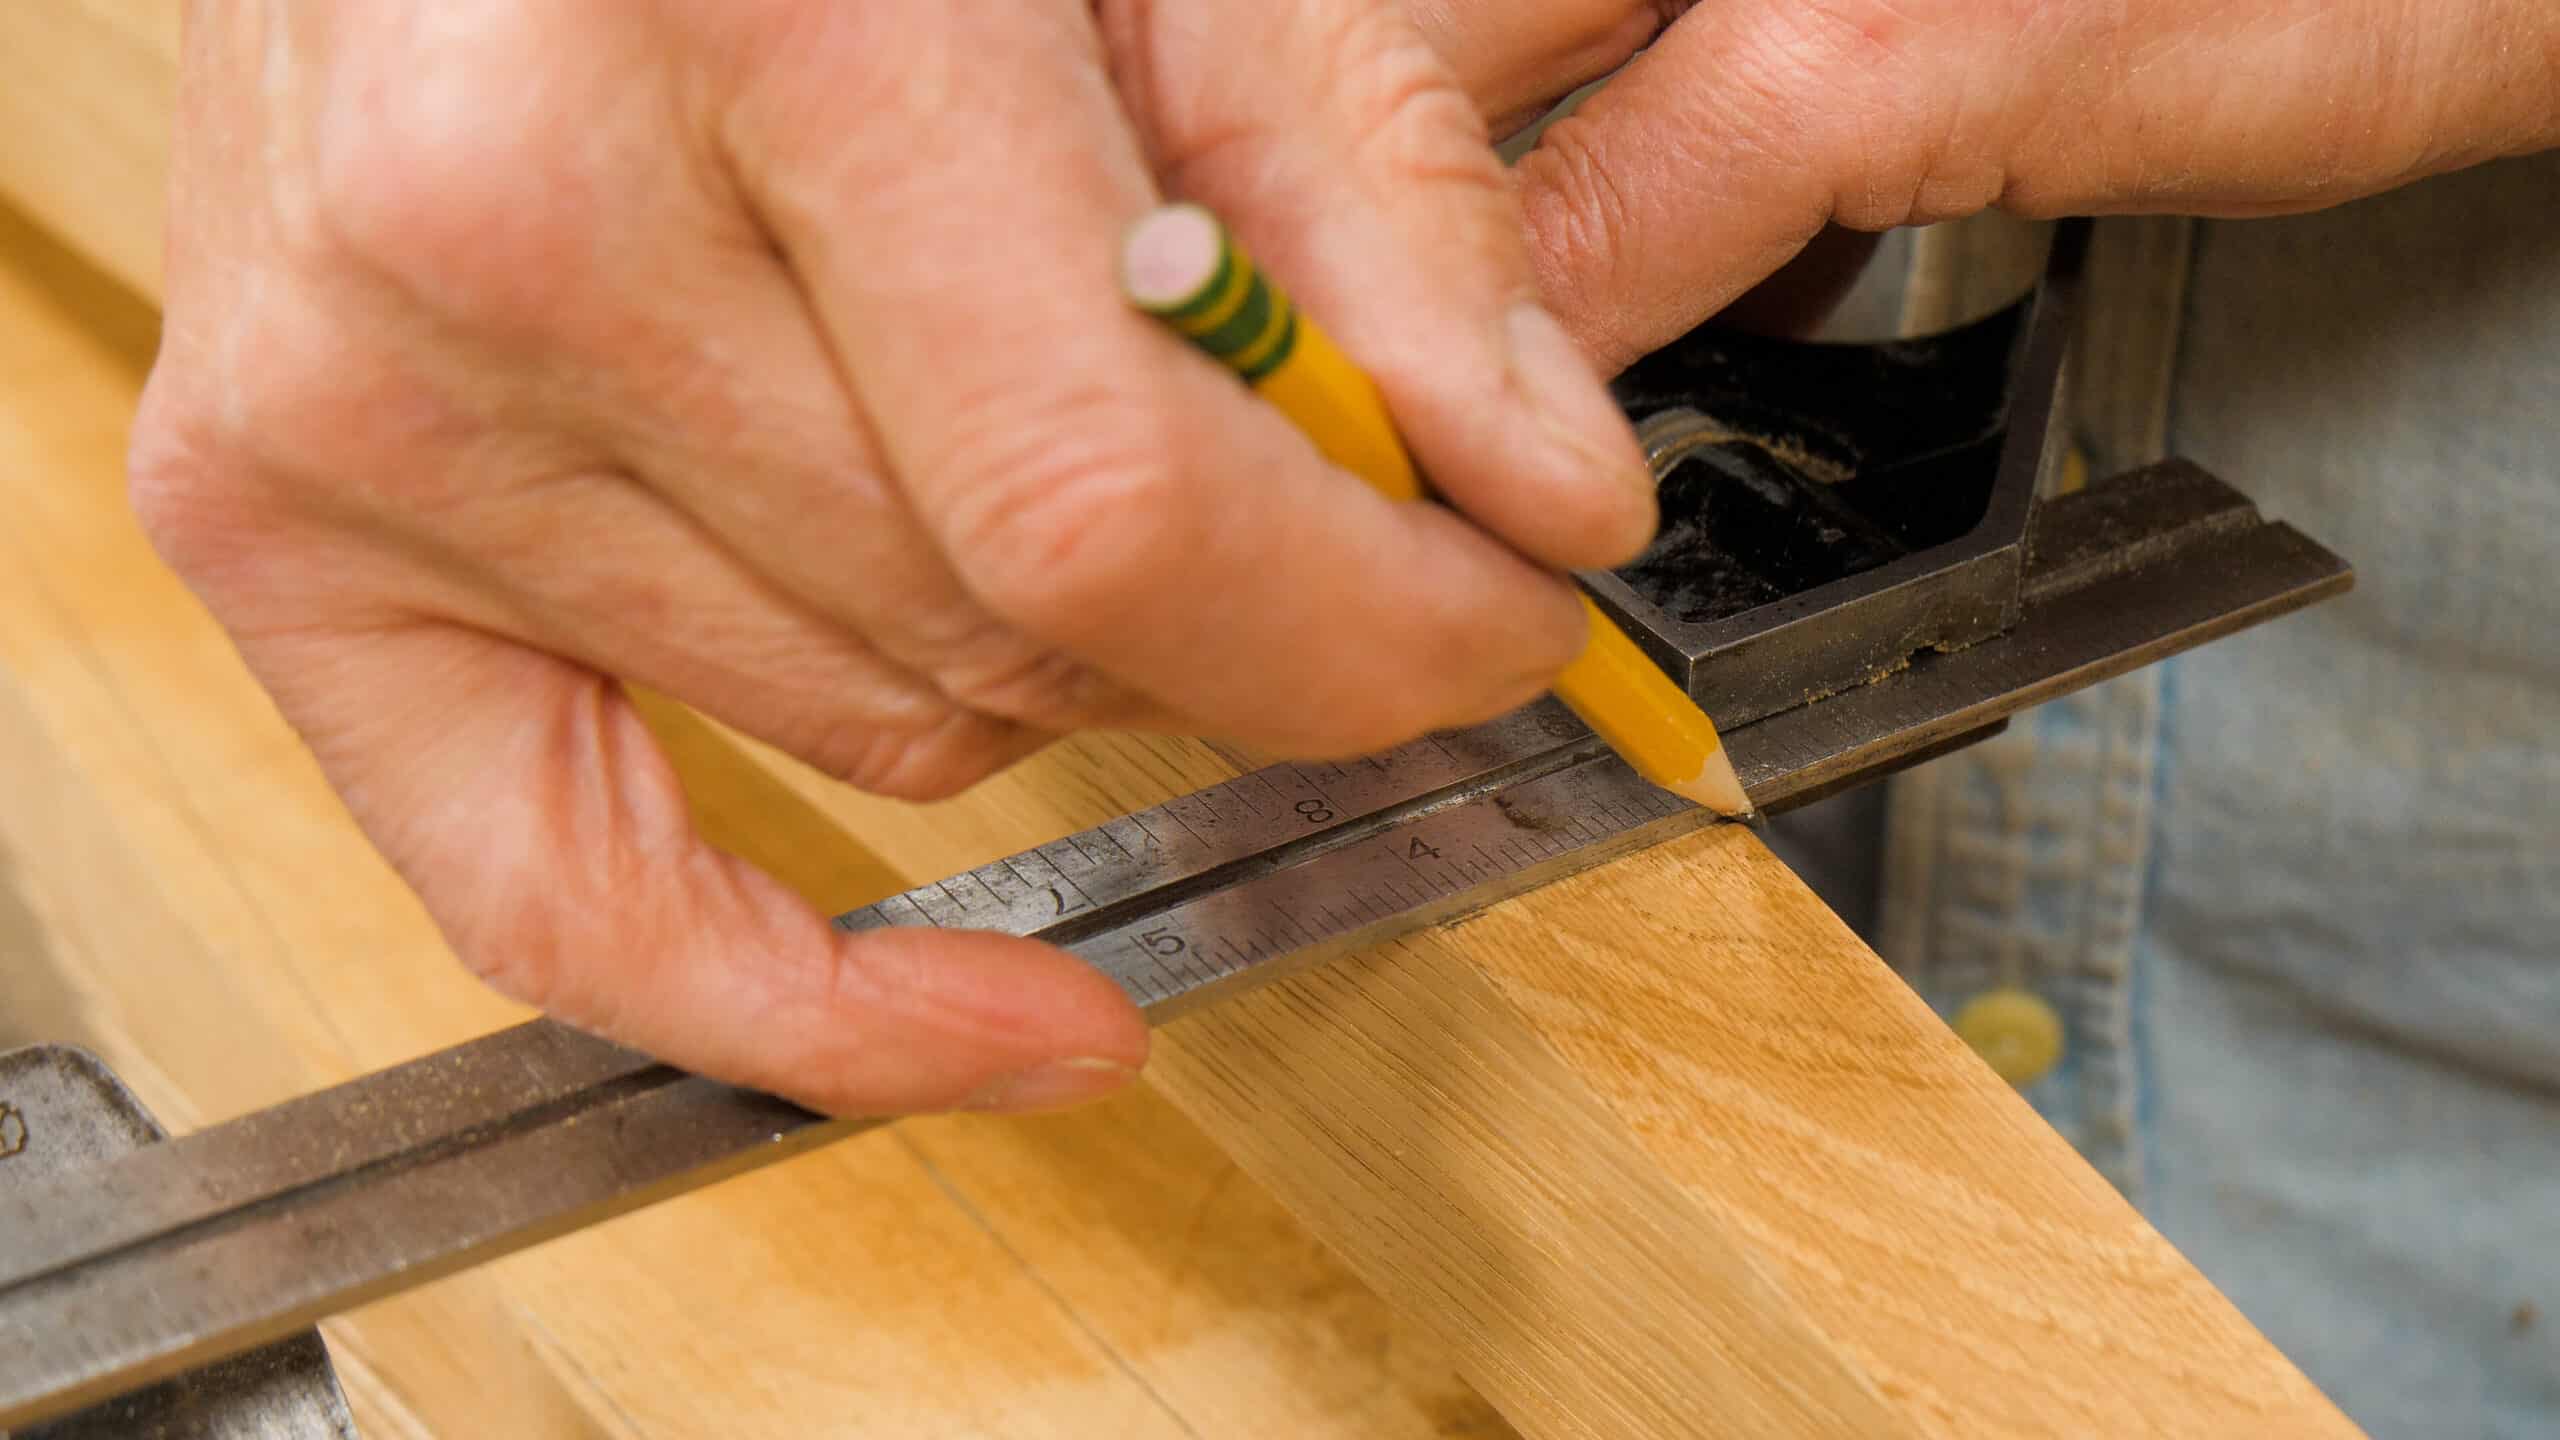
With half the chair frame completed, we now begin shaping the back legs and creating a complex mortise and tenon joint with angled shoulders and mortise holes to engage the legs to the seat support frame. These unusual components tie all of the joinery together, and developing the shoulder lines revolves around the precise layout and cutting to the two joint components at a single angle. This was the pièce de résistance for Paul and the challenge was nowhere near where he thought it would be because of using hand tools. We hope you like this and the tricks Paul puts together to make it all work. There are surprises in here that we doubt you would envisage.
Thanks Paul. Watching the grain and medullary rays pop out as you go from rough sawn to smooth wood is magical to see. Do you still feel this way after 57 years?
I asked Paul and this was his reply:
I still feel that way, absolutely. I have just been planing for the next project and I am watching the grain just pop.
Why angle the mortise this time rather than angling the tenon as we’ve done in the past? Did Paul discuss this detail somewhere? Is the angle just too big, which would make short grain on the tenon?
I asked Paul’s apprentice, John and he gave the following reply:
That’s right, the tenons aren’t very long, so angling these would increase the chances of them splitting (since the grain could go either way).
Also, it would be near impossible to clamp if the tenons were angled.