Sellers Home Dining Table: Episode 4
Posted 16 February 2022
This is an episode in a paid series. Want to watch it? You just need to sign up as a paid member, and you can enjoy this video and many other videos we think you will love.
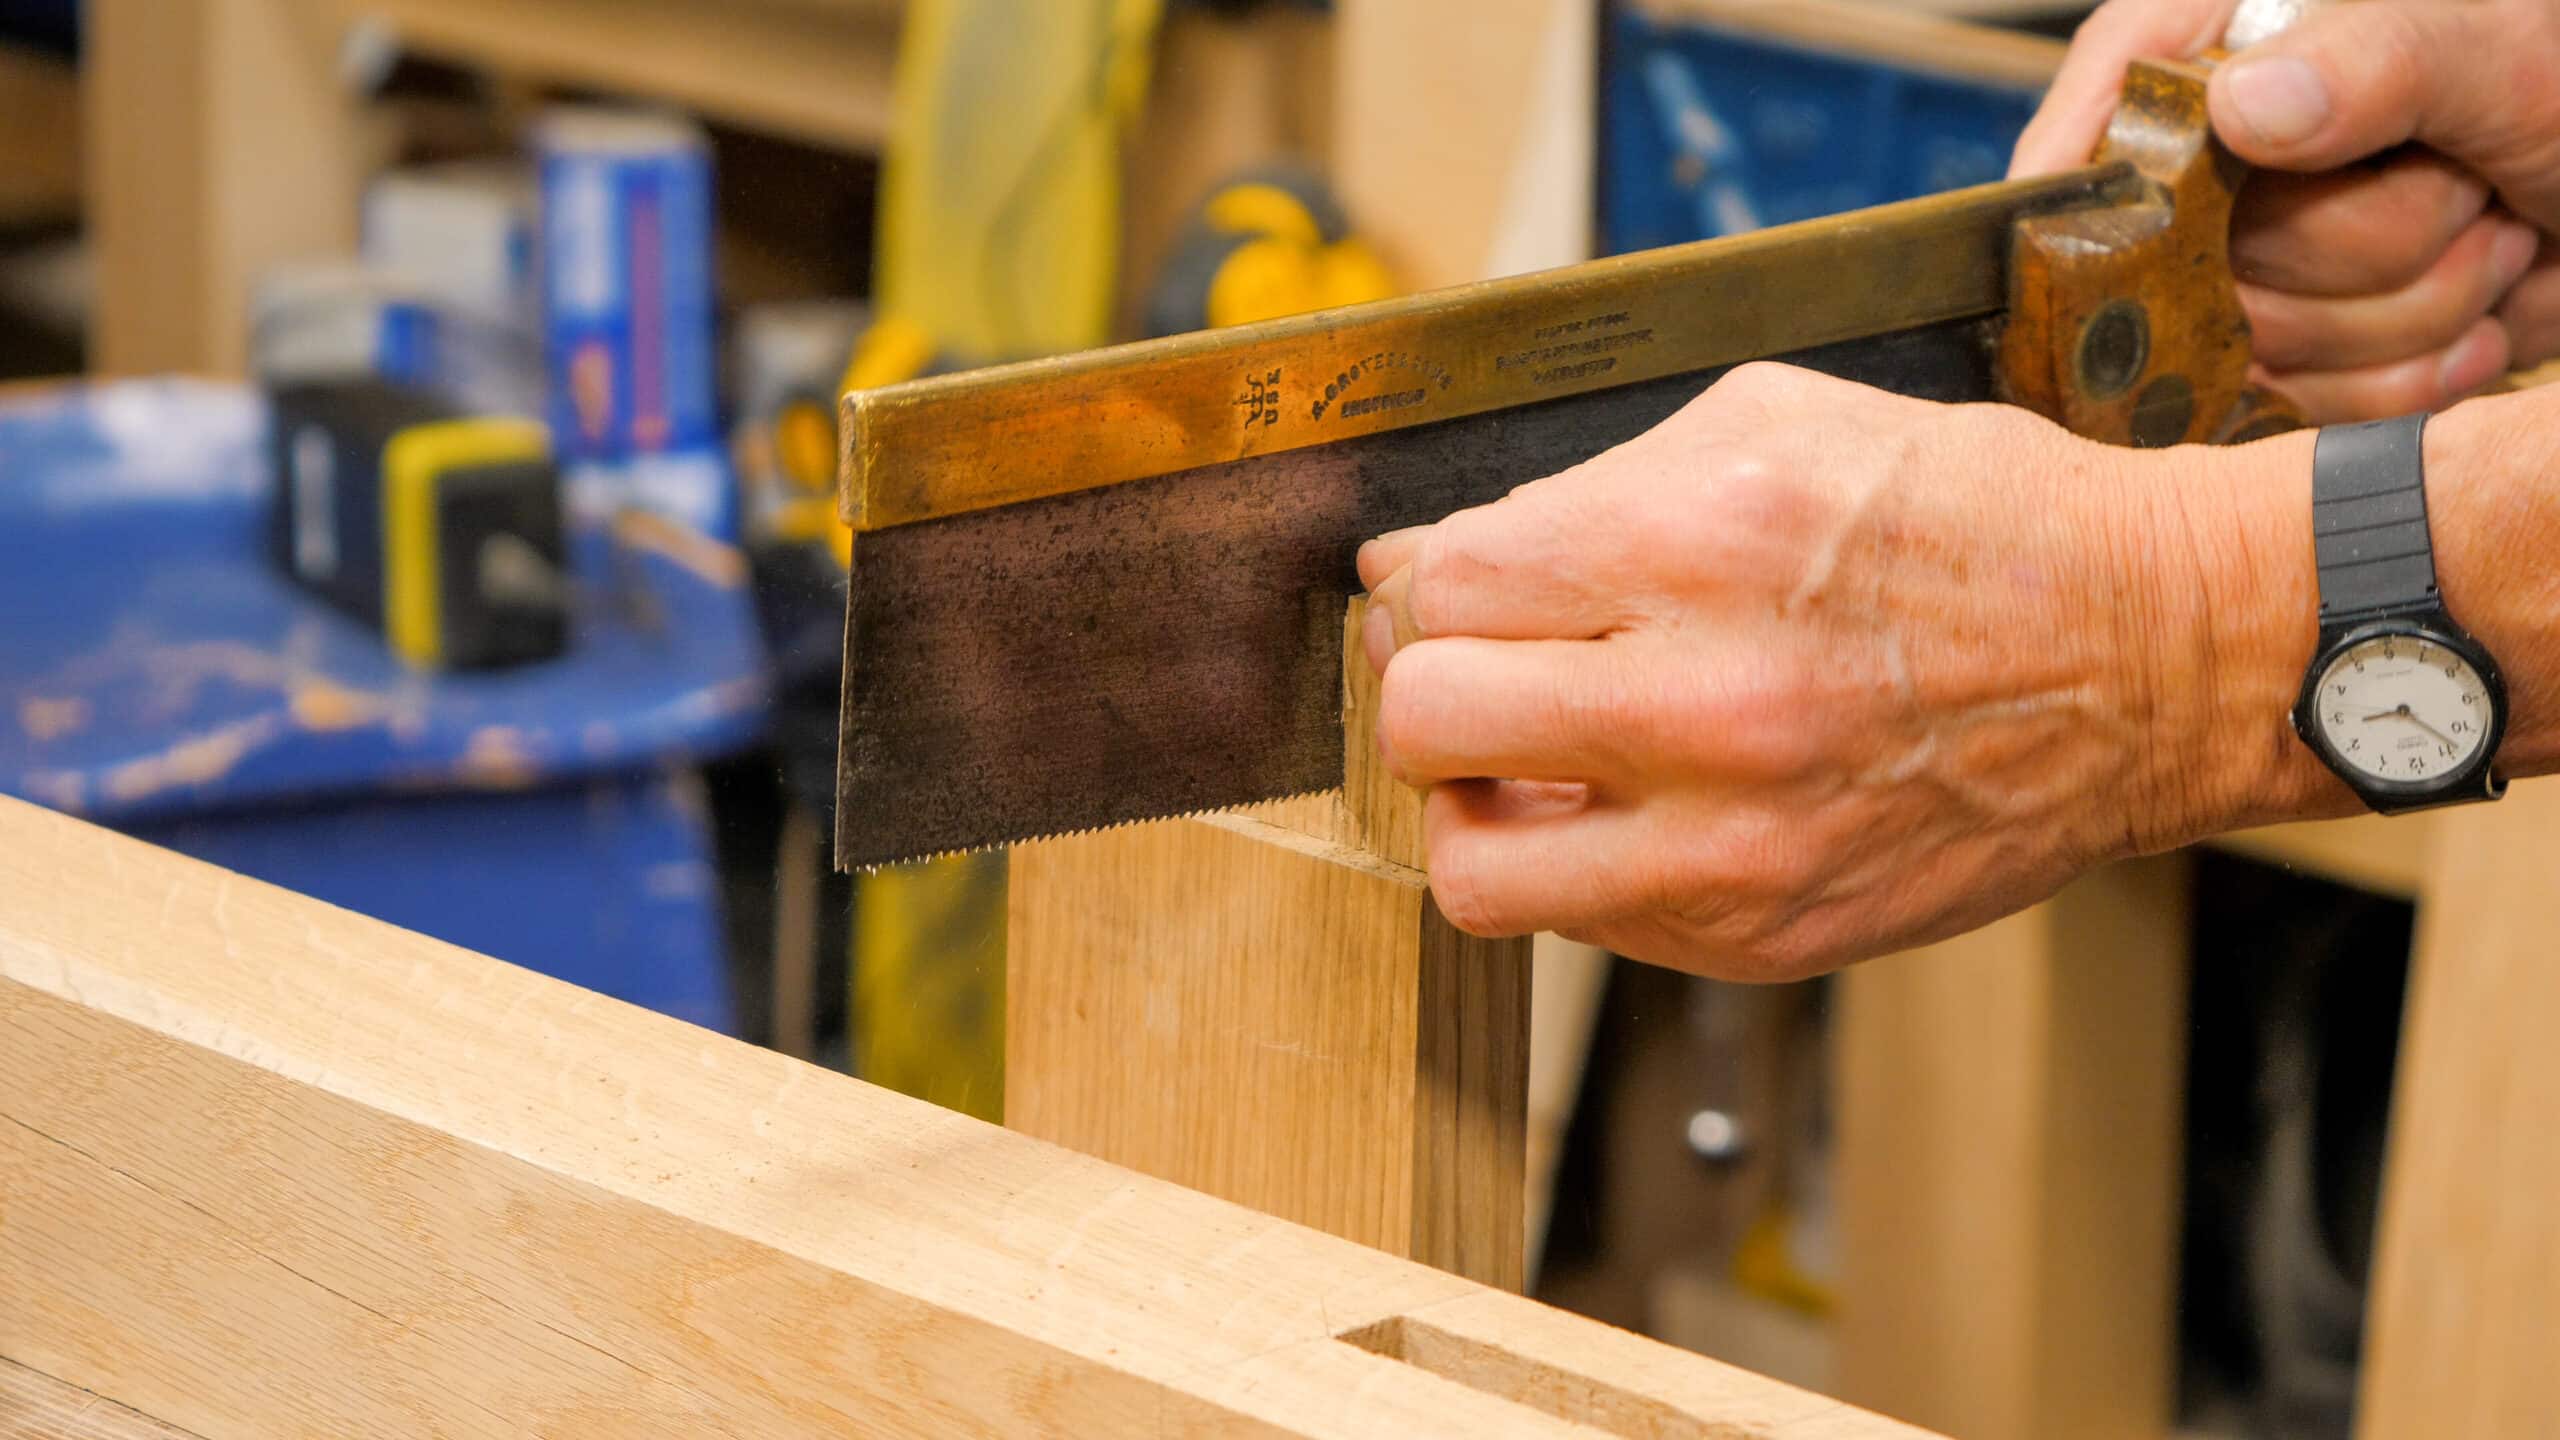
With the aprons foursquare and cut to length, the layout for tenon joinery follows traditional patterns that have never changed in centuries, so we follow these patterns every time because they work so well. From establishing the lengths of the tenons to keeping the shoulder lines perfectly matched, we follow these traditions. But then we shift to introducing the Paul Sellers’ methods for using the router plane to refine the final levels and fit the tenons to their respective mortises. We also use different methods for creating the tenons, from split-cutting to paring, sawing, and bandsawing. We will show you how!


Our customers at the sawmill when their wood moves a little bit throughout the project – “something must be wrong with your kiln!!!”
Paul sellers when his wood moves – “you just have to WORK with your WOOD”
I may be incorrect but it seems like the closeup detail camera work had not been as prevalent as in the early videos. It was nice to see it again. The enhancement of Paul’s after the fact commentary of what he was doing and why is also getting addicting! Very nice work!!
Doug K
I too liked the camera work here, nice to see those little bits right where you need to see them for clarity…
But then again you’ve gave your camera crew quite a workout, Paul. I think they had to move very quickly to capture it behind that leg blocking the view…
Nice to see the immense evolution of the video quality!
Hope I’m not insulting any of your previous videographers though
Diego
I particularly appreciated the absence of background music on this video.
Totally agree with the lack of background musicj
OK – I’ll bite – what was the purpose of the the board on the floor at ~26.30?
Fleming,,
By standing on the board, it gave Paul a few inches in height so he could get over the mortise he was chopping. Thus, he was chopping vertically downward as opposed on an angle thus ensuring the mortise was perpendicular to the face. Does that make sense?
Michael
Well, as I have flat feet, standing longer on one place eventually hurts my feet, but I’ve noticed that wearing cowboy boots, this problem is gone.
I think that the slight elevation at the heels would ease the pressure on the feet.
Paul,
Instead of mitering the corners of the tenons, can you cut a rebate onto one of the corner of one tenon? The rebate will provide the relief area needed so the tenons come together square at the bottom of the mortise. It seems to me this is not only easier, but the rebate will provide additional strength locking the the two tenons together. An example of what I’m referring to is analogous to making a box using rebates instead of dovetails. I hope this makes sense to you without a diagram.
Thank you,
Michael
I asked Paul and he said you can.
Any news on the ironmongery kits for the router plane.As always a very informative video.
We’ll update very soon
Hi Paul, Just watching you using your new router plane did you ever get a price for a hardware kit for them?
We’ll update very soon.
Where can I find a marking gauge like Paul is using to lay out the tenons?
Paul’s Mortise guide video is available here:
https://www.youtube.com/watch?v=ZDk9Rv5imj0
Hi, thanks for the video!
What is the reason for that mini mortise and tenon instead of just having a shoulder?
I asked Paul and his reply was:
It’s quick and simple to enclose the tenon on 4 sides and have a continuous shoulder from top to bottom to constrain the full width of the tenon.
some of my favorite segments are when Paul finds and corrects a problem.
discovering that the tenon was coming out with inconsistent thickness is exactly the kind of thing I (and others) will face on my own projects. it’s very valuable to see him describe what he sees then diagnose and correct the problem rather than edit it out in post production. thank you for including these bits.
Maybe I’ve missed it along the way, but is there a rule of thumb to how thick your tenons should be? I started work on a nice oak table and have already prepared the legs and chopped 1/2″ mortises. Now I’m wondering if I should take the time to go back and open them up to 3/4″ but that might get messy. Is there a minimum and maximum recommended thickness ratio to go by?
Thanks for all the wonderful knowledge
@MJE72571OUTLOOK-COM
Generally, a tenon “should” be about 1/3 of the thickness of the mortise stock (ie. 1/2″ on a 1.5″ table leg).
That said 1/2″ of solid oak will be more than ample to secure an apron for a dining table. I’d leave things the way they are as you’re likely to get a better result with what you’ve already done.