Sellers Home Dining Table: Episode 5
Posted 23 February 2022
This is an episode in a paid series. Want to watch it? You just need to sign up as a paid member, and you can enjoy this video and many other videos we think you will love.
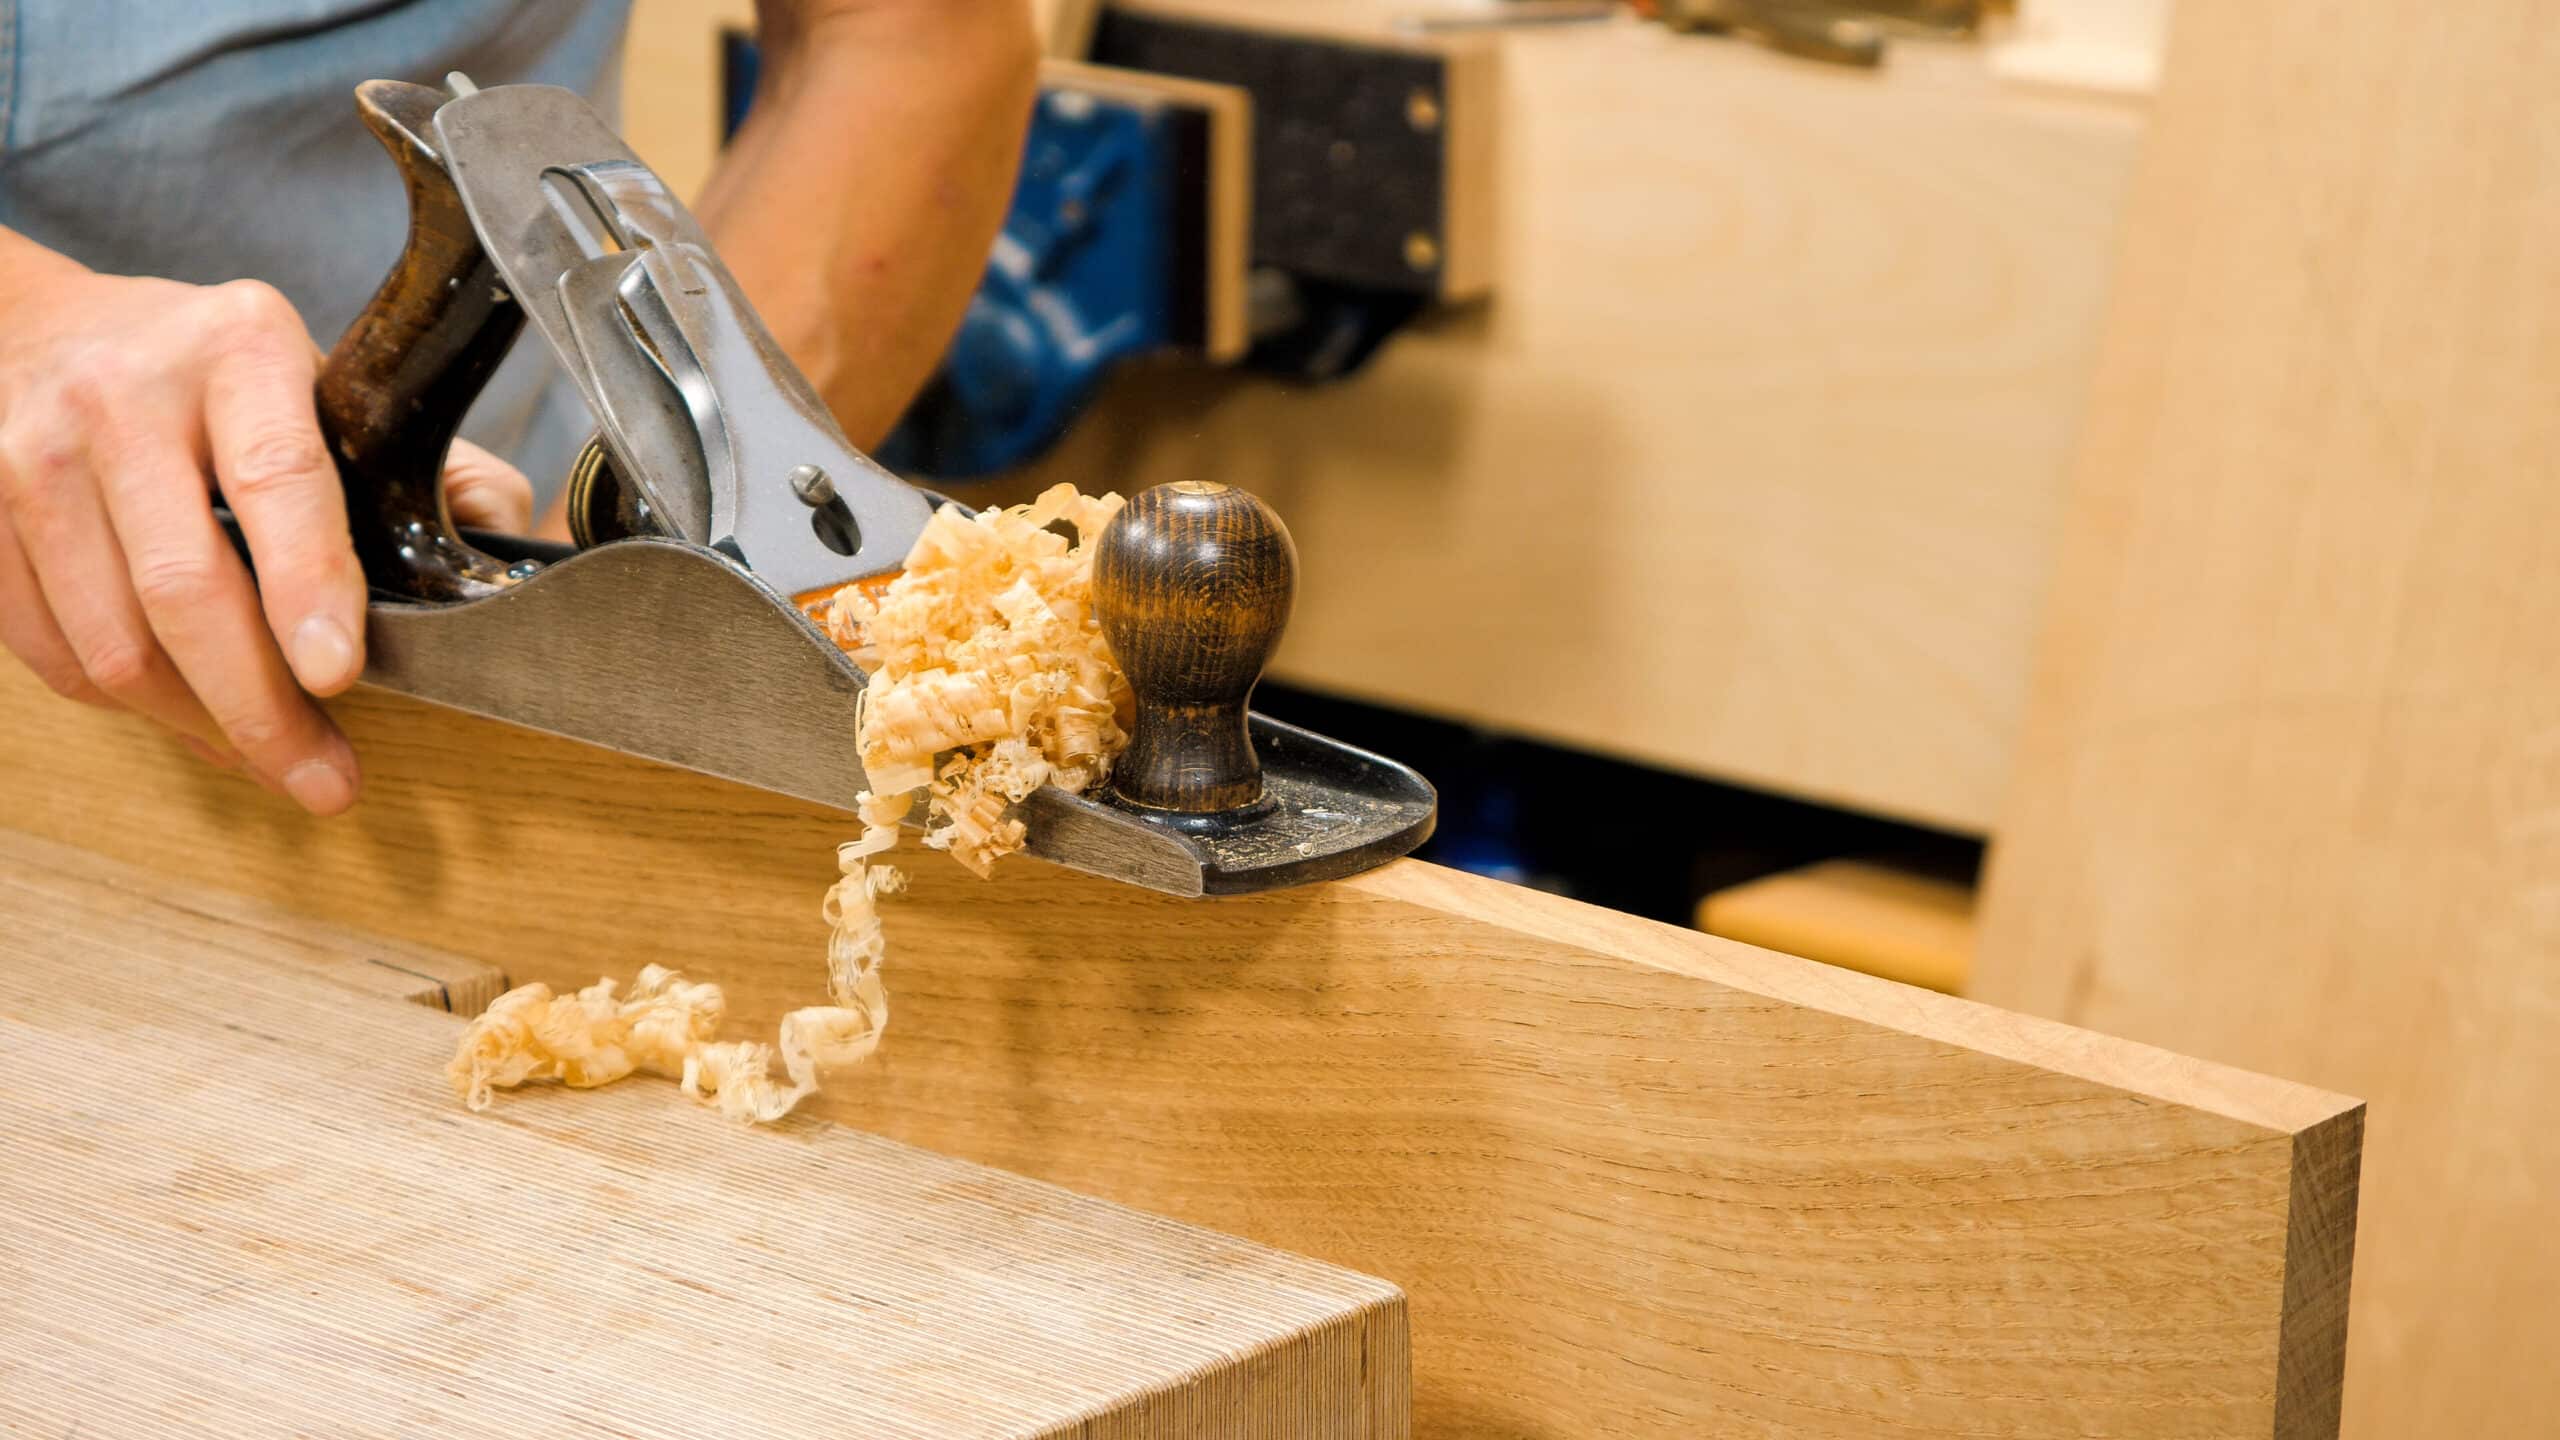
The tenons must be mitred to fit inside the mortise to ensure a good length to the tenons and this concludes the fitting of the tenons. The next stage is to prepare the tabletop boards by edge jointing with the bench plane and, Paul walks you through elements that will make the passage easier for you. Gluing up is an all-important step and, to minimise any issues, Paul walks you through the methods he uses that include several tricks of the trade to achieve a successful outcome. Paul kept in the awkward bits to show how he dealt with them. Wood often moves even after you have trued up, because you have released tensions within the wood by the truing process. It’s good to know what to do.


I would have thought to use 3 clamps on the bench and 2 on the top-side of the glue-up; is your method preferable?
Right about 38 min mark is where I start sweating usually
Paul or anyone,
I have some beautiful, wide walnut boards I want to use for this tabletop, but it looks like they are only going to finish out at 3/4″ or even 11/16″. That seems too thin to my eye. Are there any good techniques for making the top appear thicker on the edges? Thanks.
Paul’s first impression was 3/4″ would be fine but 11/16″ would be a bit thin.
Paul suggested: Frame it with the same 3/4″ stock on the lengths but with the strips on their ends. Then on the end grain add a breadboard end.
John, Paul’s apprentice suggested what Paul said but go the whole way around with the frame and mitring the corners. Even though it is more work the advantage of the breadboard end however is that it will stop the ends from movement. The actual breadboards don’t have to be wide 2-2 1/2″ would be fine using the same 3/4″ stock.
Just my 2 cents about my experience, for a beginner, it could be way less stressful to glue up the table top in 2 steps, first joint 2 adjacent boards together (wait glue cure) and then finally all board together. Glue open time is sometime way shorter than they advertise, specially in dry environment.
I may have missed that info on the way…but why is there the haunch (hopefully spelled correctly)? Why not just the tenon? Any structural reason, more strength maybe? thanks!
The haunch does indeed give increased structural strength, extra width whilst maintaining sufficient wood on all four sides of the tenon.
It encases the tenon and just trimming the two long shoulders instead of the two end ones makes the task easier.
The explanation/demonstration of edge preparation from 13:00 to 19:00 is excellent for beginners to understand just how much to fuss (or not) when edge joining boards. I also liked the earlier part where Paul reverses the plane and pulls it instead – good to see it cropping up every so often so the that this very useful technique is not lost.
“More glue is probably better than not enough, because that gives you a little bit of extra liquidity.”
I’m not sure if Paul meant this as a pun but it did make me smile when I heard it.
Awesome series everyone.
I was revisiting this project, specially the table top glue up, and at 27m, Paul mentions that it doesn’t matter that some boards might be 1,5mm thicker in one place over the adjacent board, and that he’ll explain it a little better latter on.
Maybe I didn’t get it, but I didn’t see Paul explaining it. Did he forget to explain it?
I didn’t see Paul addressing that in this episode, or the next episode.
Can someone from the team ask Paul about this?
Thanks
I asked Paul and his answer is below:
1.5mm is quite a lot, maybe I meant 0.5mm. Slight variations and undulations are dealt with in the final planing and scraping and finishing levels.