Sellers Home Rocking Chair: Episode 4
Posted 3 March 2021
This is an episode in a paid series. Want to watch it? You just need to sign up as a paid member, and you can enjoy this video and many other videos we think you will love.
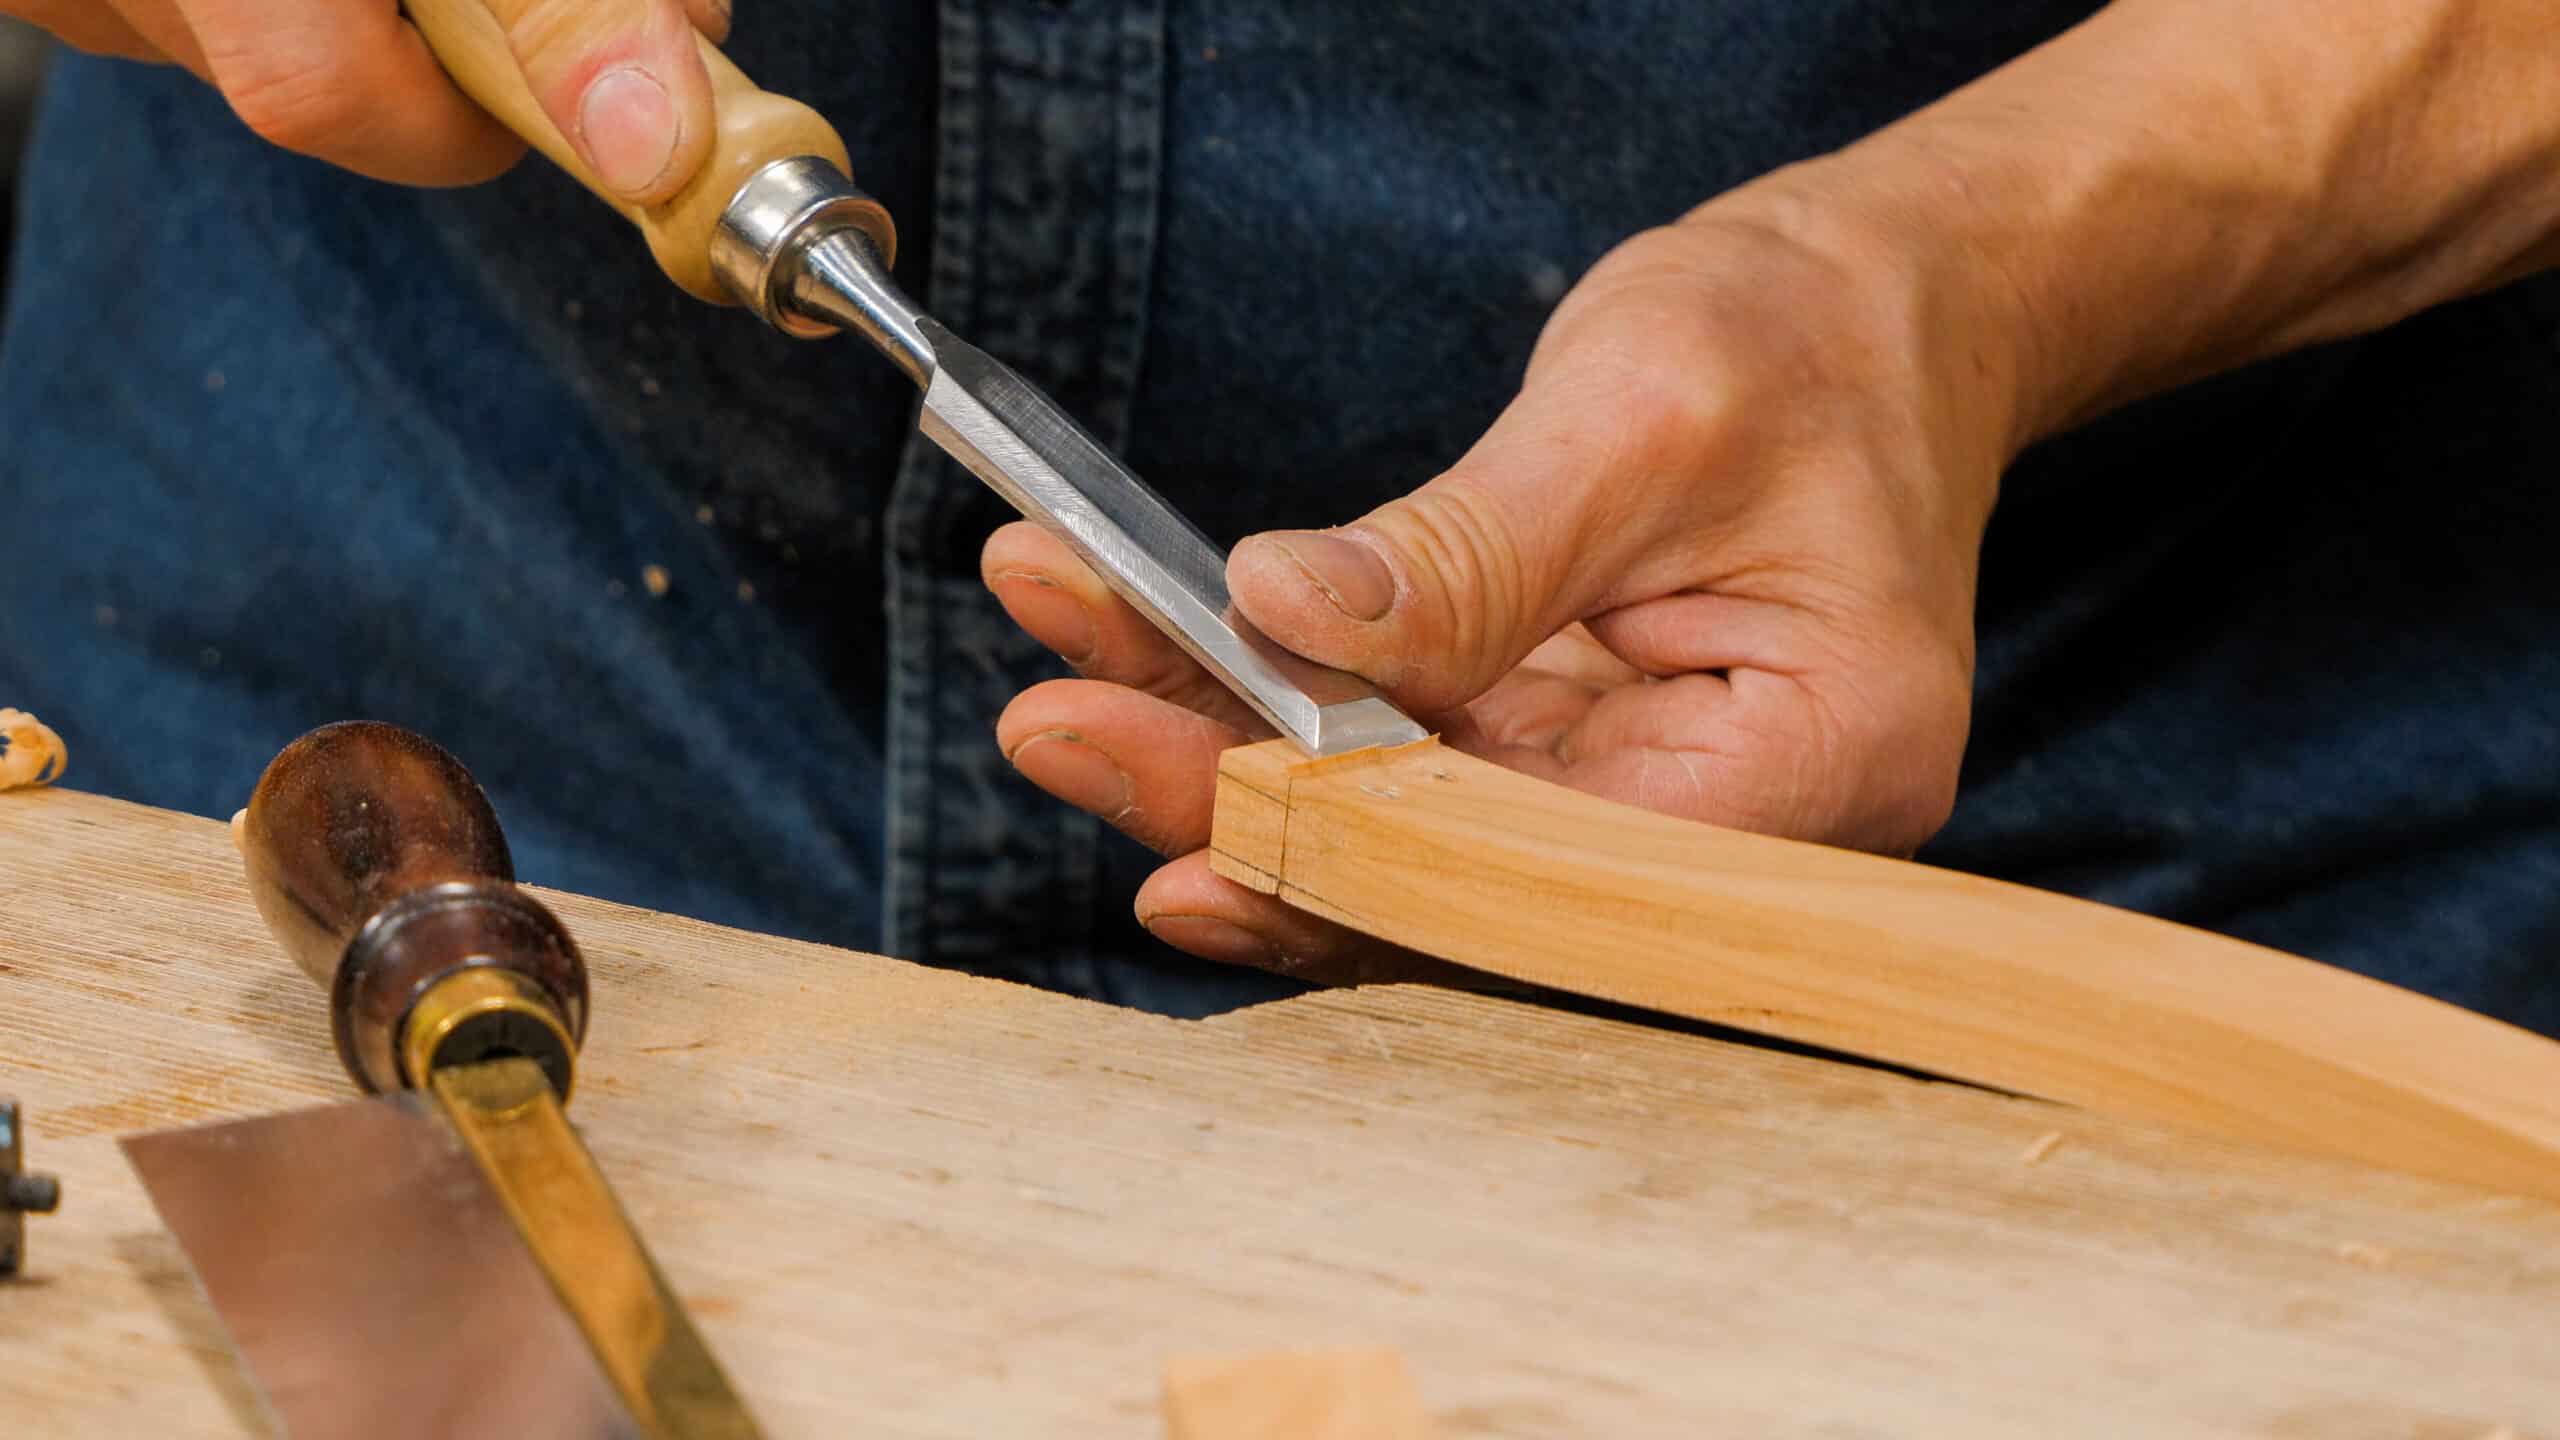
The bent slats for the back support make the chair incredibly comfortable, so in this episode, we make the former that allows us to create the ‘S’ shaped slats. Paul walks you through the steps, from creating the hand-made slats all the way through to ‘inline’ tenon cutting and fitting on curved pieces.
BOOKMARKS:
PREPPING THE BACK RAILS – 00:07
SLAT GLUE UP AND TENONING – 07:38


Beauty!
Such fun to watch, Paul, thanks!
Very inspirational – off to the shop now.
Absolutely amazing!
So much joy to watch, even more joy to make. Just marvellous videos! Thank you Paul and team for this very much enjoyable education.
What a great watch that was Paul & Team, thank you. Regards Jim.
Certainly a pleasure to watch, and by making the slats with the thin strips does reduce the waste that would occur by cutting them as shaped pieces and as Paul said very strong. A very worthwhile lesson.
Thanks to Paul and team
Informative, great videography and music. Highlight to look forward to every week. Thanks Paul & Team!
Hi Paul,
Do you plane the faces of the laminations after they are band-sawn, prior to glue up?
Hi,
Paul says: On some I did, but that was to true-up. I then used a saw plate at a tangent to roughen the surfaces for keying a better gluin meet.
Izzy
I’m curious about that also. did you use the Paul Sellers thicknessing jig to get the 1/8” thickness or run them thru a planer, or ….?
That step would have been useful to see.
thanks
Barry
Hi Barry,
Paul says:
I think that it was well explained and shown. I showed roping on the bandsaw and then simply planing two faces on the benchtop with a bench plane. All of the components came from rough stock and were rough sized on the bandsaw and then planed freehand as might be expected by the audience.
Izzy
Hi Paul,
Brilliant work. I’ve seen you use the bent laminations a few times now and feel comfortable with the technique. I’m curious about steam bending instead of lamination. Do you every steam bend? What would make you choose one method over the another? Many thanks.
Sincerely,
Joe
Hi Joe,
Paul says:
I would not steam bend generally because it forces water into the wood so it is then wet and swollen. Laminated is stronger and the wood is good to go from the point that the glue is dried in the lamination.
Izzy
Nicely done!!! That cherry looks amazing!!!!
Paul, your drawing cutting list shows 28 strips of 5mm thickness each – so 4 strips of 5mm for each of the 7 seven slats. Your video however shows 5 strips being glued together.
Which is preferable? 4 strips of 5mm or 5 strips of 4mm? Both would produce 20mm total thickness. Using 4 strips would create less waste, but using 5 thinner strips uses more glue, but might perhaps be easier to clamp up as it would be more flexible. I’m using Oak.
Also – any tips/tricks on how to secure these long thin strips so they can be planed? They are too thin to hold in a vice, and clamp(s) would get in the way. I will be ripping them off stock using a bandsaw, but I think it would be good to plane off at least the worst of the saw marks before gluing?
Thanks.
Hi Martin, The drawings are based upon Paul’s original drawings. It may have been that when he made the chair he realised that 4 strips would be too thin and added an extra strip. You could do the same.
Clamping at one end and planing away from the clamp as much as possible.
The way I interpreted the video was to rough cut them to 3/16 or 5mm (over thick) to allow for variances in the cut on the band saw. That gives you some leeway to plane them to the final thickness (1/8 or 4mm). Once they are planed you can combine them to get to the overall final thickness of the rocker.
Sorry, back slats not rockers, but I think the same process applies to the rockers as well.
HI Paul,
I have made all of the back slats. I have looked at them up one side and down the other as well as front and back. For some reason I can’t for the life of me determine which end should be up and which side should be facing the front. I made the form per the drawing. There are two radii (a short and a long). Which is supposed to be the top and does it face with the curve toward the front or back of the chair?
Thanks,
Roy
I asked Paul and he explained:
Longer 1 at the front facing is the front. This takes the upper back of the person. Lower 1 is the lumber support 1.