Sellers Home TV Unit: Episode 2
Posted 8 September 2021
This is an episode in a paid series. Want to watch it? You just need to sign up as a paid member, and you can enjoy this video and many other videos we think you will love.
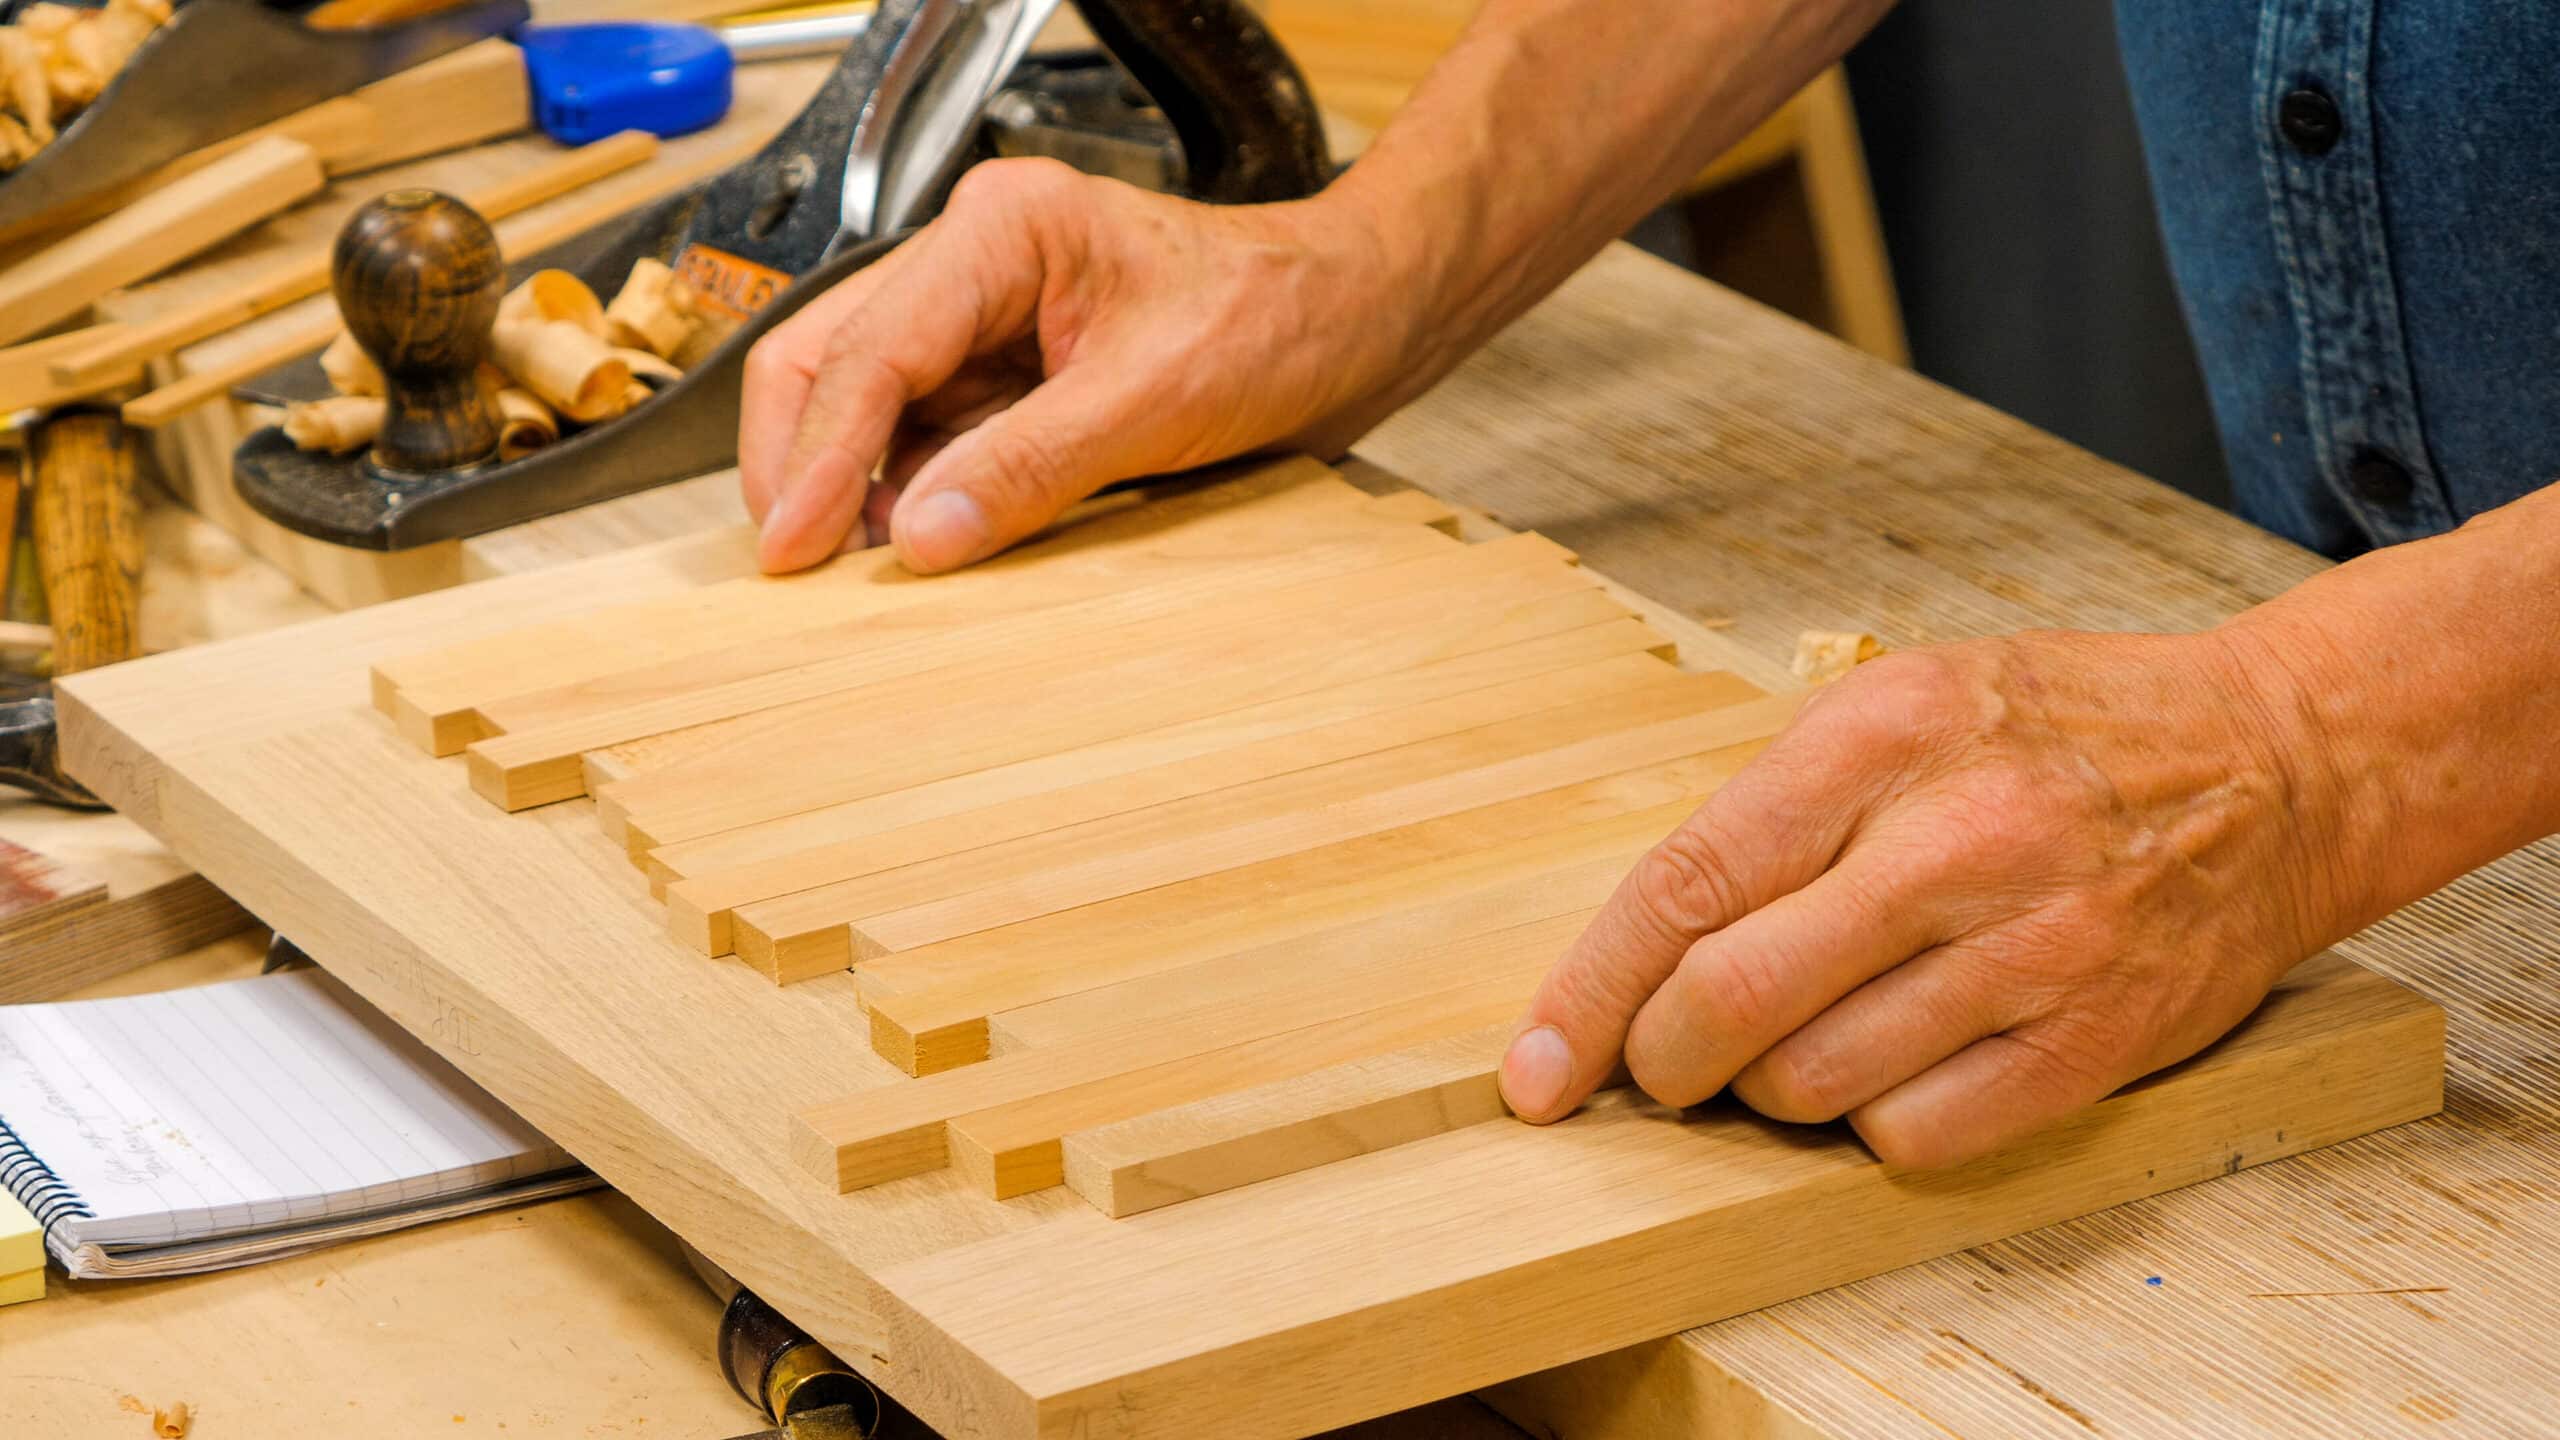
Paul has had the idea for a tambour-look to his panels for some time and he wanted this to be a part of the Sellers Home content at some point, so this is it! Having made his main frames, Paul picked up all of his offcuts and scraps of cherry from the waste box to rip as tambour pieces to create the panels. In this episode, Paul walks you through the steps it takes to deliver an unusual effect for his TV stand base unit. We think it looks unique and effective for very little effort, and Paul can tie the unit to my other cherry pieces in the living room series.
BOOKMARKS:
PREPPING THE TAMBOUR – 00:07
MAKING THE TAMBOUR – 03:18


sounds good.
Hello Paul and company,
Perhaps during your stay in the US you came across a product called Space Balls sold by Rockler. They are 1/4″ stiff rubber balls one places in the grooves of doors intended for raised panels. They keep the panel centered and allow expansion and contraction of the panel. I think they would be good for your tambor panels keeping all the edges of the individual slats in contact and allowing expansion during humid times. I used them on my frame and panel kitchen cabinet doors they have kept everything centered for over 20 years. I’ve also had no problems with panels cracking.
https://www.rockler.com/space-balls-raised-panel-door-spacers
P.S. Ignore the terrible drawing on the website they go in the grooves I’m not sure what that drawing is showing.
Gene
Hi
I somewhat agree with YrHenSaer’s teaching methodology and indeed Paul’s original methodology, although the presentation is as good as ever. My only other comment would be that of storage of media boxes; Skybox, apple box, etc. which; if installed in the main body of the unit, would require the tambour doors to be open to access the boxes with the remote controls unless a glass; or similar material, infill panels were used in the doors but I guess that is a minor point when I’ve just seen the complete TV Unit on Twitter, it looks great but I will need to think about how to deal with the usage of the various TV boxes we currently use.
Love all your projects
It seems like most of the mortises Paul chops are 3/8” wide in boards 3/4 -7/8” thick.
Seems like the right mortise width to me. I guess I just find it interesting that few chisel sets you might buy even has the 3/8” chisel. You would have to buy it separately.
What are those new, seemingly-homemade router planes hanging up???
To be revealed soon
Hello, Joseph and thanks for the quick reply.
I take your point with the presentation sequencing; a detailed drawing can be part of the summing up. My initial thought concerning a cutting-list at the start, means that the timber can be sourced, at the beginning – notwithstanding the current issues surrounding shortages and delays in supplies of most commodities.
The wood could be prepared for work and allowed to acclimatise to its new conditions while the rest of the project was presented each week.
Anyway, it’s all good stuff! Keep well, all of you.
Paul, please describe the make and model of the helmet you are wearing while using the band saw.
I asked Paul. It is Trend airshield similar to these . However he said: these are not the only ones and you should research for one to suit you.
I’m not understanding something. Why is there not space so that the tambour pieces can expand in width? They look like a fairly tight fit. I trust Paul, but I would have thought without space on either side the tambour pieces could expand with humidity and create problems…?
I asked Paul and his reply was:
“I think there is a misconception that the expansion of wood has enough strength to force apart a mortice and tenon joint with the tenon oriented the same direction as the tambour or other panels. No increase in humidity no matter how high can force apart a well made and fitted mortise and tenon joint. It is hard for me to imagine any problem that you could present that would cause this sort of issue. It’s like if you got a sponge, put it between two bricks and filled the sponge with water.”
After 9 years of monthly payments, it’s a bit disappointing to have my only question ever ignored.
We are not ignoring your question. Questions such as these need to be put to Paul and can’t be answered straight away. I will ask him and reply to your question.