Shaker Stool – Episode 4
Posted 29 July 2015
This is an episode in a paid series. Want to watch it? You just need to sign up as a paid member, and you can enjoy this video and many other videos we think you will love.
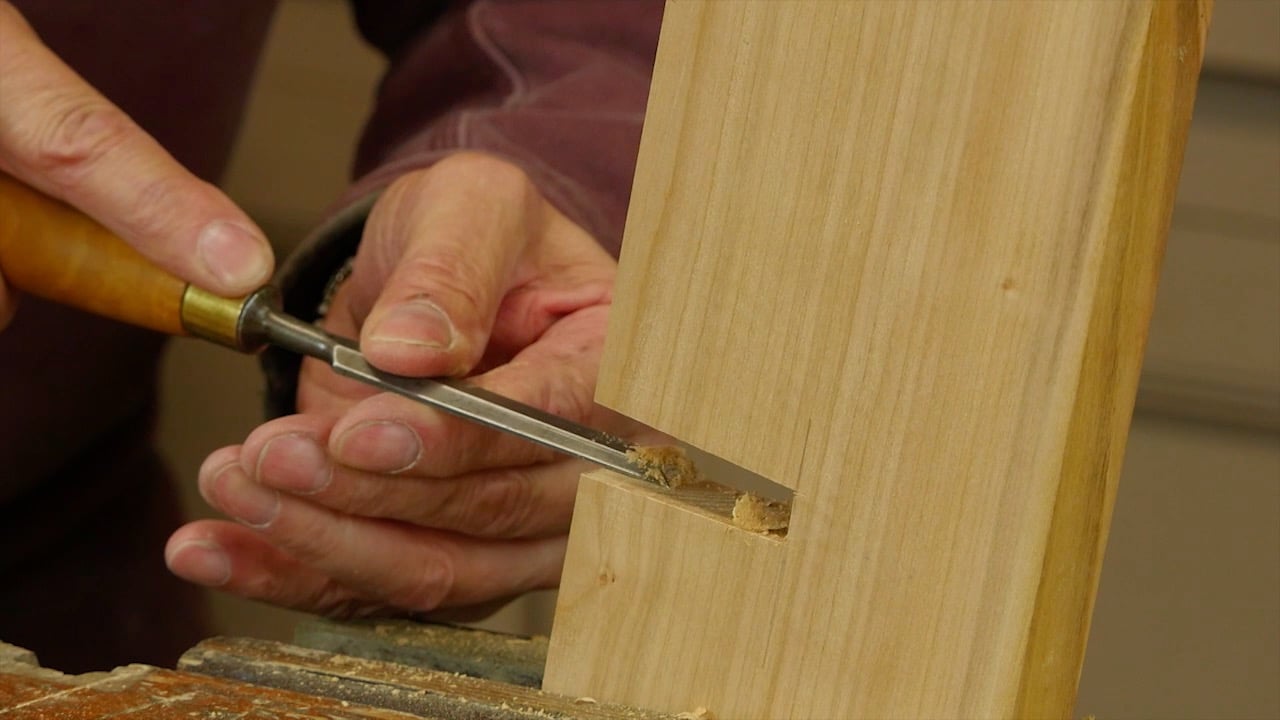
With the initial recess cut, the next step is to create the sloped side of the bridle joint which helps to locate the joint. With that done, Paul transfers the lines to cut the recess in the top rail and uses various techniques to fit the joint snugly.


Wonderful episode!
I love the way that Paul’s designs emphasise elements that would be difficult or impossible to achieve with machine-only methods.
The moment when the mallet sound changed exactly at the point where the joint seated at the correct point was very satisfying. An implicit lesson here is patience when fitting and being prepared to pare and refit multiple times – I’ve often screwed up by being too impatient.
I’m in the process of building an electric guitar trying to use mostly hand tool techniques (i.e. not doing almost all shaping with templates and electric routers). I wonder whether some variation on this joint with hand cut and fitted tapers would be useful for the mortice and tenon between neck and body? It should ensure good physical contact between the two pieces.
I like the use of the pencil lead to mark the tight spots, just like inletting a rifle stock. I’ve used that method to fit legs into the foot stool project also.
Some people use lamp black but it is a little less exact in application. Here is a video of H&H armorers building a shotgun. https://youtu.be/qUXoNUzAyvk check at the 7:25 mark to see what I mean. Can’t wait for episode 5!
Enjoyed the video, thank you for sharing.
When you talk of the wood bruising what should I be looking for? In this video you talk about some shininess in the wood, is that all or is there something more I should look for ?
Greg,
My own experience (I’m not Paul) is that the “bruising” Paul mentioned is indeed a shiny surface where fibers are compressed. Nothing more, just shine.
Great video Paul and crew. I can’t wait to get started on mine…:-)
Would it make the joint more manageable to taper one side only? Is there some reason not to do this?
I wondered about tapering only one side, too. In fact, if you kept the face on the side next to the delicate short-grained side untapered, I wonder if you could reduce the risk of breaking it during assembly.
Love this joint too, the only shame is when it’s together no one will see it!
Paul J asked about using this joint to attach a guitar neck to the body. Fine guitars should use a dovetail joint to attach neck to body (what I’ve been told) it increases tonality across the whole guitar. Larivee guitars in Canada makes there acoustics this way.
Thank you for the lesson.
Uhh-Oh.
The end of my rail snapped. 🙁 What to do?
I’m amazed to be the first to confess to this error (surely I’m not the first dufus to do this?).
I did glue is back and clamp it, on the hope that it will hold.
FYI, I’m working in Eastern Cedar, because that is the wood I had available.
I’m guessing the split is on the rail from the top of the halving joint section to the end? Gluing and clamping it back on then very carefully fitting it making sure the joint is definitely not tight should work. The one thing you can do if that doesn’t work is to screw through the broken off piece into the main rail from the bottom, as long as you pre-drill to the size of the shank of the screw through the broken off section then recess the heads of the screws. The broken off section may be too wide for this though. Hope that helps and makes sense.
Hello Paul, would this stool work using 3/4″ stock?