Shaker-Style Bench Seat: Episode 3
Posted 20 August 2014
This is an episode in a paid series. Want to watch it? You just need to sign up as a paid member, and you can enjoy this video and many other videos we think you will love.
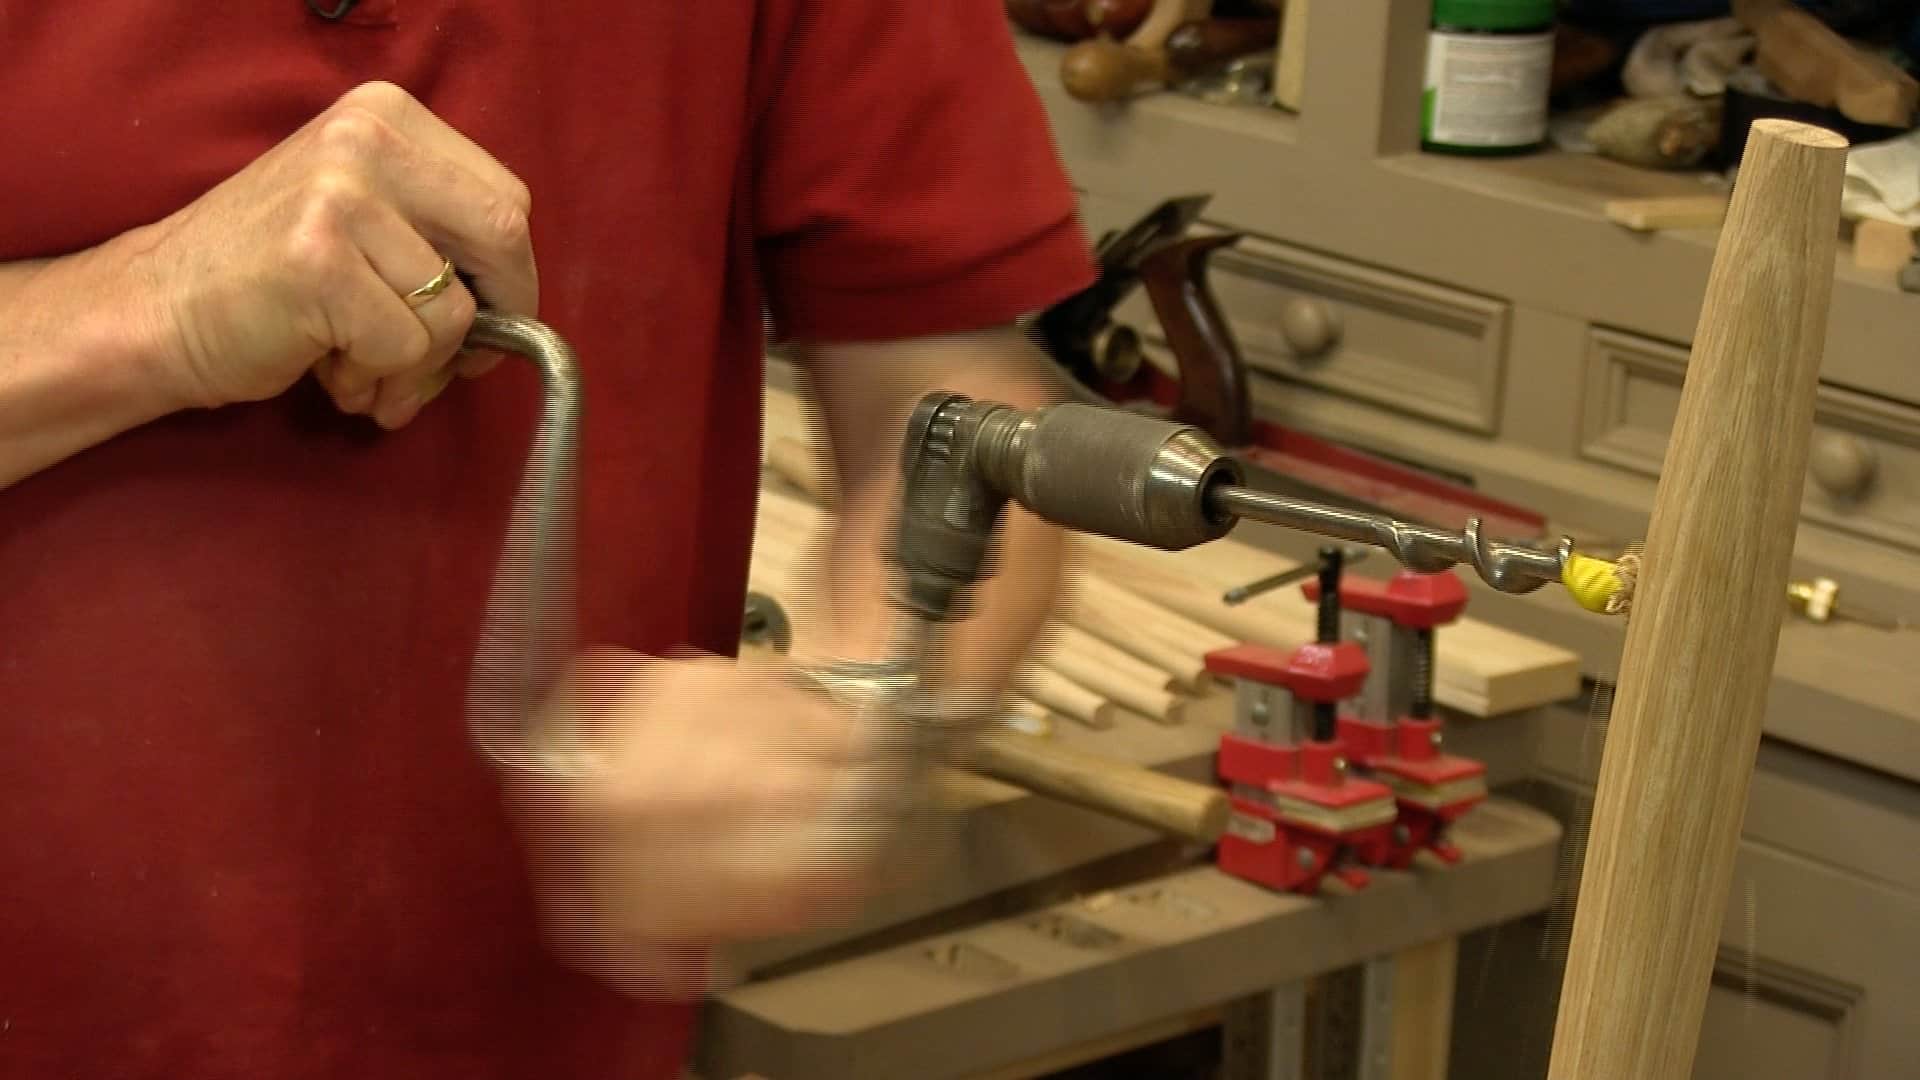
In this episode, Paul shows how to drill the legs and fit the rail to help strengthen the frame. He then does the final preparation of the legs, which gets us ready to start shaping the seat in the next episode.


the possibilities are endless i look forward to having a go at these .
Another trick I learned for drilling a hole horizontally level, as done at 32 minutes into this video, is to use a ring (such as a wedding band) on the shaft of the drill bit. When you drill level, the ring stays in one place. tilting the drill uphill or down causes the ring to move forward or back. Strive to keep the ring from moving. It accomplishes the same as the measuring stick without stopping to check so often.
…and don’t forget to restore that wedding band to its rightful place before leaving the shop! 🙂
Thanks for the tip, Bob, it’s a nice trick. I had seen also a small bubble level taped onto the bit shaft (for a hand drill at least…)
Ouch!!! Splinter alert @ 12:08. Woodwork can be painful.
The rail spindles started off with the bump or bulge centered on their length. They are cut to length on just one side, and that means the bump isn’t on center any more, by about an inch. It’s probably more visually pleasing to have that bump off center like this. Paul didn’t mention anything, but I wonder if he was deliberately starting from the back leg on both sides so that both sides have the bulge displaced in the same direction? Maybe on such a long piece you can’t see the small effect.
Hi Paul,
I’m a beginner, so things that seem big to me make me question when you’re so calm.
When boring the hole in the leg at 35:00, the brace breaks out some of the fibers. You say not to worry about it, I totally trust you there, but is the plan that sanding will smooth it out and it won’t be noticeable? I’m still developing my sense in what type of tearout I can deal with and move on without cursing.
Thanks for all you.
You should also check out Paul’s video on auger bit sharpening. He talks about that how to avoid it too.
Ryan,
Paul makes a statement that he will clean up the broken fibers with card scraper before finishing. Generally speaking cutting of joinery is done after shaping, but before final surface prep so in this way Paul has a chance to remedy minor imperfections that the workpiece sustained while the joinery was being cut. I do hope this is helpful.
A little tip to avoid this type of tear-out is to put a couple wraps of painters tape tightly on the leg prior to either lay-out or drilling (it usually pretty easy to find your starter hole through the tape. The tape provides just enough support for the surface fibers to keep them from pulling loose as you start the hole.
This is exciting and can’t wait to be able to start on this one, this will make a nice Fall / Winter project.
I am nervous about getting the angles right, but Paul once again gives alternatives, thanks for this.
Steve