Shaker-Style Bench Seat: Episode 6
Posted 10 September 2014
This is an episode in a paid series. Want to watch it? You just need to sign up as a paid member, and you can enjoy this video and many other videos we think you will love.
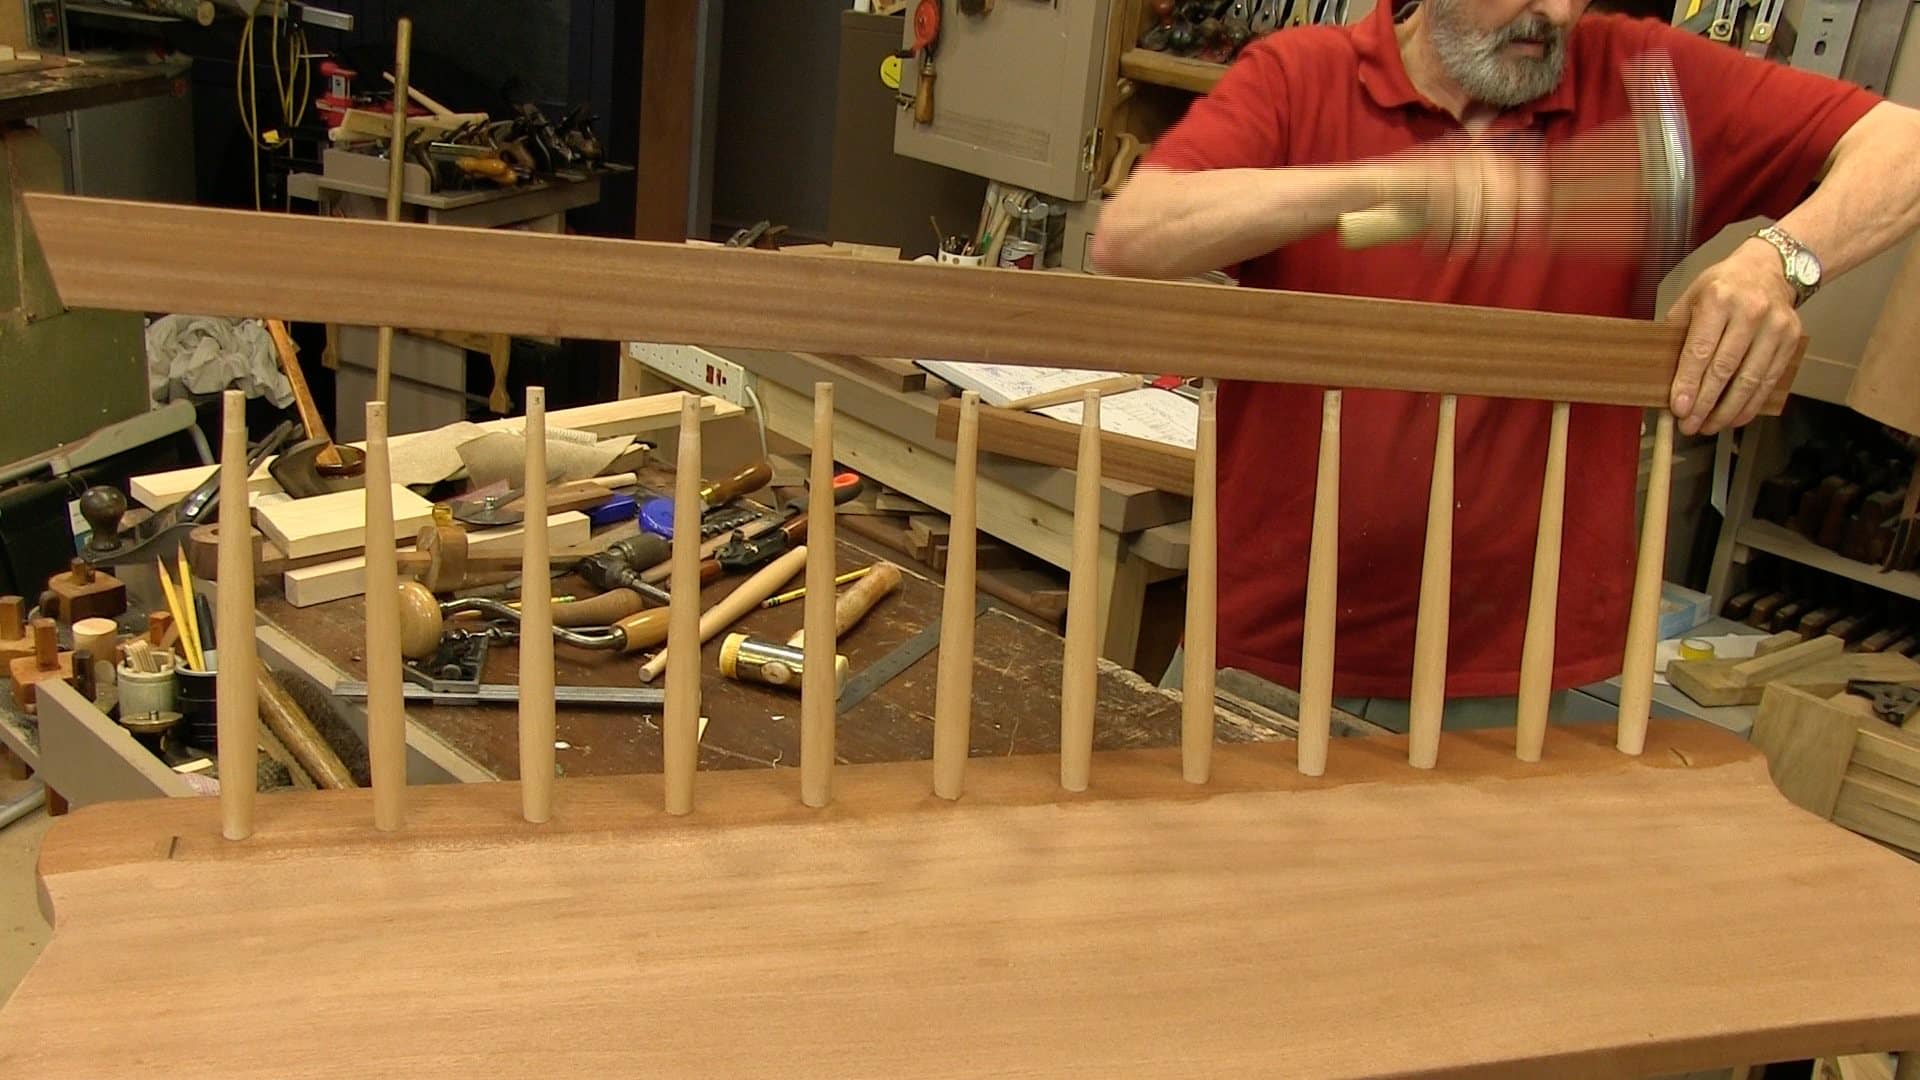
The next stage of this project it to cut the tapered comb rail. Paul then lays out and bores the holes for the spindles in both the seat and the comb rail, using a couple of different techniques to make sure the holes are bored at the write angle, and not to deep. He also cuts the angle on the ends of the comb rail.
Great video Paul I don’t think it is something I will be making any time soon but I very much enjoyed watching you making it, and I don’t doubt that I have picked up a number of processes that I will use
Thanks
This is a great series to follow and I will be making this in the near future. Because the one I have now is falling apart. My workshop is located at my attic where I also have a roof terrace (not sure if this is the right translation). It would be lovely to sit there on such a nice bench while taking a little pause from work in progress or whatever reason.
The glue up was pretty exiting to watch, but in the end Paul gets it done as intended and as usual. It’s amazing that Paul always answers the questions I have during an episode. He can either read my mind or he just knows what questions might come up.
Did I spot a different knife? What happened to the Stanley?
Thanks.
Wonderful! I would never have dreamed that such perfection in the sizes of the spindles could be achieved without using a lathe. As always, the simplicity of the tools (such as the shop-made jigs) have made this a project that can be constructed with a “minimalist” set of tools. Paul, the lessons you have given in this series (as well as others, of course) will translate not only to this bench, but to a myriad of other projects! As always, I look forward to your next lesson. My sincere thanks for all you do!
28:12 what brand/model brace is that? I don’t have one or bits for one yet.
Simply amazing. Thanks Paul.
Much enjoyed this project, as well as the others.
Greatly looking forward to Paul’s next project which I hear is to be called “Chainsaw carving for Dummies”, a slight departure from his normal style.
Should make fascinating viewing…
I know I’m late watching and commenting but that was pretty amazing – I felt nervous, hoping that nothing would go wrong during the glue up. Thanks to the team for another great episode!