Sofa Table: Episode 5
Posted 7 May 2014
This is an episode in a paid series. Want to watch it? You just need to sign up as a paid member, and you can enjoy this video and many other videos we think you will love.
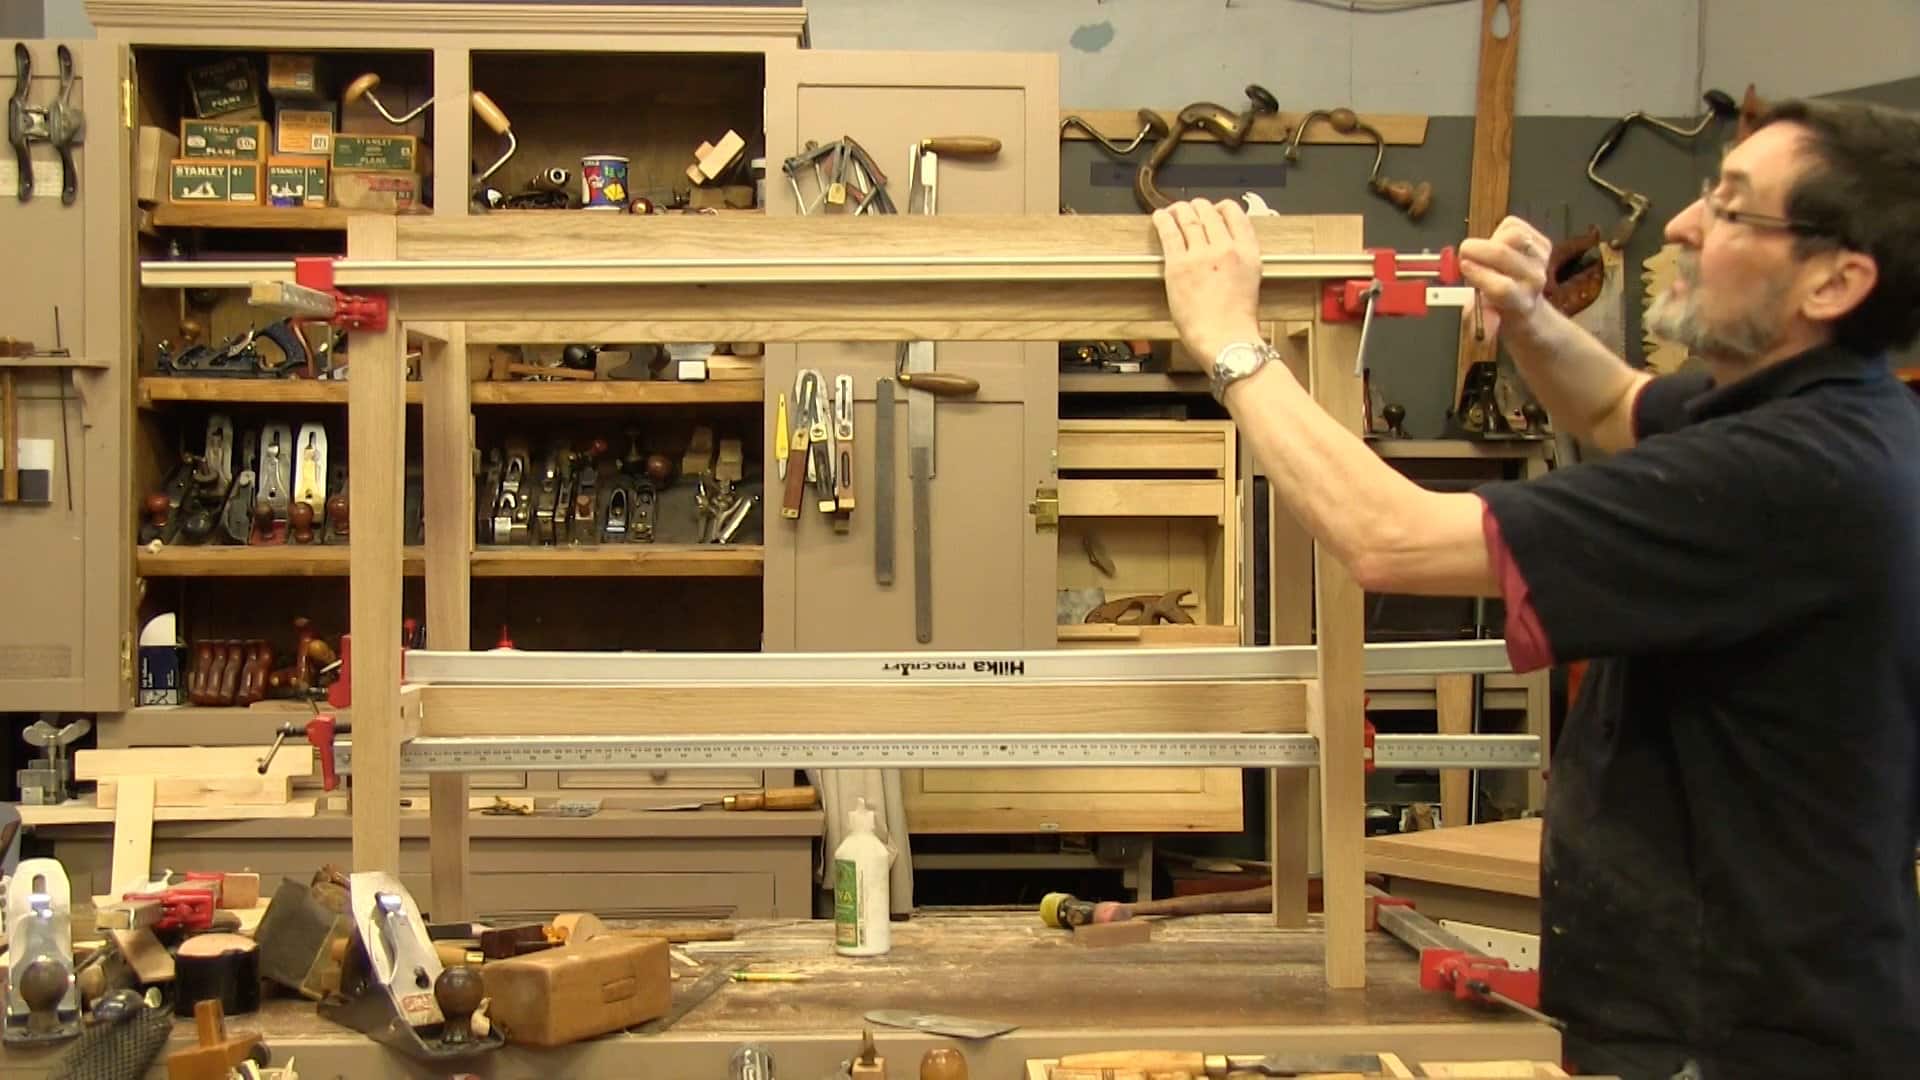
Paul chamfers the mortises that take the tenons on the long rail and then cuts the wedges that will help hold it in place. The last step before gluing up is to do a dry run. Once this is done Paul glues up, discussing what to look out for. Don’t forget to check for square!
glueing up is an art all of its own thanks for taking the time to help us avoid the pifalls
Can’t wait to see the contrasting colors on the bottom tenons once planed flat and smoothed. A real pleasure watching you work and check yourself all along the way. Your joints are always perfectly seated, and your dimensions perfectly square. Thanks Paul.
Sawing that last little wedge…….man, that’s accurate sawing!
Great episode as always! Paul, I keep a short metal stool (about 9″/23 mm) such as the ones used to assist hospital patients get into bed under my bench. It has splayed legs to prevent tip over and has a rubber non-slip top, as well as crutch tips on the legs. It really comes in handy when I need a little extra reach and doesn’t take up much room. Can’t wait until next week’s episode!
I’ve had that happen Gary. It usually is at 26 min 12 seconds. Not sure why. Just press F5 to refresh and you can move the slider to restart at the stalled point.
The video ended abruptly and didn’t appear to be to the end. Great video though. It never fails that I learn something with each of these videos even though the process has been shown many times over the other projects. I haven’t started this table yet but my wife is sure excited about getting one soon… I’ll use that as leverage to buy a new tool. :-).
Paul and crew another great episode, seems like every week I see and learn a couple more things. I have a question though and if it has been asked before I apologize. Paul I notice you use a White PVA glue which I have never seen before perhaps it is available only in the UK ? I never have seen you use or talk about hide glue, is this a type a glue you use sometimes? I use hide glue a lot and like it, I am just curious.
Keep up the great work and looking forward to many more classes.
Steve
Steve, Elmer’s Wood Glue is a white PVA you can get at any Big Box. Couple advantages I have found is that it has a longer open time then yellow and it dries clear.
Thanks Brett, I will have to try some Elmer’s Glue, for what ever reason in all my years I have never used it. I do like my hide glue but want to try Elmer’s.
Steve
I think I’m beginning to be like Pavlov’s trained dog. I automatically start a smile when the intro music starts. It’s like seeing an old friend after a long separation Good stuff again
I don’t recall seeing the following during previous projects. On this one, I see a lot of pencil lines remaining. It seems to me they are easier to remove before assembly. So, the question… How do you remove them? (A magic potion would be a good answer.)
Thanks once again for reinforcing a methodical, accurate approach.
Bob, A couple things you can do to remove pencil marks:
1) Pencil eraser
2) Sand them off
3) Acetone solvent
Thanks Brett,
I use all of those, with alcohol as a safer alternative to acetone. Yet, I use them BEFORE assembly. The question is about how it’s most easily done AFTER assembly.
.
It’s great that your diagonals worked out at exactly 930 mm after gluing up.
But you mentioned that if they were not true, there is a method of curing the racking to get a truly square table.
What is that method?
.
I really so no advantage to gluing everything at once. Seems as if it made the glue up exponentially harder than it needed to be. I’ve done a lot of similar projects and would always glue the end panels and then connect them with the long aprons and stretchers. Much easier to fit joints and keep everything square. Maybe this had more to do with video production efficiency than actual best practice.
Wonderful work though. I am amazed at the quality and speed of your saw work. Truley a high standard to achieve.
Would love to see this with 2 or 3 drawers .How would you do the center supports and drawer guides?
Hi Bryan,
Paul suggested you take a look at the Console Table as that will show you how to install a drawer.
Kind Regards,
Izzy