Wall Hung Tool Cabinet – episode 10
Posted 27 January 2016
This is an episode in a paid series. Want to watch it? You just need to sign up as a paid member, and you can enjoy this video and many other videos we think you will love.
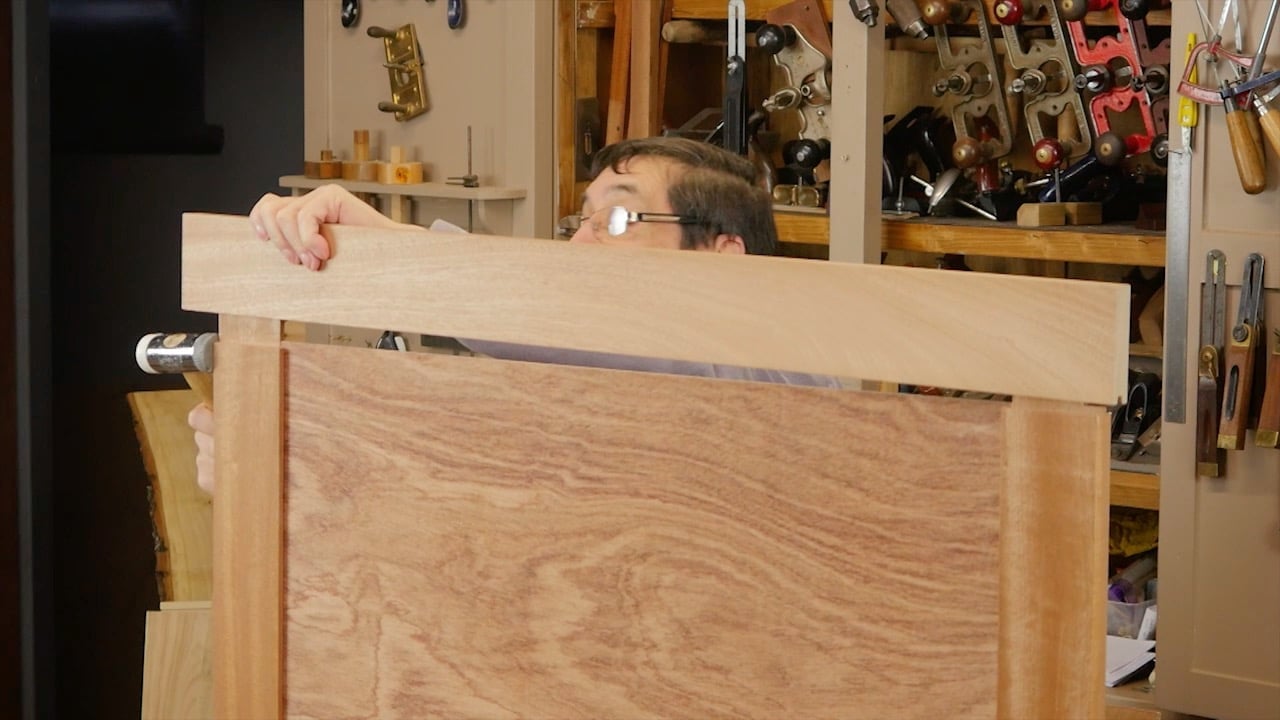
The next section is the back frame, which holds the main carcass square and solid. Paul lays out the mortice holes and then it is time to plough the groove and cut the mortice and tenons according to the drawings and using the same techniques as the divider panel. With that together Paul measures up and cuts the plywood panel, before checking the whole frame for fit and gluing up.


😉
Very good tips on making the back panel square. I’ve been using the knife cuts now and it is making a big difference. Keep teaching and I’ll keep trying to learn. Thanks guys.
Coming along nicely, My next project sorted.
Hi Paul
Excellent video as always, some helpful tips in this one.
On a side note, I’ve noticed in your recent videos you’ve been using some new sash clamps. Can I ask who your supplier is for these? Thanks
Is anyone haveing a pause and then play of the video I have a real problem which they say no one is having!
Have you tried pressing the HD button to get it to play at a lower quality?
Would you be using small blocks of wood to prevent back panel from wobbling and producing that noise (like you did for drawers in tool chest?)
Thanks again, Paul. Not sure why I’m so hesitant to jump into frame and panel joinery. I’ve done grooves, and I’ve hand cut mortise and tenons on table aprons before. Guess it’s time to follow your excellent guidance and just go for it. I still struggle with the usefulness of haunches, but I always use them anyway. Your episode 10 instructions, as always, doesn’t seem to have left anything out.
Thank you for the lesson.
what is the advantage of the frame over rebating plywood (maybe thicker) into the back of the cabinet?
George,
The frame, I suspect is there for a couple of reasons – Paul already mentioned when he was discussing the small dividing panel that it was not Strictly necessary, but he said to view the whole piece as a Training Exercise. Also aesthetically, the frame and panel back is more pleasing to the eye, it will be seen when the tool cupboard is open. Paul also said it would be well to think of the tool cupboard as an Apprentice Piece and also as an advertisement for the quality of your workmanship – Hence the frame and panel over solid plywood for the back
what is the advantage of the frame over rebating plywood (maybe thicker) into the back of the cabinet?
Dear all,
we received a couple of comments in reply to slow download. Please, use the comments to comment on the project, any technical issues, please send them directly to:
https://woodworkingmasterclasses.com/contact/
Happy woodworking, Resi
What is the hardness of the pencils you use?
Hello Daniel. They are HB no2’s.