Tool Drawer Organiser: Episode 2
Posted 6 March 2019
This is an episode in a paid series. Want to watch it? You just need to sign up as a paid member, and you can enjoy this video and many other videos we think you will love.
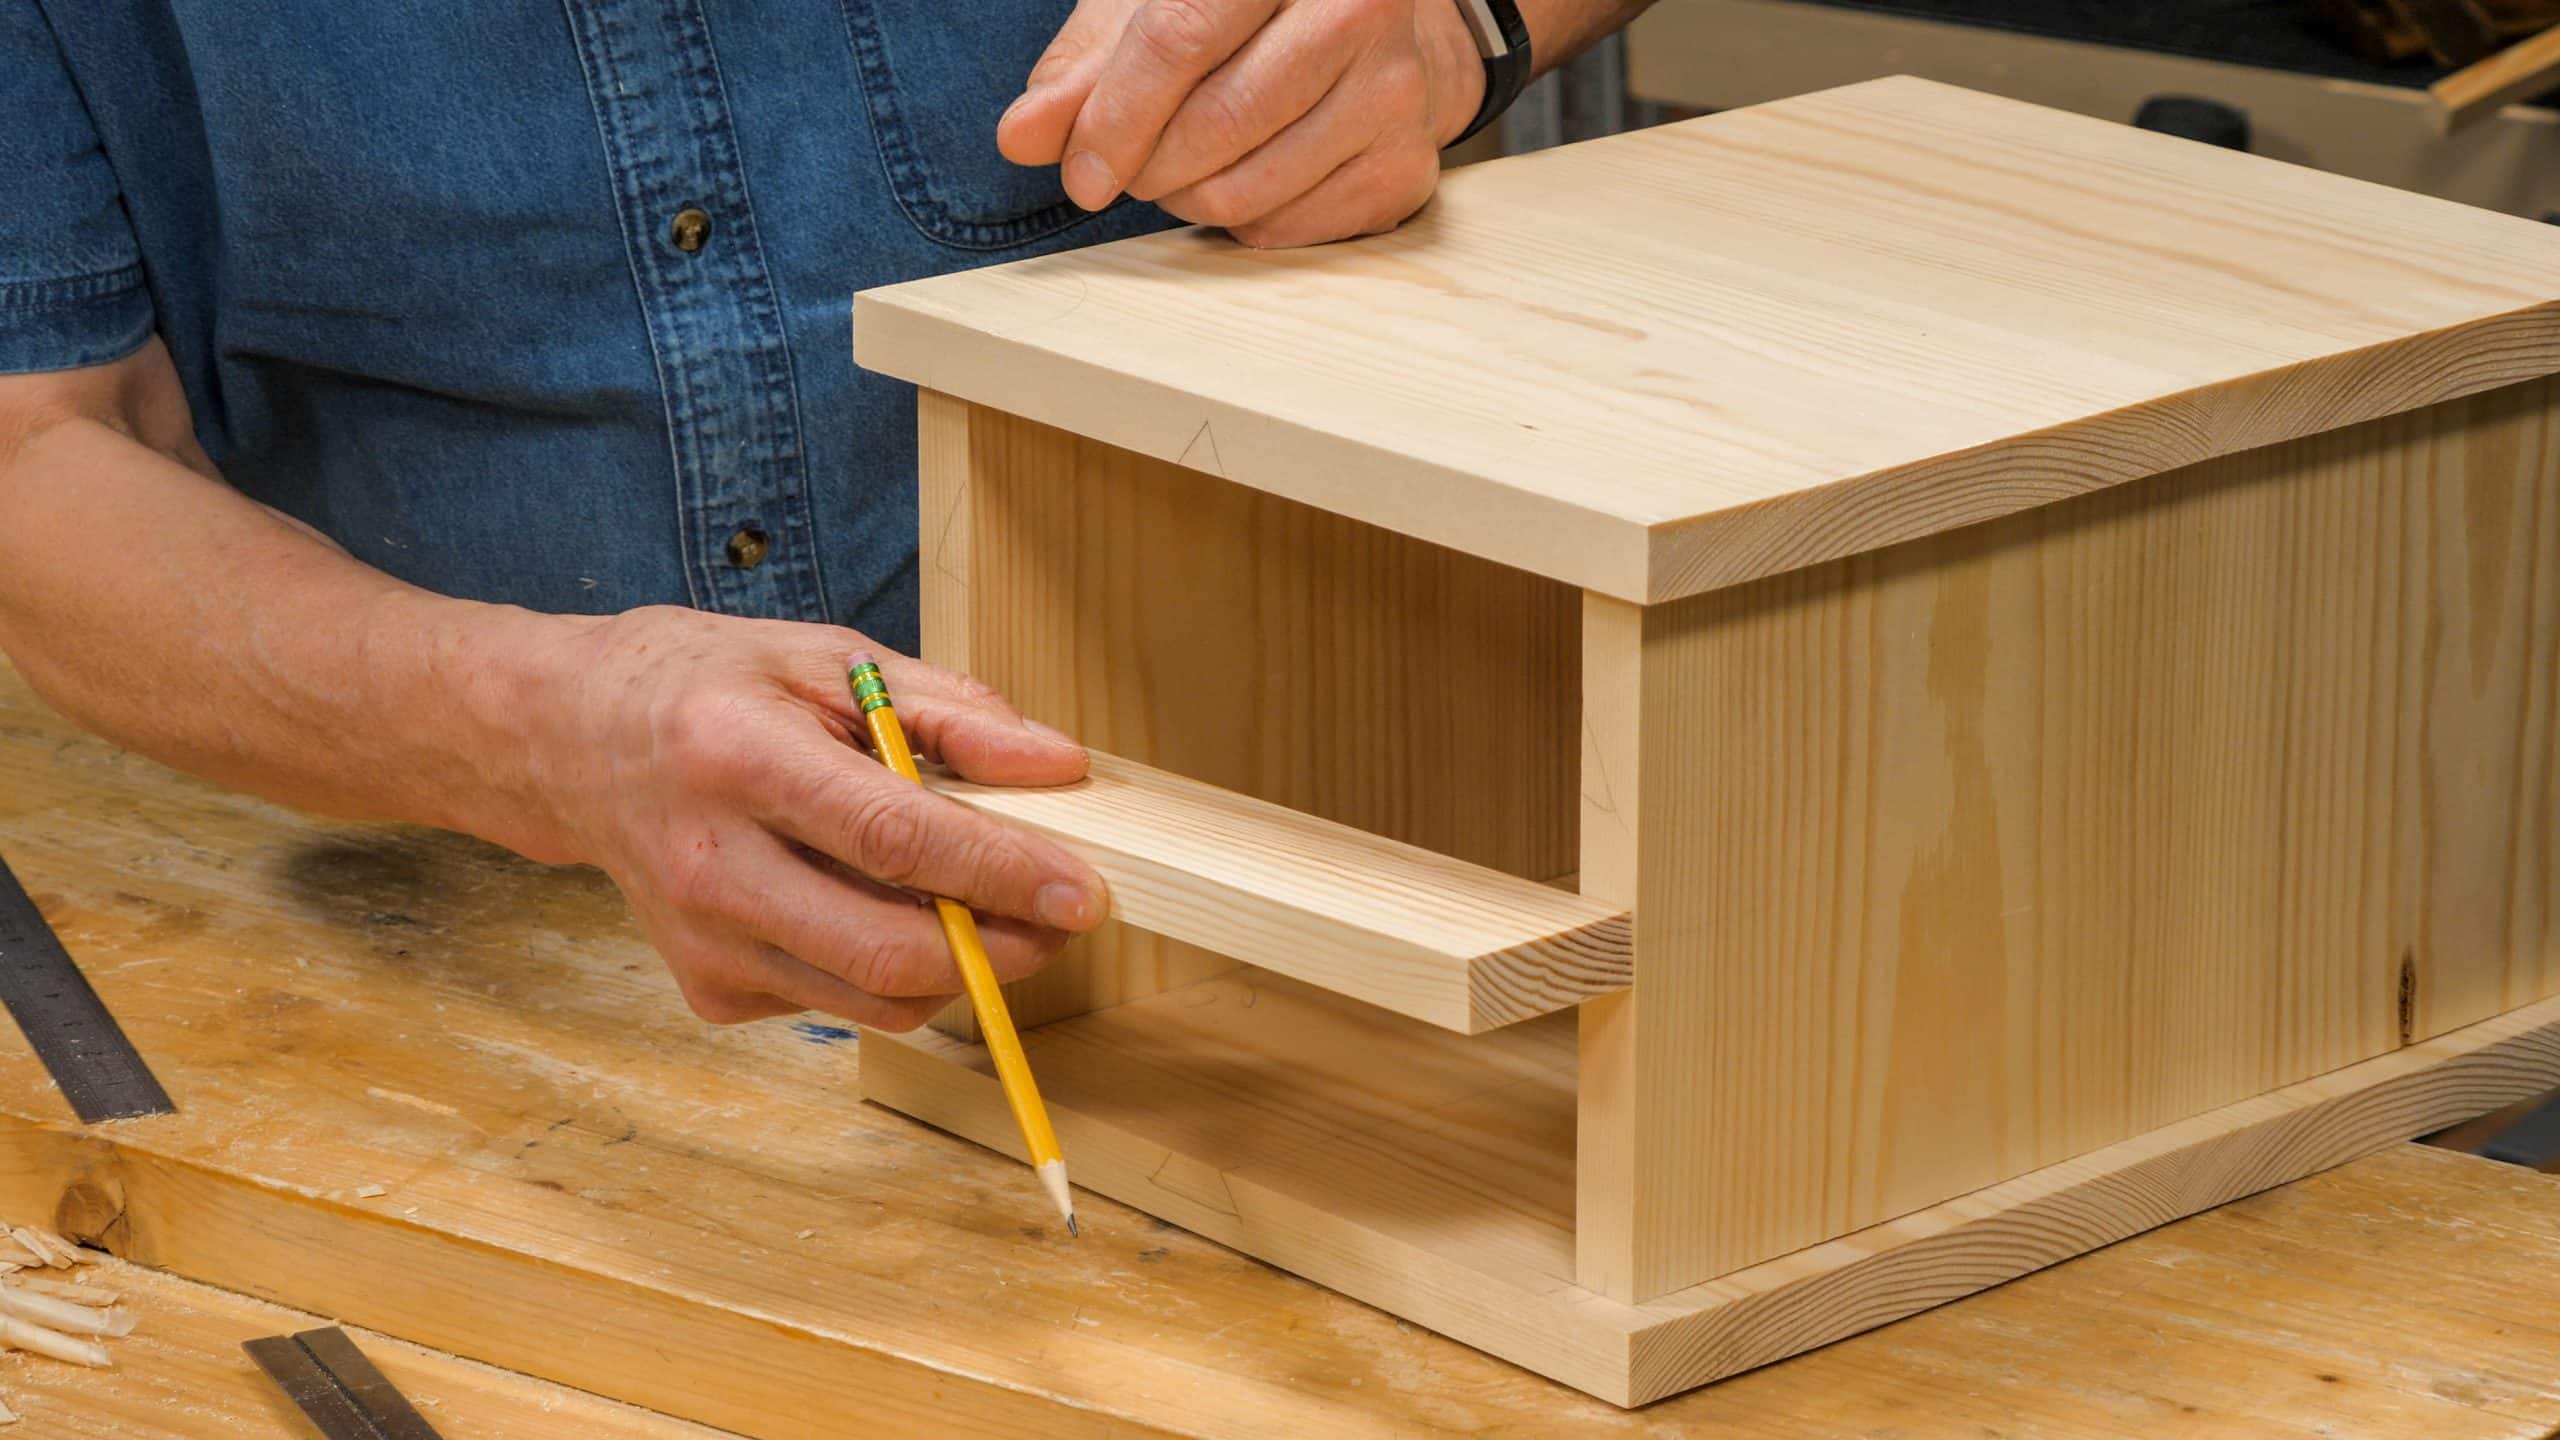
Paul starts off with some rather wavey wood and shows us just how to handle it when marking out the stepped tenon joints on the side panels. We are then presented with a whole range of options as Paul cuts, shapes and pares down the tenon sections for a neat fit. He demonstrates how the joinery can be used to straighten the warped wood, before moving on to mark out the location for the shelf divider.


Could I use a skewed rebate plane (stanley No 46) to cut these, or am I looking for trouble?
Or perhaps the Lee Valley skew rabbet/Fillister plane?? I have the same question.
I guess that Paul’s goal is to show how to create projects/joints with a minimal number of tools/techniques involved. Most of Paul’s joints seem to revolve around the use of saw and chisel, or, tools to which most of us have easy access.
That being said, if you have a skew rabbet, go for it. =)
Also I guess using the techniques shown gives you more control over the crispness of the shoulder lines. You cant beat a pare cut sholder with a 46 or a 78.
I was wondering why dadoes rather than dovetails as if one were building a small chest of drawers? Is it aesthetic or functional?
Hi,
Paul says:
No particular reason, except we are using this as a training project as with all our projects. This is not a joint we have demonstrated before and the project was ideal.
Kind Regards,
Izzy
Can you do a rabbit using these same techniques on the long grain side of the board?
Hi,
Paul says it’s more complicated because the orientation of the grain makes it more difficult to split but it can be done.
Kind Regards,
Izzy
Excellent video, but this was a great opportunity to show us, also, how to set and use Rabbet Fillister plane with a spur across the wood.
Not a question but more of a comment: I wish Paul would go over the complete layout, rather than say the other one is done the same (I’m speaking about the last couple minutes where he lays out the tenon side walls)… I’m dense and seeing is knowing!
Why not just replay the layout part of the video? If it’s all done the same, doesn’t replaying the relevant instruction accomplish the same thing?
It does provided it’s *exactly* the same.
I wondered if there’s a more accurate way to make the first horizontal knife wall for the second mortise hole, to ensure the separating rail is precisely horizontal – i.e. some way to square across the marching knifewall from the other side. I guess there isn’t, so you just do the same process being careful to measure accurately!
I don’t always attempt the projects Paul makes videos of but I always learn something new just from watching him work and narrate. Thank you, Paul, for these videos!
Nice fit bit paul
I tried the dry fit of the carcass and realized I have a twist in my top board. Should I route a deeper hole to offset that? Not sure how to continue, the top was flat but I took a two week pause and its twisted on me now
The tops and bottoms of the side pieces define flat and true. They are stout and strong and should resist the twisting of the top board. I’d double check that the ends of your side pieces are parallel and out of twist with each other. For example, you could stand them up parallel to each other and put winding strips across them. Then, try the dry assembly again but with clamps. See whether clamps will pull that twisted top piece into true and that the whole structure looks flat and true once clamped. I expect it will look fine. If so, then I’d just glue up. Since these are simple housings, they rely 100% on the glue, so I’d probably add a couple screws through the top into the sides (drill, clear the shank, etc.) and hide them with plugs. Plan B is plane the top board flat again…get the twist out. Then, recut the housings. This will leave you with a thinner top, but it may not matter and may not even be visible, depending upon how much twist you have.
Thanks Ed! That helped and it’s all good now!
Glad it worked! After some more thought, I think the sides do more to constrain cupping rather than twist. For twist, the sides produce a tug-of-war between the top and bottom. I’m not sure how much the drawer supports contribute. In any case, I’m glad it worked.