Keepsake Box: Episode 5

Keepsake Box: Episode 5

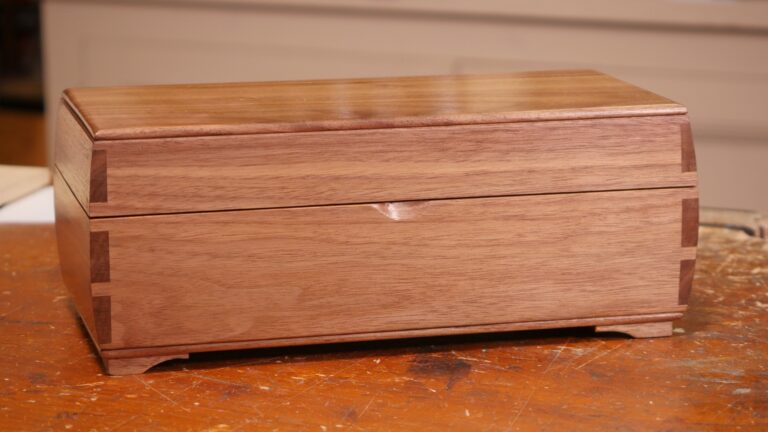
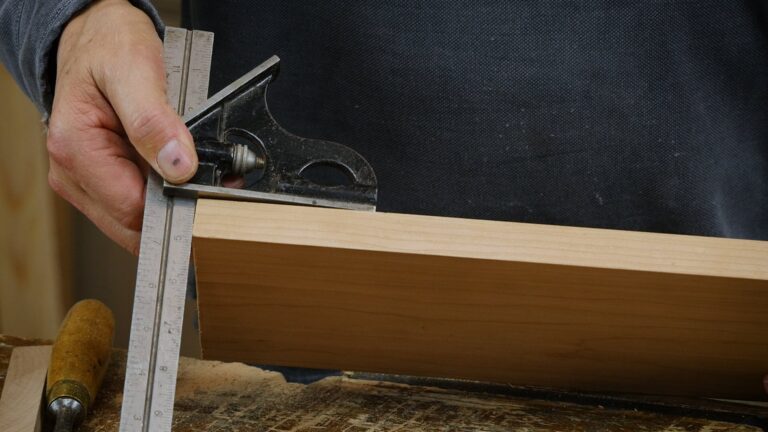
With the box construction complete, it’s ready to be finessed. Paul refines the shape of the feet, and scrapes and sands the surfaces in preparation for applying a finish. Shellac is then applied with a brush for an even, durable finish. The last few finishing touches are to fit a stay, in this case using epoxy, and fit a leather lining in the bottom of the box.

Keepsake Box: Episode 4

Keepsake Box: Episode 4

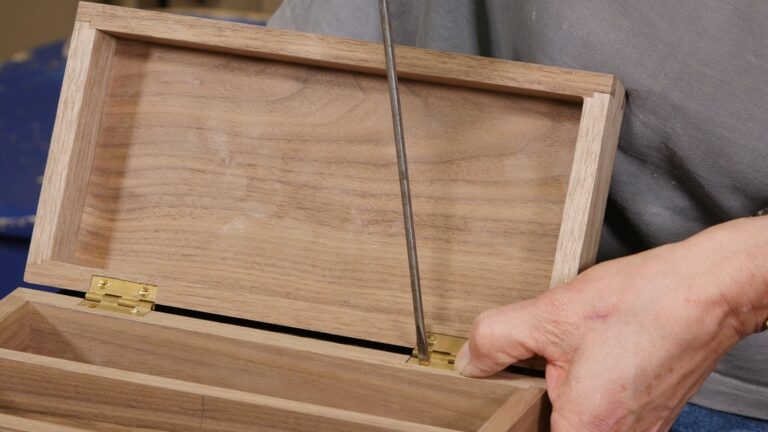
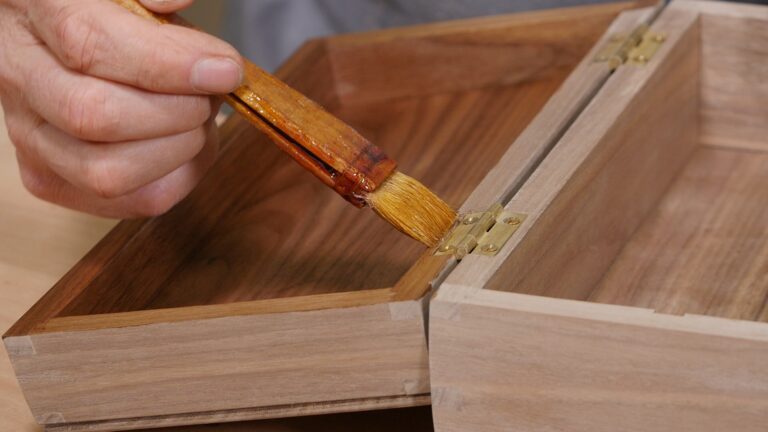
Paul fits the optional divider to the inside of the box before laying out the hinging. The hinges are fitted to the lid, then onto the main body of the box, with care taken to transfer and align the hinges. You may need to make some micro adjustments for alignment of the lid. With the box back together, the joint lines and overall shaping of the box can be refined. Then Paul carves out a small finger recess and cuts and fits some feet.

Keepsake Box: Episode 3

Keepsake Box: Episode 3

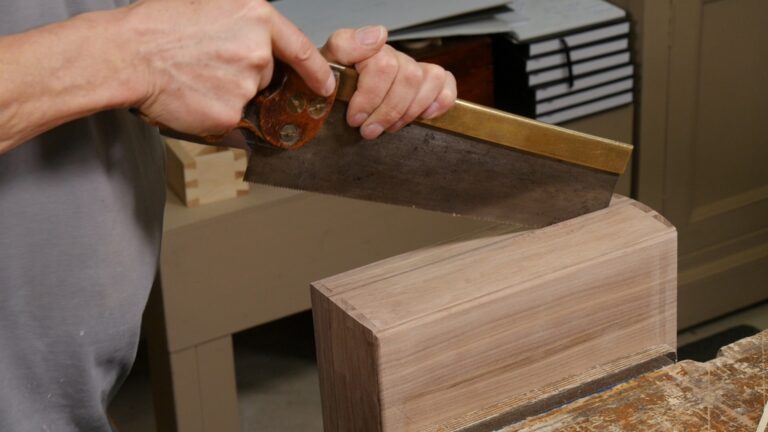
Once the rehearsal and dry run is done, a few adjustments can be made before rounding and beveling the rims of the lid and base. Then it’s time to glue up, ensuring tight joints. Once the box is cleaned up, it can be sawn in half before the joining edges are planed.

Keepsake Box: Episode 2

Keepsake Box: Episode 2

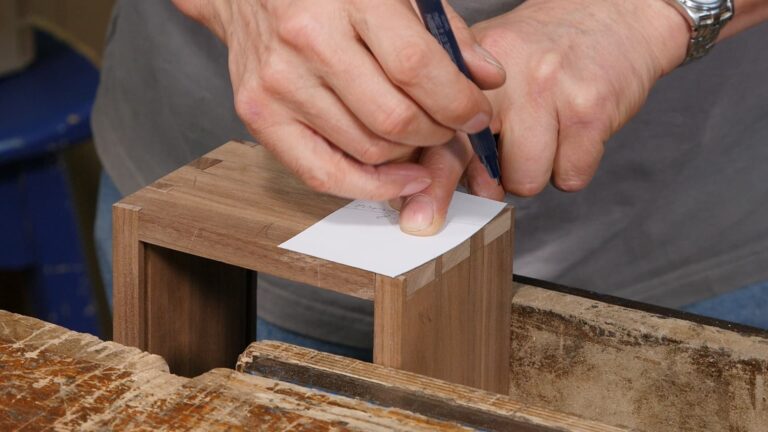
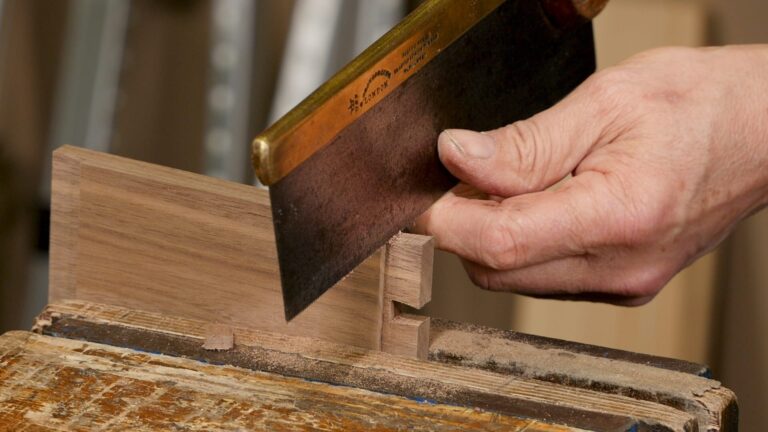
The next step is to size the top and bottom in preparation for cutting the grooves and rebates in their edges. Paul uses a cutting gauge to minimise damaging the edge when using the plough plane. The rim is planed before the sides and ends are grooved to receive the lid. Then the optional housings for the divider can be cut and the sides can be rounded. The final step before gluing up is to cut the pins flush with the main body of the box.

Keepsake Box: Info Page

Keepsake Box: Info Page

Paul introduces a brand new design. This highly defined and refined keepsake box features curved sides with stepped and angled dovetails. With its floating panels, top and bottom, which are fitted into grooves, Paul created the dynamic allowing for expansion and contraction. This might make it seem a complicated project, but Paul takes you through it step by step to make an heirloom piece. It can be scaled and customised for a variety of uses.

Chest of Drawers: Episode 15

Chest of Drawers: Episode 15

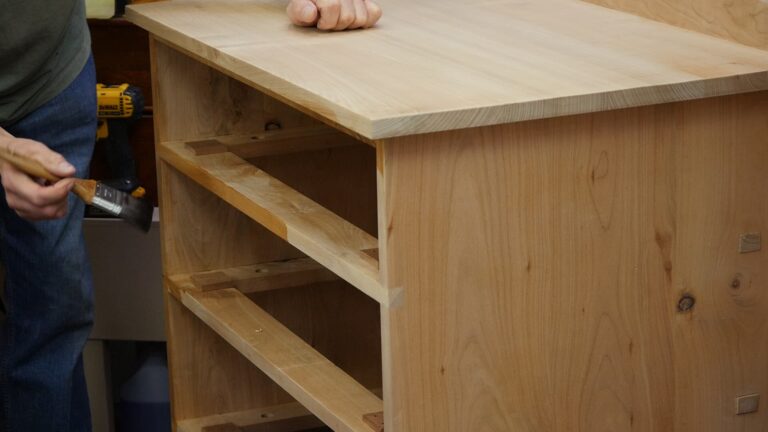
Once the drawers have been checked for fit, they are ready to glue up. The sequence and other essential details are clearly shown to ensure a smooth process. Once the drawer bottom is in place, the drawers can be carefully fit to the carcass and finessed. With that complete, including some drawer stops, the chest and drawers are ready for some shellac.

Chest of Drawers: Episode 14

Chest of Drawers: Episode 14

We’re ready to put the grooves in the draw bottoms. Paul holds the piece using the clamp in the vise method and a cuts the groove with a carefully set plough plane. Then the draw backs are planed in preparation for cutting the housing dado. These are then cut using the knife, chisel and router, before the backs are fitted to the correct length.

Chest of Drawers: Episode 13

Chest of Drawers: Episode 13

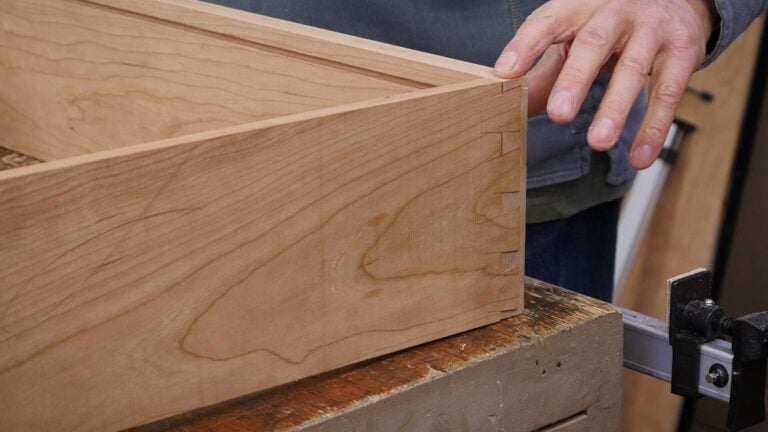
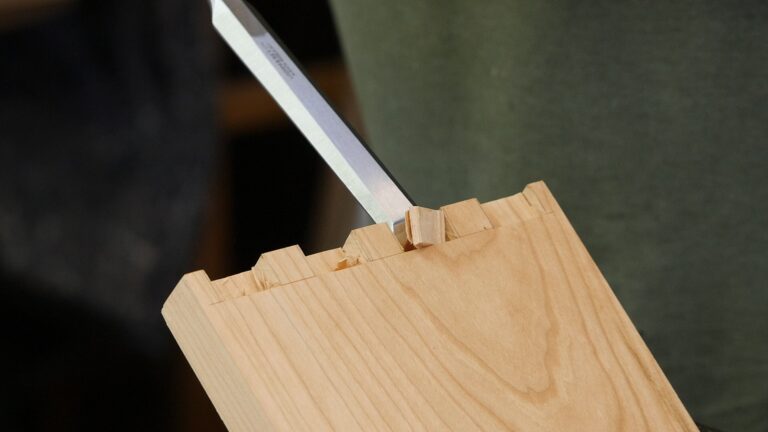
Drawers are the focus of this episode. Paul planes the sides to fit, before carefully laying out the half-lap dovetails. He cuts a small rebate to help align the dovetails. Then the dovetails can be cut before the marking is transferred for the tail recesses. The recesses are then cut within the lines so that they can be pared for a tight fit.