Keepsake Box: Info Page
Posted 18 May 2017
This is the introductory page for a paid video series. Want to watch more of this project? Select the best option below to get started.
Description
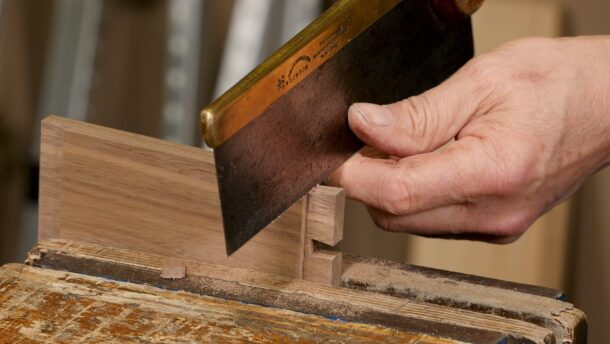
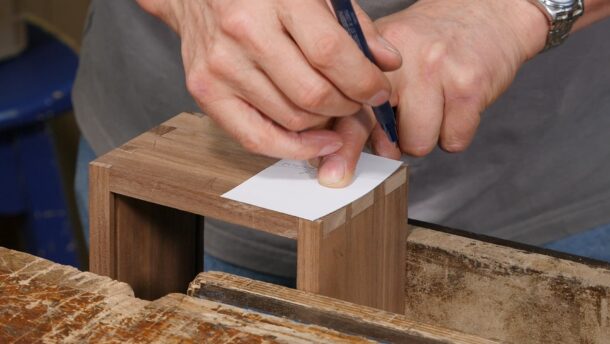
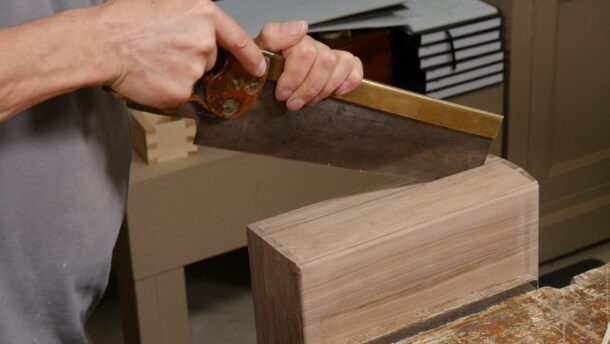
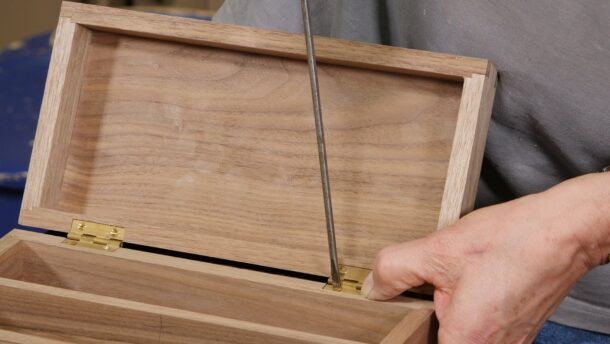
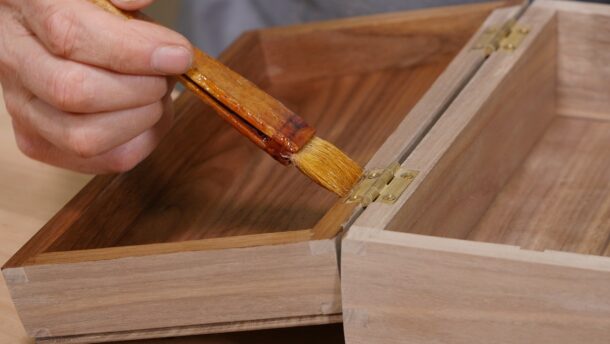
Paul introduces a brand new design. This highly defined and refined keepsake box features curved sides with stepped and angled dovetails. With its floating panels, top and bottom, which are fitted into grooves, Paul created the dynamic allowing for expansion and contraction. This might make it seem a complicated project, but Paul takes you through it step by step to make an heirloom piece. It can be scaled and customised for a variety of uses.
The tools you will need are:
- Knife
- Square
- Combination gauge (or marking gauge and mortise gauge)
- *Cutting gauge
- Tape/Ruler (or both)
- Sliding bevel
- Dovetail template
- Chisel hammer
- Chisels (at least 1/4″, 3/8″, 1/2″, 3/4″ and 1″)
- Hand router (see how to make a ‘Poor Man’s Router here)
- *Small router (or narrow router blade)
- Smoothing plane (No 4)
- Spokeshave
- Plough Plane (3/16” or 5mm cutter)
- *Bullnose plane
- Handsaw
- Tenon saw
- Dovetail saw
- Screwdriver
- Square Awl
- *Winding sticks
- Card scraper
* = optional
Joints List:
- Stepped, angled dovetails
- Housing dados

Looks like great little project! I can already think of a few people that this would make a great gift for. Just need to finish off my coffee table first!
Great project!! Love the box when IT curved like that!
looking forward to this
A great looking project. Just in time to make a few for Christmas presents ( I’m very slow).
Can’t wait, thank you.
A great looking project i am looking forward to this one thank you and take care .
I can’t wait to get stuck into this one, I appreciate that you always follow large projects with smaller ones- you do well at catering to those of us with different abilities and workspaces, thanks!
I’m looking forward to this. I made a box with a raised panel top that opened in the middle last year and I was thrilled to find out that Paul took a saw through the middle in order to make the top and bottom (I was relieved to learn that I did it right when I had no prior experience doing it)!
Interesting that the PDF drawing is from Paul for this project (instead of the design and drawing by Greg). This project looks very exciting and will make for many useful gifts!
Paul… Because of my old age & arthritic hands, I usually just watch the video’s and believe me I almost enjoy that as much as doing the project. But this time I think I’ll give it a shot. Looks too interesting not to!
Thanks for helping my enjoyment of woodworking….
John Mahoney
Was planning to make a box for my wife to store various odd bits in for her work desk at home. This looks perfect for that. Thanks Paul.
This will be a lot of fun, I can’t wait to build it.
Ive been meaning to make a cigar humidor, i may end up making a few of them!
I avoid Spanish cedar because of the dust, but this project looks small enough to tolerate.
Hi, (not sure who to address a query to)
I have been re-running the video on saw sharpening, a most excellent production.
My query is; have you produced plans for the tall saw clamp Paul uses in that video?
My bench is quite low and a little cramped and the tall saw clamp Paul uses looks to be very useful?
There used to be a professional saw sharpener in town, he has moved to a bigger town and your video opened my eyes. Yes striking an old nail is not a problem.
Have even purchased a No. 4 plane and following Paul’s video and a few hours cleaning and papering have an almost shinny tool albeit with a couple of previous owners markings.
Thank you.
John
Hello John,
You’re probably better off using the contact tab or the forums for this kind of question in future, or in the saw sharpening video comments. There are some details available here, but that’s all there is I’m afraid:
https://paulsellers.com/2012/06/solid-saw-chocks-simply-made/
Hope that helps.
I love the box. It’s going to be an xmas present for my wife. I have some teak planks in the workshop that have been waiting for a suitable use – and I think this box will be just the trick.
I’d also like to see a design for a saw sharpening vice please Paul (John Blundell, 20 May). I’ve never sharpened a saw in all my years as a woodworker (shame on me..!) but having recently bought a Lie Nielsen dovetail saw and carsass saw, I doubt I’ll trust those superb tools with a man with a machine. I need to man-up and use the saw files I have sitting unused in a drawer..!
Hi Paul,
This is the perfect gift for my niece. I am going to have to find another way to cut the top from the box. With my limited vision, I haven’t cut a straight cut yet. even with guides to track the saw. My thoughts are to cut the pieces first and glue them back together for cutting the joints.
Any advice is well appreciated.
Thanks,
Paul Benoit
Looks like a nice box for my daughter, and a nice twist to the dovetail box with addition of curved sides.
In which wood pual made it?
Hello Eran,
It is black walnut.
Best, Phil
Are the cut list thicknesses correct? The top and bottom are shown as 5/8″ but the dimensions add up to 9/16. I’m wondering if the sides and ends were meant to be 5/8″ and the top and bottom 9/16″. Great looking project – I’m going to start on one today!
Regards, Harry
Hello Harry, it is slightly thicker to allow for planing the surface without ending up short. More critical with these finer projects.
Hi, I just came here with the same question. It seemed to me that all the pieces should be 9/16”. Now that I’ve thought about it more, I can see that the 5/8” top and bottom does work, but the thing I learned is to be careful which face to register the plow plane against when plowing the top / bottom. On my first attempt, it ended up that the (tongue?) on my top and bottom pieces will not fit into the 3/16” groove plowed into the sides and ends because the tongues ended up 1/16” too thick to fit into the groove. In my case, I think, this is because I registered the plow plane against the outside faces of the top and bottom pieces. I think it would have been ok had I registered against the inside faces instead. Some things seem so obvious in hindsight. I think I’ll be okay by planing the extra 1/16” off the inside faces of my top / bottom pieces, thereby reducing the thickness of the tongue.
Thank you for giving me the opportunity and skill level to build this box. It was deceptively taxing but has made a very well received and important present.
I just finished this project today. It was very challenging, but in the end, the box is a spectacular piece. This video is particularly helpful because of the subtle technical hints that make it possible to duplicate it.
Cutting those dovetails so they fit like a glove took many tries, but in the end if you watch how Paul does it, you’ll end up getting it right. The same goes for shaping the sides to the 10 5/8 radius. You’ve got to make the saw cuts to the exact proper depths to make this joint work. Your chisel work has to be pristine.
I would classify this project as in the “advanced” amateur skill set. It was a blast to make.
Hi all! Is there a functional/structural purpose for the rebate/rabbet in the box ends? I’m going to try this box. Thanks!
Jim
Hi James,
Paul says it assists alignment greatly and guarantees the exact seating of the dovetail positioning.
Kind Regards,
Izzy
Looks like a great project. Is there a technical reason Paul put the dovetails on the sides instead of front/back? Or was it just personal preference? Many thanks.
Hi Sam,
This was just personal preference.
Kind Regards,
Izzy
Could the rebates/rabbits on the sides be omitted
Thank you
Yes, if you are so inclined, the rebates can be omitted and frequently are on the insides of drawers where the internal aspect of the dovetail union is not a feature of the piece.
On this piece, when it is all assembled and glued, the shallow rebate obscures the inside section of the joint that may, in time, shrink very slightly when the wood dries out exposing the faint outline of the dovetails and pins. The overlap provides a clear line on the inside corner of the box.
Additionally, if you cut tails first and then mark the pins, it helps to locate the tails section securely and tightly against the side of the piece while you are marking the pins – reducing the chance of slippage.
So, it’s a matter of choice……
Good luck.
I follow Paul in using rebates and drawer fronts, where the joints should be hidden
Thank you very much
Your comment — “if you cut tails first and then mark the pins, it helps to locate the tails section securely and tightly against the side of the piece while you are marking the pins – reducing the chance of slippage.”__
Is very hard to visualize
I will have to do it myself to fully understand. I do learn by doing
Thanks
(It is wonderful that you guys are so responsive)
…” Is very hard to visualize
I will have to do it myself to fully understand. I do learn by doing”
You can see the action of marking the tails by holding the rebate tight to the edge in the first episode, about 23 minutes in.
omitting the rebate would make the end of the groove visible when assembled.
I just finished building this box. Material used: European Oak. Method: all hand tools, from a 5.2 cm thick plank of wood to finished product (I hate resawing by hand!!!)
It was my first ever woodworking project. It took me about a year to finish. Of course subjective, but in my view this is the most beautiful (pleasing to the eye) project from all of Paul’s projects, so that is one of the reasons I chose it. Other is the size. My workshop is a basement about 3mx1.8m, so smaller pieces are easier to manage…
Even with some clear mistakes visible, the box turned out beautiful and I am happy with the result. I would have never thought in my life that to make such a box takes so much time, effort, nerves, and skill.
I do not recommend this project to anyone just starting out with woodworking (like myself). This is a diffucult project and if you don’t have enought time or patience you might get discouraged…
Huge thanks to Paul and the team for making all this content and knowledge available to the world. The fact that it is for free is really noble from you.
Thanks and onto the next!
(The Desktop Organizer)