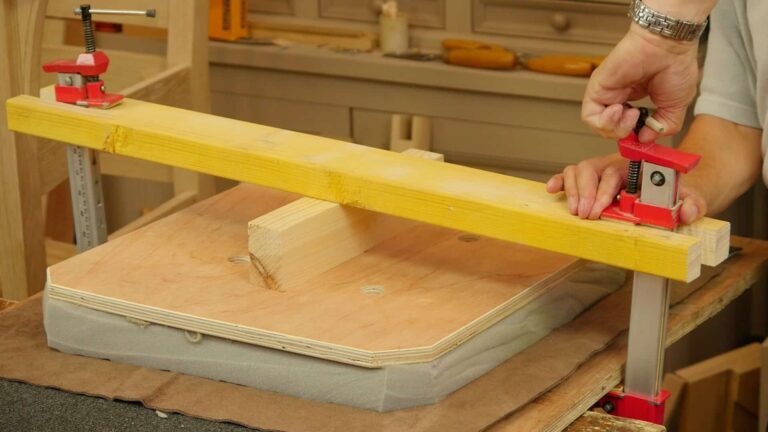
Chest of Drawers: Episode 2

Chest of Drawers: Episode 2

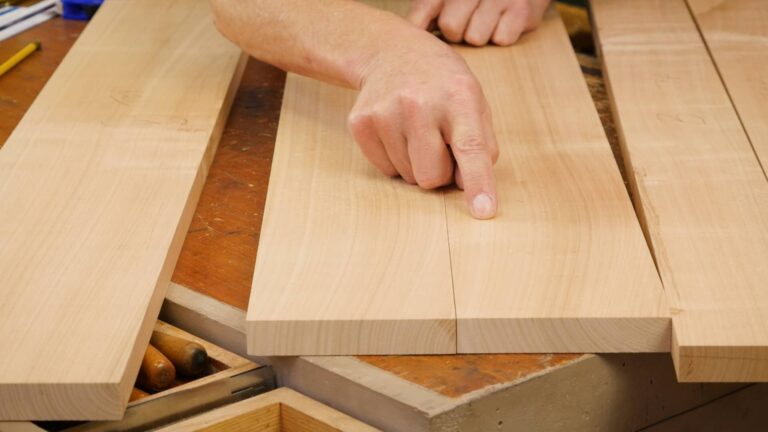
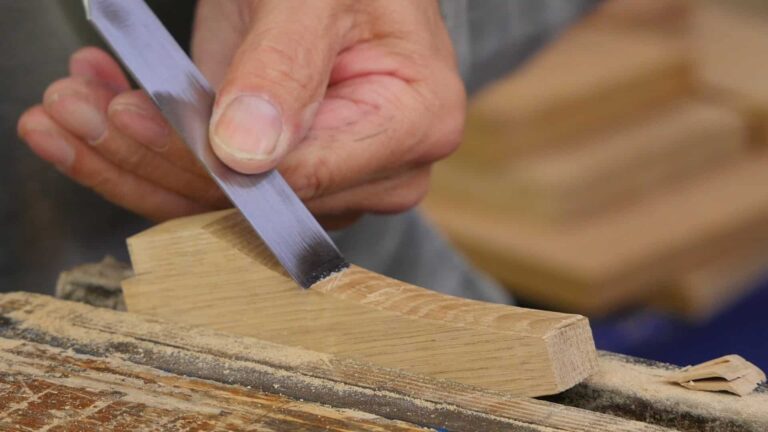
We’re ready to work on the panels. Paul shows ways to fill any knots and surface defects, using super glue, epoxy and wax filler. Then it can be planed, which can be tricky with adverse grain, or scraped before cutting the boards to size. Paul ensures it is square and accurately sized in preparation for the joinery.

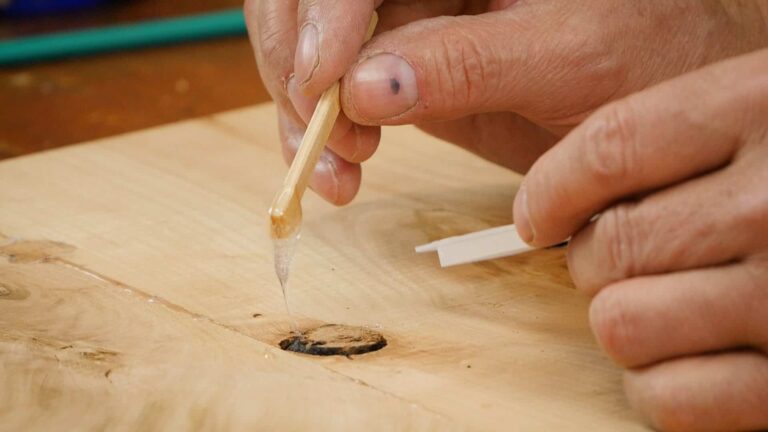
Chest of Drawers: Episode 1

Chest of Drawers: Episode 1

In this first episode of the Chest of Drawers series Paul shows how to pick and prepare the wood for the sides and top of the dresser. Paul discusses his preferences for the exact configuration of the boards that make up the glued panels. He also edge joints and glues up those same panels ready for the first stages of construction.

Chest of Drawers: Info Page

Chest of Drawers: Info Page

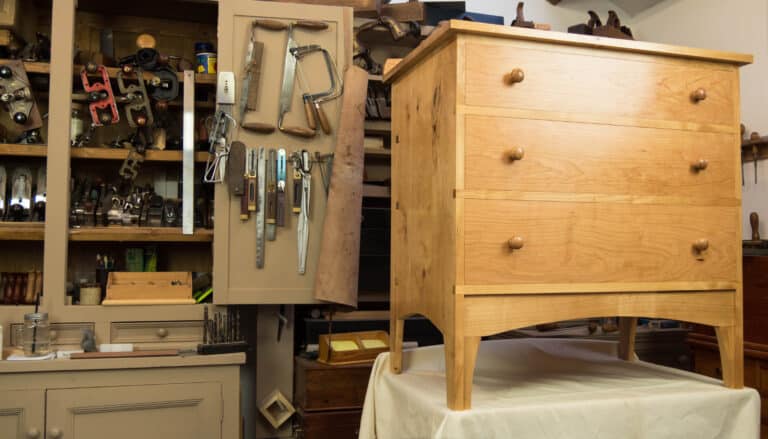
Paul has designed and made this Shaker-style dresser or chest of drawers to demonstrate the techniques and considerations needed in larger case work. There are features surrounding the joinery that allow for the contraction and expansion of the wood, yet the same joinery ensures longevity in a piece designed to last through centuries of use. It can be adapted to individual needs and specification and is a great project to advance your woodworking skills.

Craftsman Style Bookends: Episode 4

Craftsman Style Bookends: Episode 4

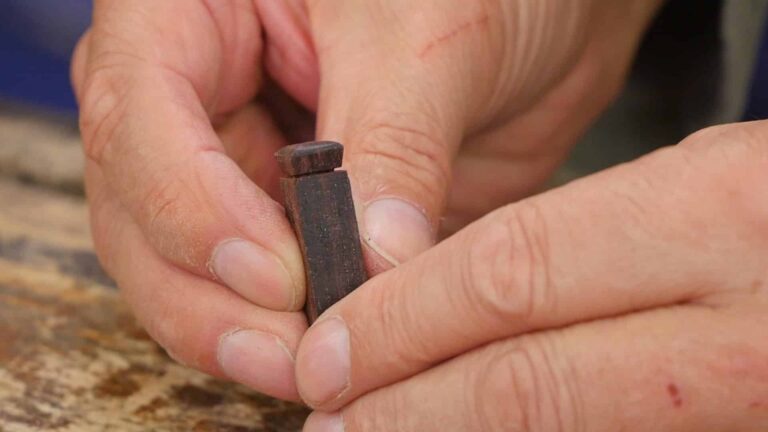
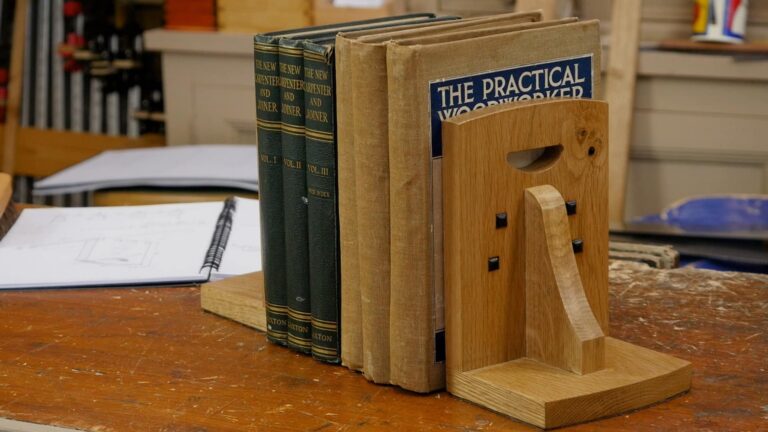
Two screws are used to help align and pull things together. Then Paul squares the hole in order to fit the square peg. That is all the construction and decoration, so it is ready for the glue up process. The screwed hole is then pegged and cut flush, then it’s the post glue clean up. The final step is shaping, recessing and fitting the base plate before applying the leather/felt to the base of the bookend.

Craftsman Style Bookends: Episode 3

Craftsman Style Bookends: Episode 3

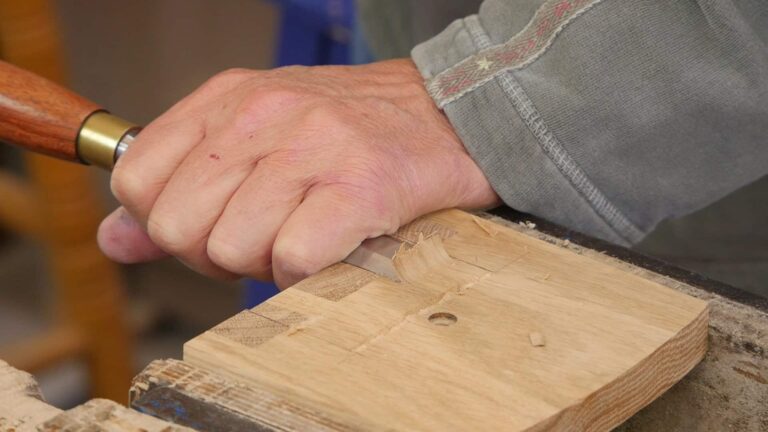
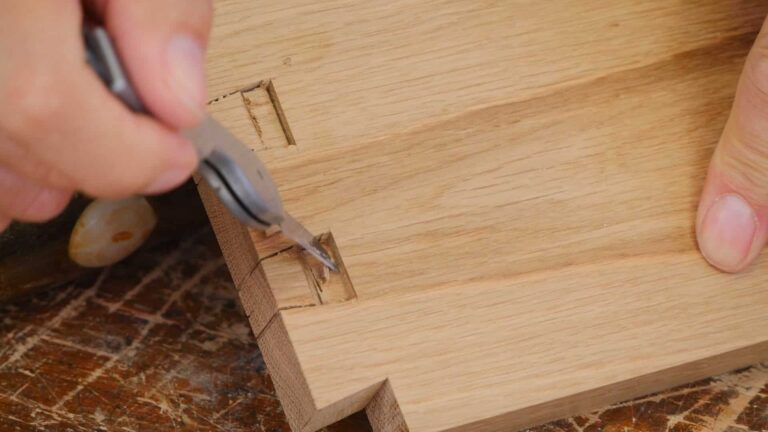
In this section Paul discusses the optional decorative features. He firstly lays out and cuts out the half moon recess using the brace and bit and the coping saw. Then Paul cuts square recesses and the corresponding domed squared buttons. This requires a high degree of accuracy to get completely square holes to the exact width of the chisel. The final step is to cut the buttons to shape and size, before gluing them in place.

Rocking Chair: Episode 14

Rocking Chair: Episode 14

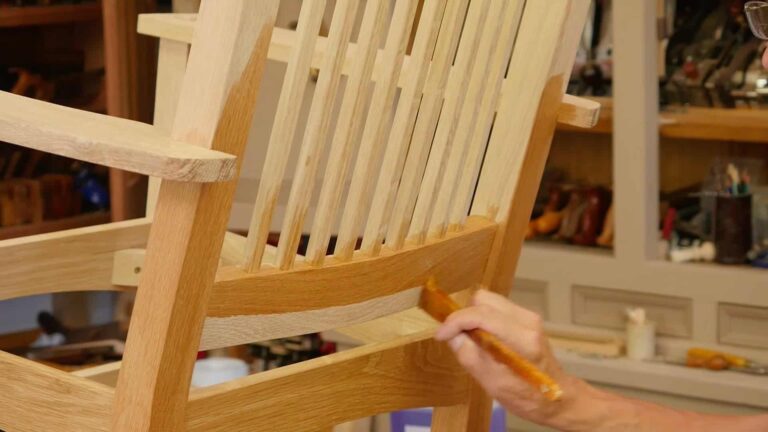
Paul applies a shellac finish to the rocking chair. He discusses the cut or thickness of shellac that can be used. He starts by applying a thinner first coat, sands this coat to remove any nibbing, then applies a thicker second and third coat. The final step is to apply furniture wax using wire wool, then buff it out once it has set for a smooth and even finish.

Rocking Chair: Episode 13

Rocking Chair: Episode 13

This episode shows you how to upholster the seat. Paul starts with the corner bracing which supports the seat. Then the plywood base is cut to size and fitted leaving 1/16” (1.5mm) around the edge for the leather, then boring the air holes. The foam and leather are cut to size with a sharp knife, then the foam is compressed in order to stretch and staple the leather in place.