Rocking Chair: Episode 12

Rocking Chair: Episode 12

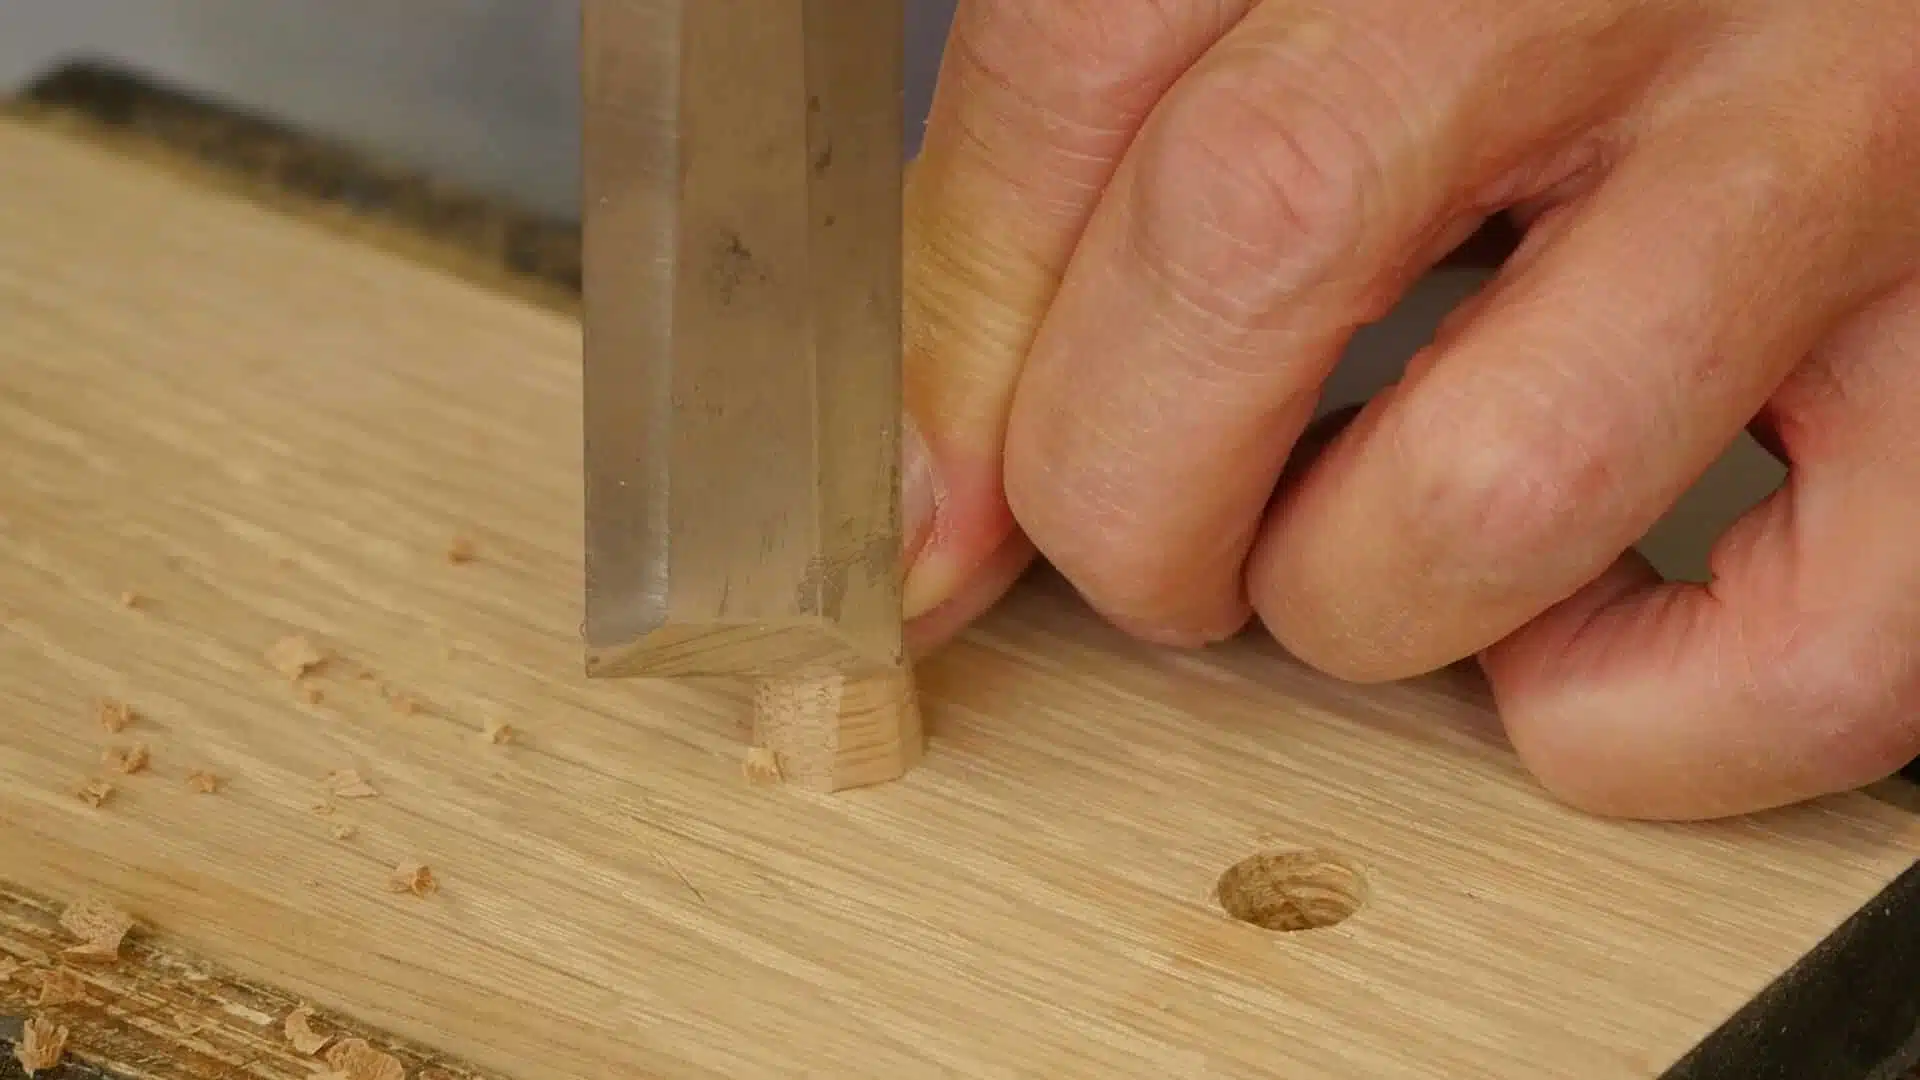
With all the joinery and shaping completed, the arms are fixed in place by boring through the legs before gluing and screwing them in place. Then the last detail to add is the corbels, which sit under the front of the arms. Then, with the holes in the back of the arms plugged, the chair is ready for it’s upholstered seat.

Rocking Chair: Episode 11

Rocking Chair: Episode 11

Before the arms are shaped, they are recessed into the side of the back legs. Special care is paid to layout and crisp angled cuts. Then the mortise in the arm is cut and fitted and the tenon rounded over. With all the arm joinery complete, it can be shaped using stop cuts, the chisel, rasp, file, spokeshave and plane.

Rocking Chair: Q&A Episode 1

Rocking Chair: Q&A Episode 1

In this first Rocking Chair Q&A, Paul addresses questions that have been asked in relation to the first half of the project. He discusses material choice and selection, adapting the design for specific circumstances and working practises. Paul then addresses a few measurement clarifications and corrections as well as discussing some of the new filming techniques employed.

Rocking Chair: Episode 10

Rocking Chair: Episode 10

With the rocker mortises fitted, Paul fixes them in place, also showing how to scribe the legs to remove any gaps. They can then be made flush with the legs using the spokeshave to get a smooth transition. Then we’re ready to move on to cutting the mortise in the front of the arms to receive the through tenon on the top of the front legs.

Rocking Chair: Episode 8

Rocking Chair: Episode 8

With the dry run completed, we’re ready to glue up, being careful to make sure all the joints seat. With all the clamps evenly applied, Paul starts on the shaping of the rockers. He lays out the arches using the arching template, then shows a few techniques for shaping them. This includes ripping down some of the angles and using stop cuts and the chisel for others, paying close attention to grain direction.

Rocking Chair: Episode 7

Rocking Chair: Episode 7

Paul lays out the side frames by mapping out the angles on a board. First, he ensures the board is entirely square so it can be used to scribe square lines. He then lays out the mortice and rail positions before transferring them to the rail to scribe the correct shoulder angles for the side rail tenons using the sliding bevel. The tenon shoulders and faces can then be carefully sawn to the correct angle and then each tenon fitted to their individual mortise.

Rocking Chair: Episode 6

Rocking Chair: Episode 6

With the spindles cut, Paul fits them to their relevant holes making careful use of the bench plane. Then there are the final steps to finish off the rear frame, which is cutting the legs to length, then rounding the top. Once the components are checked and cleaned up, Paul gets the back frame glued up.

Rocking Chair: Episode 5

Rocking Chair: Episode 5

Paul drills the recess holes to an exact depth, and then chops them square to receive the spindles. The next step is to cut the spindle stock to length and then rip all the spindles, cutting them so they are all bookmatched. Once they are planed smooth and square, they can be individually labeled and fitted to the spindle mortises.

Rocking Chair: Episode 4

Rocking Chair: Episode 4

The next step is to put the arches in the back support rails using stop-cuts. They are shaped on the front and the back. The shape is refined with the spokeshave and the plane. Then Paul lays out the spindle mortises, making sure to get them accurately positioned in preparation for drilling and chopping them.