Wallclock Episode 6
In this episode Paul shows how to cut the hole to receive the clock face and glue up the clock. Paul then shows how you can decorate the clock further by building a cove and bead plinth on the underside of the clock.
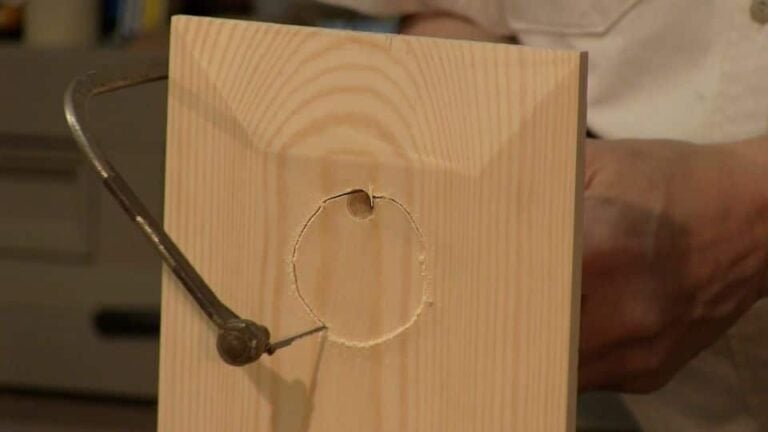
In this episode Paul shows how to cut the hole to receive the clock face and glue up the clock. Paul then shows how you can decorate the clock further by building a cove and bead plinth on the underside of the clock.
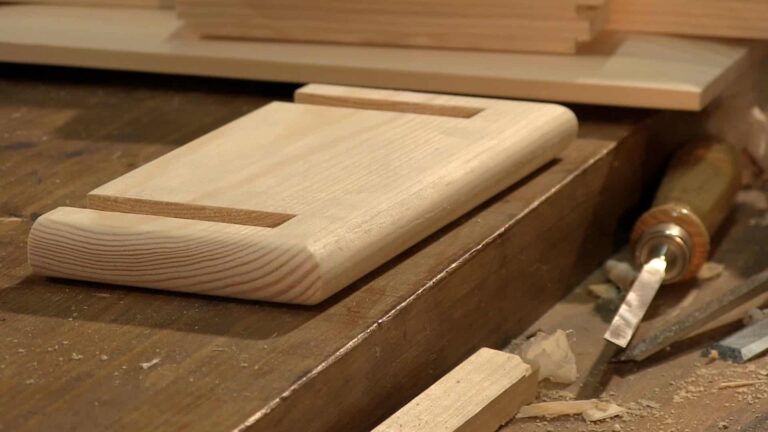
In this episode, Paul Sellers shows how to round over the edges of the top and bottom pieces to give them a lighter more decorated look. He then goes on to show how to form a beaded edge on the inside corners using a screw and a block of wood.
In this episode, Paul Sellers shows how to make the raised panel for the front. He shows how to make a panel with Shaker-style curve. This is a great decorative features that can be applied across a large range of furniture making.
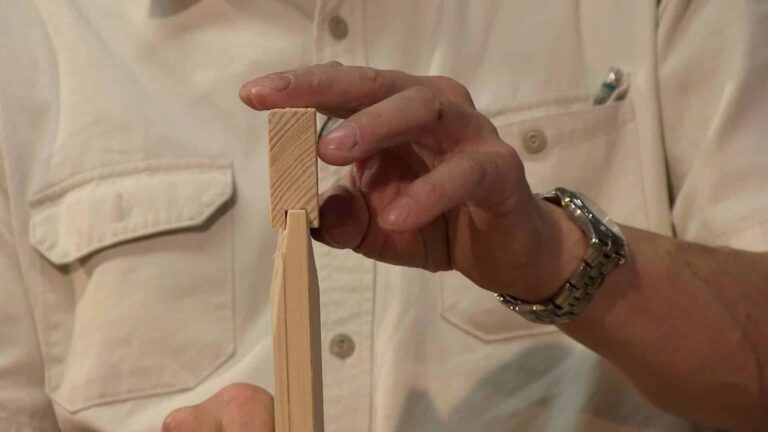
In Episode 3, you will learn how to cut a haunch on the clock sides to fit into the housing dado joint. You will learn about the use of the plough plane and will run the grooves in the sides. You will also make and run grooves in the rails.
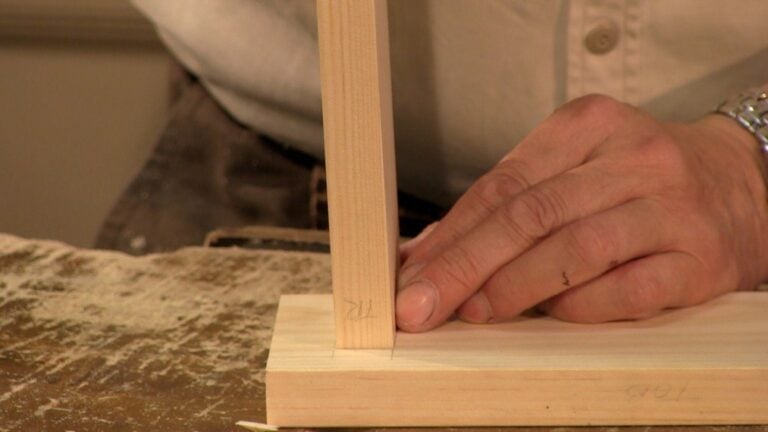
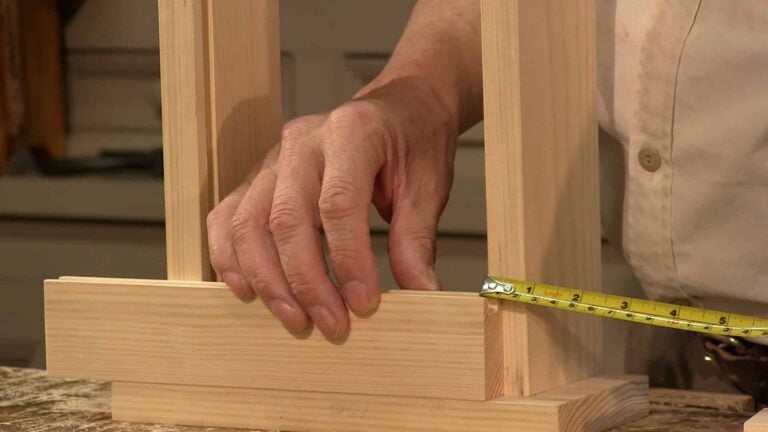
In Episode 2, Paul Sellers shows how to make the housing dado joint. This is an important step in making this project but it is also a great joint to know how to make and is one of the most important joints in woodworking.

In Episode 1, Paul gives a brief overview of clock series and shows sketches of the project. He also shows how to choose and prepare the wood.
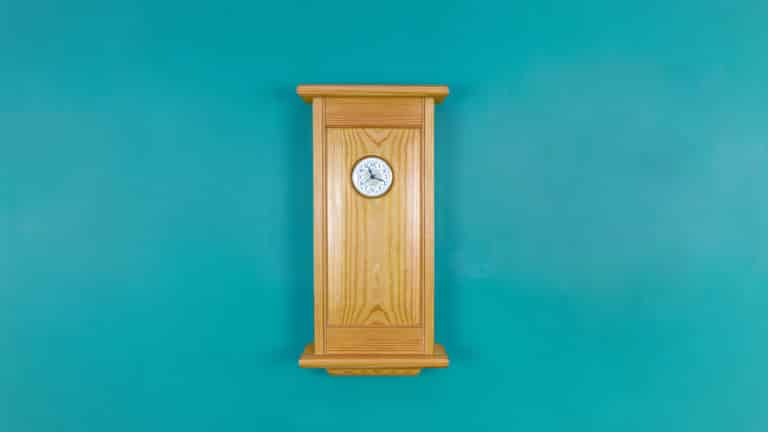
This is our very first project to broadcast as an online training video. This project is a simple but beautiful shaker-style wall clock. It incorporates many easy but essential woodworking techniques, joints and tricks.