Workbench: Episode 9
We’re ready to fit the jaw liners on the vise. Precision fitting is required to make sure they don’t touch the bars and sit in the correct position. Paul adds leather on the outside jaw to increase grip.

We’re ready to fit the jaw liners on the vise. Precision fitting is required to make sure they don’t touch the bars and sit in the correct position. Paul adds leather on the outside jaw to increase grip.

Fitting the vise securely so that it can move freely and is accurately spaced from the top edge is critical.

The well board is next, and a rebate is cut in either side. This enables it to be inserted in the grooves that are cut in the benchtop and apron using a plough plane.
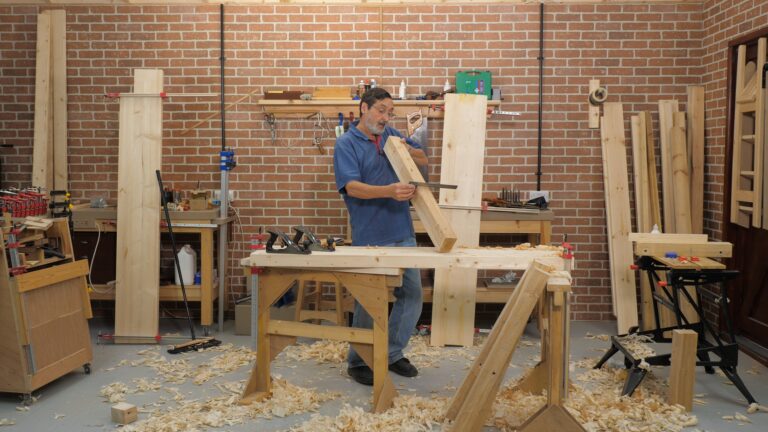
We’re ready to map out the leg recesses in the aprons. Then they are chopped with the chisel and router to an exact depth. Once chopped, the aprons can be attached.
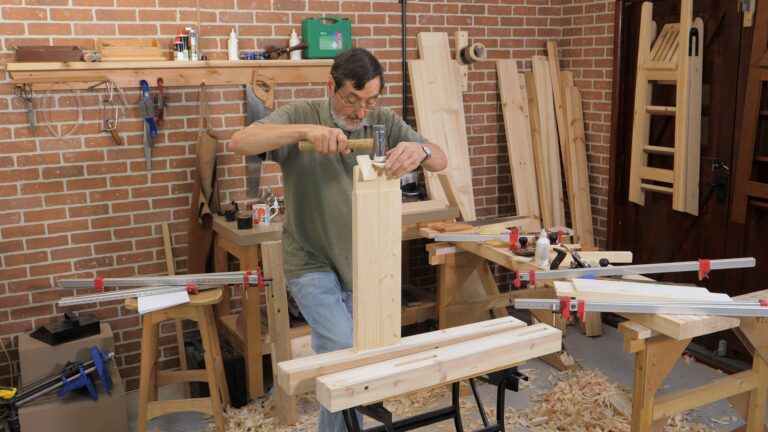
Once the legs and rails are cleaned up and the rail tenons finessed, the leg frames are glued up…
Time for the rails.

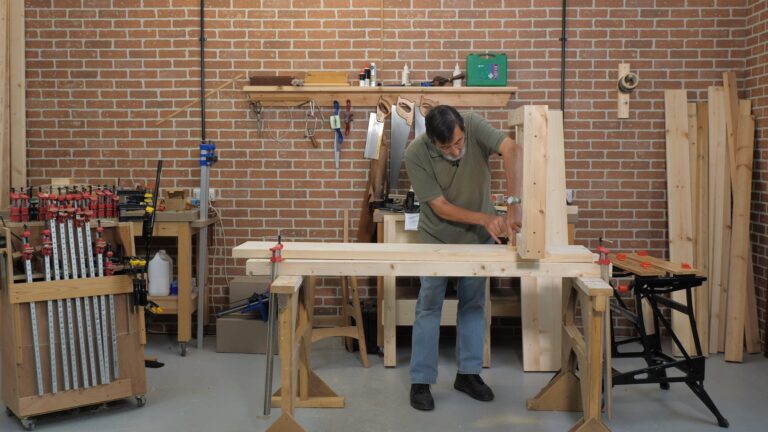
The legs are ready for laying out and then the mortises can be cut using the chisel.
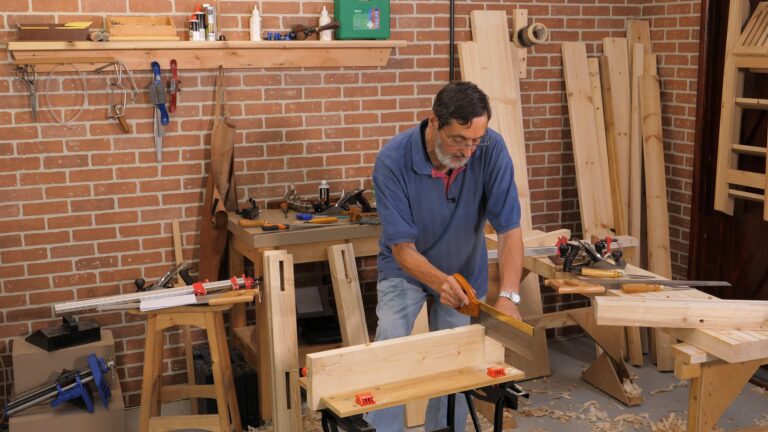
Using the benchtop as a surface, the aprons are planed flat and square…
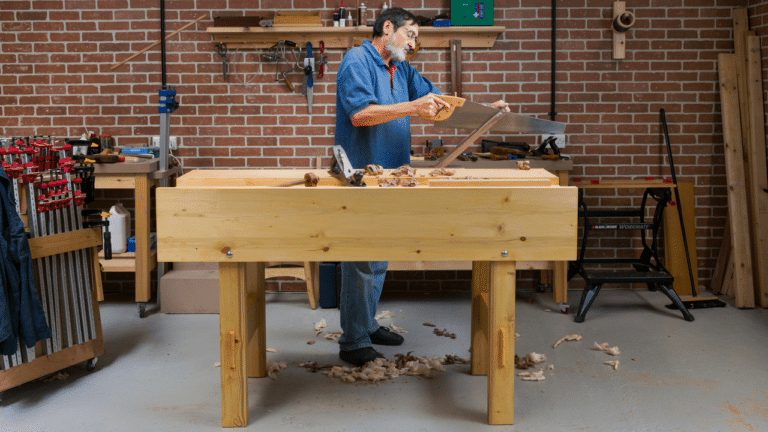
Having gathered together the necessary materials, tools and equipment, you can get started on the workbench.
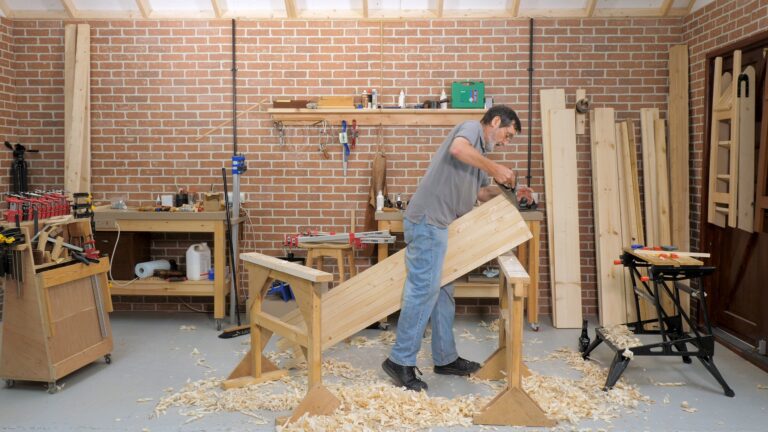
How do you make a workbench, when you don’t have a workbench to work from?