Bathroom Cabinet: Episode 2
Posted 1 August 2018
This is an episode in a paid series. Want to watch it? You just need to sign up as a paid member, and you can enjoy this video and many other videos we think you will love.
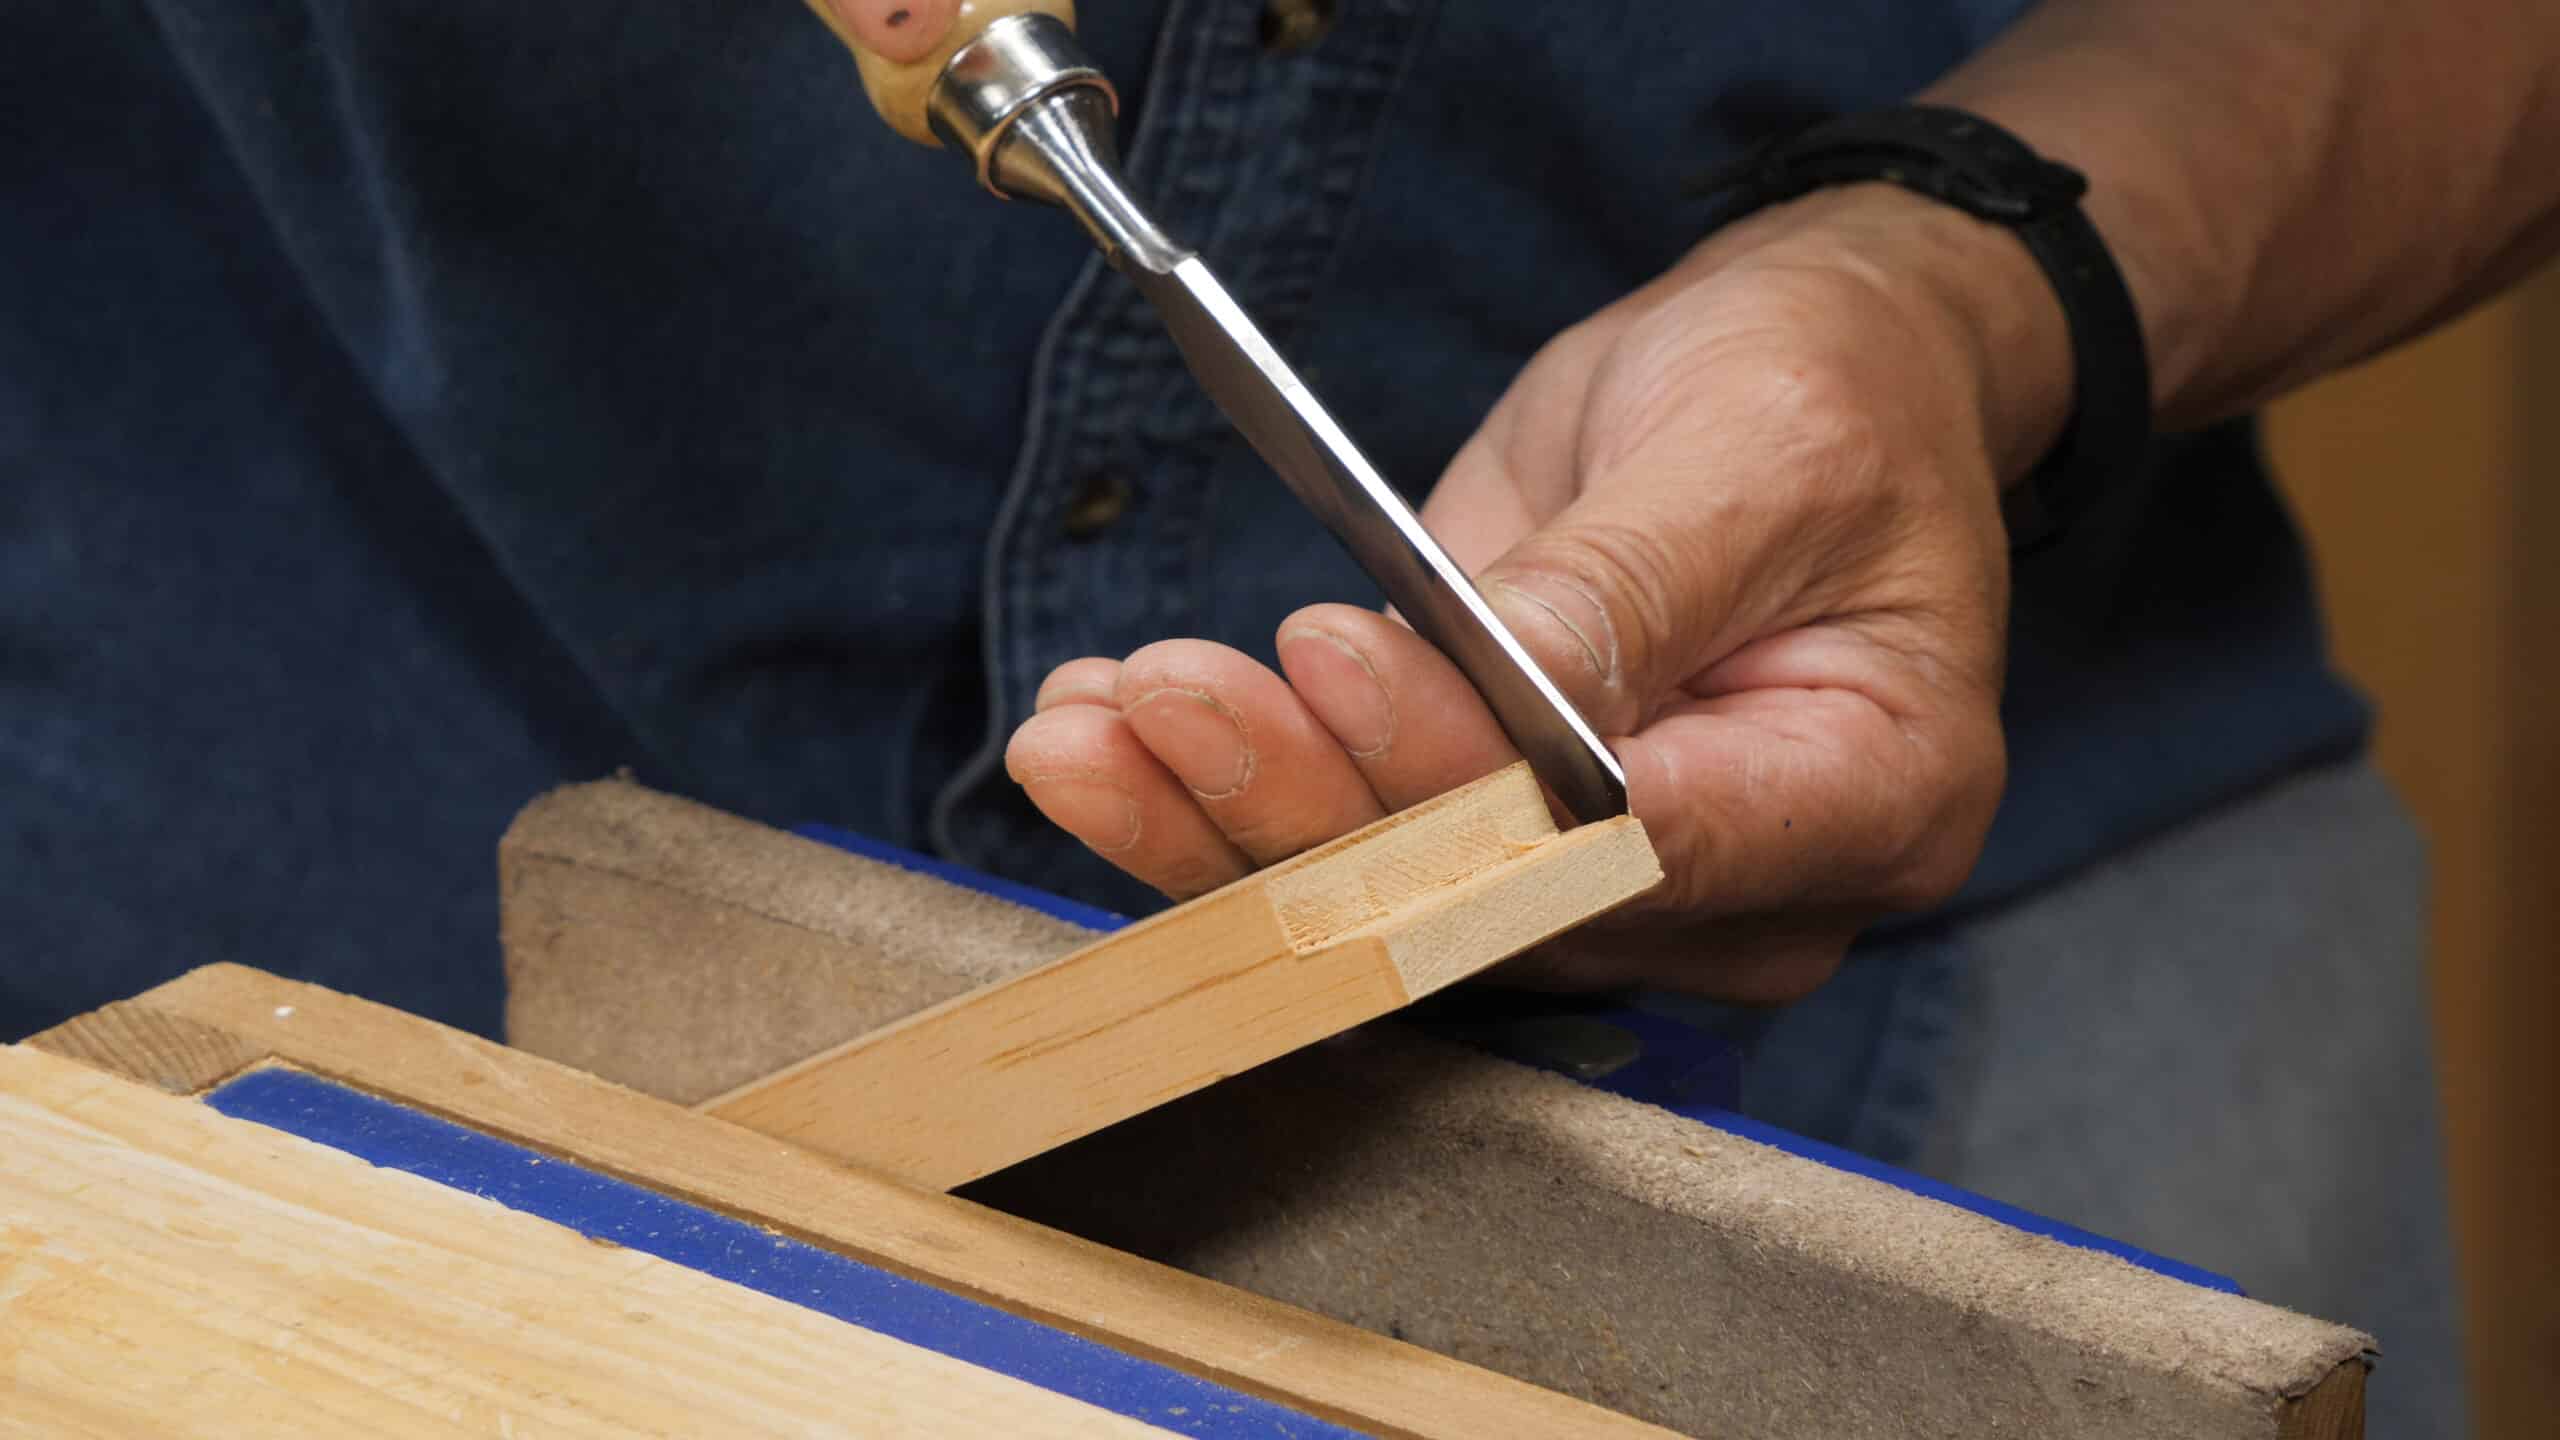
The mortises and tenons are cut using Paul’s method to ensure tight joints and parallel surfaces. Then the retainer grooves and back panel are cut and fit in place to complete the carcass construction.


Thanks – Great! At approximately 23 minutes I learned that I need to sharpen my saw.
love all your videos. Just a suggestion, maybe add CC to your videos, i most of them on a computer with no speakers. So to be able to read what Paul is saying would be nice. Also it might help if you have any hearing impaired viewers.
Thank you, and i have learned a ton from Paul and your videos.
Hello Kevin, we will certainly look into CC for our videos. Thank you for the suggestion.
Best, Phil
I am at the back rail stage and working through the drawings along with the video. I see on the diagram there is a 3/16” relief cut on the panel groove edge of the rails. Yet, this is not executed in the video. I’m going with the video version for simplicity sake. Just wondering if there was an advantage to include this relief cut in the drawings.
To clarify…a 3/16” relief cut on the tenon
Hi Kurt, sorry for the delay in responding and thanks for pointing this out.
The extra relief cut in the drawings is a mistake and will be corrected, so following the video is best. It doesn’t provide a benefit. If anyone has followed it, it wouldn’t be an issue if it was cut that way as long as the mortise is sized the same.
Thanks, Phil
Hello, I would love a clarification: why are the vertical internal stiles needed?
I mean: it seems to me that the vertical grooves for the plywood could be cut into the cabinet sides, thus avoiding the two slender grooved stiles.
So are they here for a styling reason or to strengthen the structure… or for what other reason?
Thanks
Hello,
From drawing 3:4 it seems that grooves into the cabinet sides are fully feasible, but they would have to be of the stopped type. Through grooves, I believe, would remove 3/16″ of the posterior mortice walls by the 1/8″ width of the groove.
I might of course be woefully wrong on this.