Bathroom Cabinet: Episode 3
Posted 8 August 2018
This is an episode in a paid series. Want to watch it? You just need to sign up as a paid member, and you can enjoy this video and many other videos we think you will love.
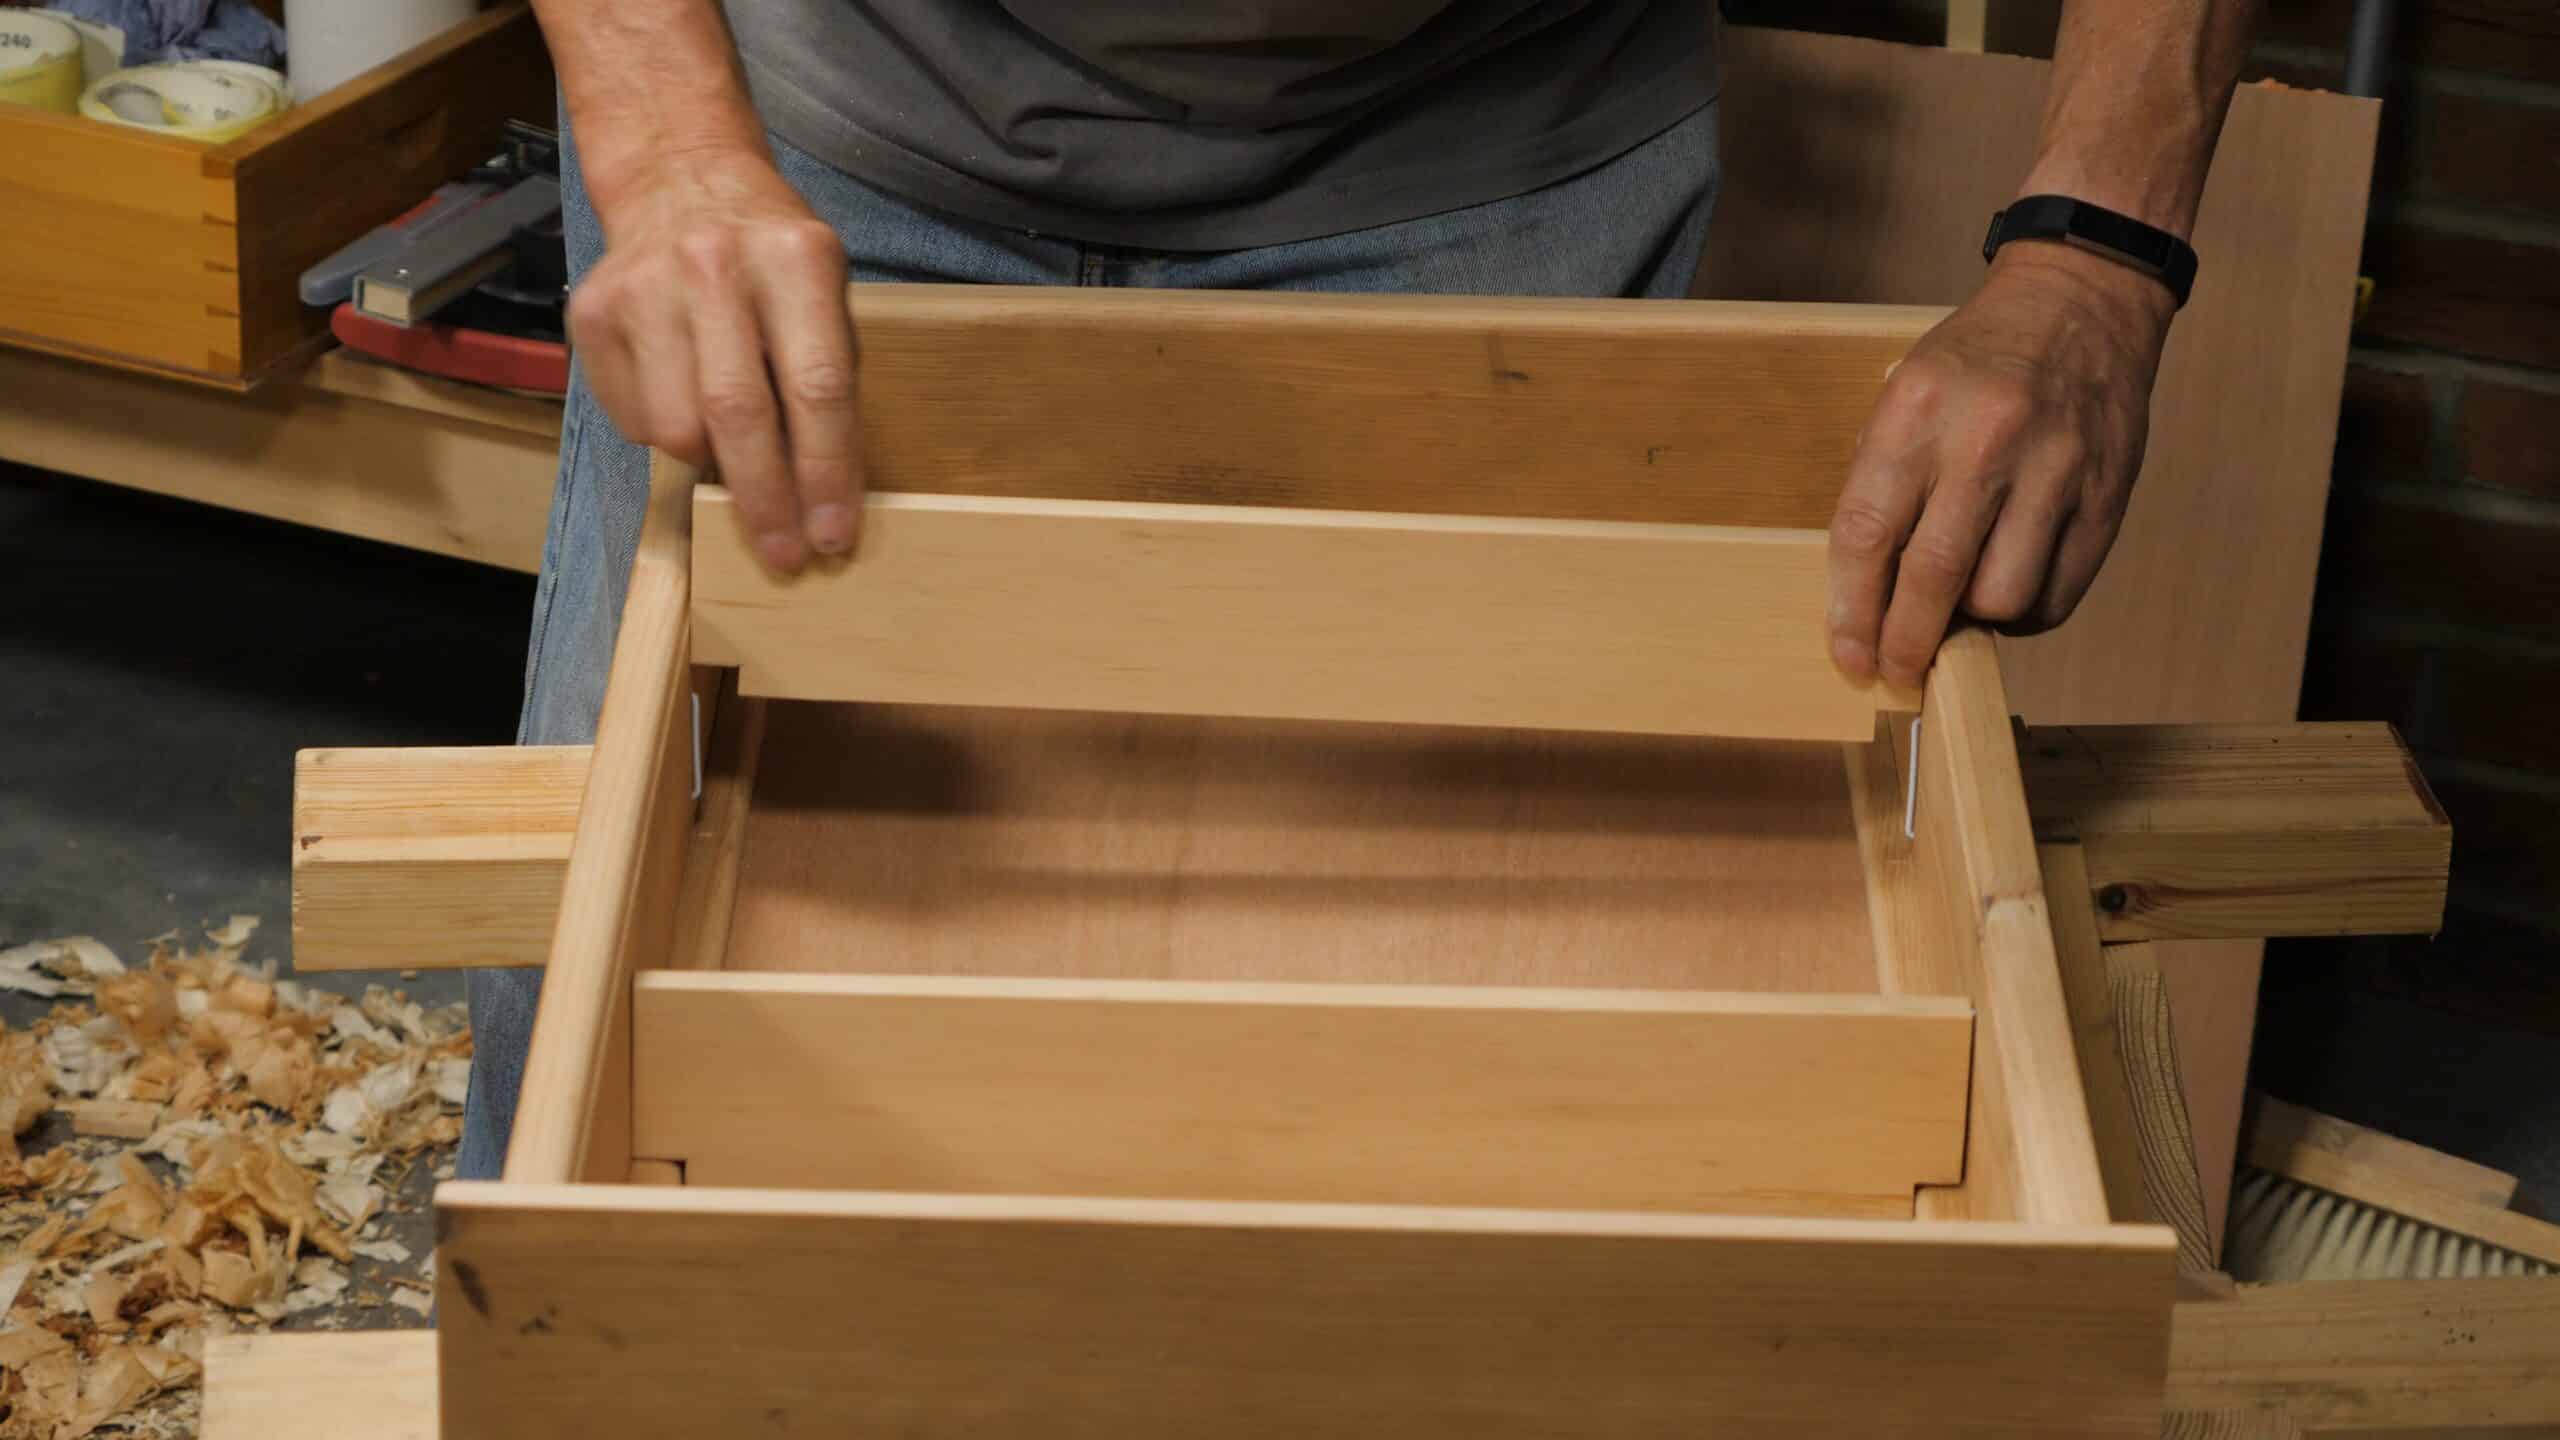
After checking all the joinery, Paul lays out and shapes the various round-overs. Then the retaining strips for the back are fixed in place before the carcass is glued up. The adjustable shelves are then fitted.


Masterly as usual! Would those wire shelf supports work in a heavier-duty situation, say in a book-case, would you think?
This technique certainly can be used in in heavier-duty environments. You may want to use heavier gauge wire.
I’m intrigued by those wire supports. How much weight would the shelf support?
Anyone who finds it difficult to find wire coat hangers of suitable gauge might want to consider 2 or 3 mm knitting needles. They cut easily, bend well and have a nice coating on them.
You can also get aluminum rods at Hobby Lobby for $3.99. The package has 2 – 1/8″ and 2 – 3/32″ rods.
Nice one mate, never thought of that .
I notice that Paul is using a gents saw quit often in this project. Any hints on when to use a gents saw vs. a tenon saw?
To be honest I was like this at the beginning .i thought I needed every saw . I have it broken down to 3 which I find covers every task . A 20″ panel saw rip. 10″ tenon rip. And either a gent saw or a Japanese fine tooth disposable which I love you will not believe how long these stay sharp. Unless you have you saw sharpening technique down which I must admit I struggle with I would limit my saws . I feel owning all the sawsheld me back to be honest .to me saw sharpening is an art .and the is nothing worse than a dull saw or a saw that gets caught in the cut .hope this helps
Regards
David
Hi Jay, Paul’s gent saw has smaller teeth (16 tpi vs 14) and less set, so he reaches for it whenever he wants a finer cut. It is nice to have around but not essential. Hope that helps.
I love all of the projects and have been busy trying to keep up. However, I have to admit to being a little surprised at the wire – was there no little woodworking technique that could be employed instead?
This isn’t a negative comment – just a little surprised that’s all.
Hi Andy, thank you for your comment. There are certainly other techniques that could be employed, as in the tool cabinet series: https://woodworkingmasterclasses.com/videos/shelves/
The wire system is a neat, straightforward and flexible system that should be accessible to all, which is why it was used here.
Thanks, Phil
I am making this project and wonder why Paul drills the holes for the wire after the glue up. Wouldn’t it be easier and more accurate to drill the holes before the glue up?
Measuring the shelf spacing as shown does not result in equal spacing. I’m unsure if this was intended. For equal spacing, subtract from the total space the sum of shelf thicknesses, then divide, and add back half a shelf thickness for a center line.
For example, if the space was 21″ and the 2 shelves were 3/4″ thick. The method shown would produce unequal spacings of 6-5/8″, 6-1/4″, 6-5/8″. Whereas (21″ – 2×3/4″) / 3 = 6-1/2″ equal spacing.
PS I really like the coat hanger trick.