Bathroom Cabinet
Bathroom Cabinet: Episode 7
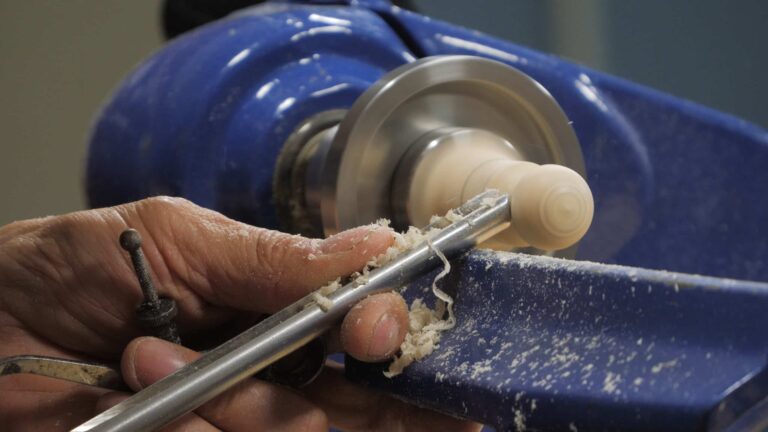
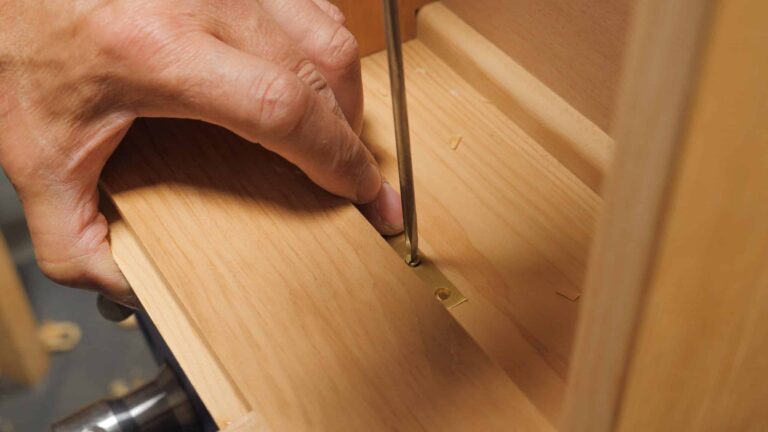
A turned nob makes a great addition to a cabinet and Paul takes us through the full turning process so you can make your own. Then the finish is applied to the cabinet before a catch and the handle are fitted to finish off the project.
Read MoreBathroom Cabinet: Episode 6
With the initial fit of the door complete, it can be hinged to the carcass. Then the mirror is cut to size and fixed in place with some rebated retainers.
Read MoreBathroom Cabinet: Episode 5
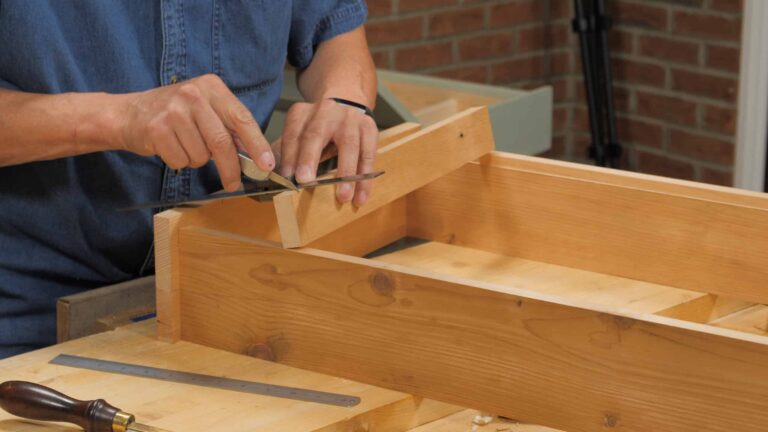
Paul is now ready to chop all the door mortises using the guide. Then the tenons are individually fit to the mortises and everything is ready for the glue up. Once cured, the door is cleaned up and fitted to the cabinet.
Read MoreBathroom Cabinet: Episode 4
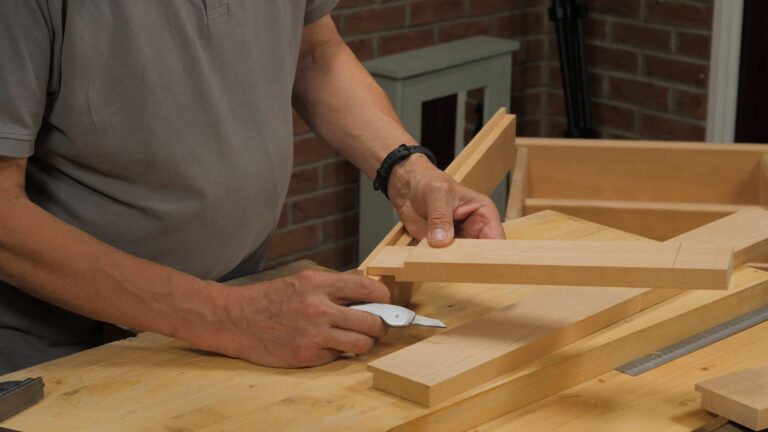
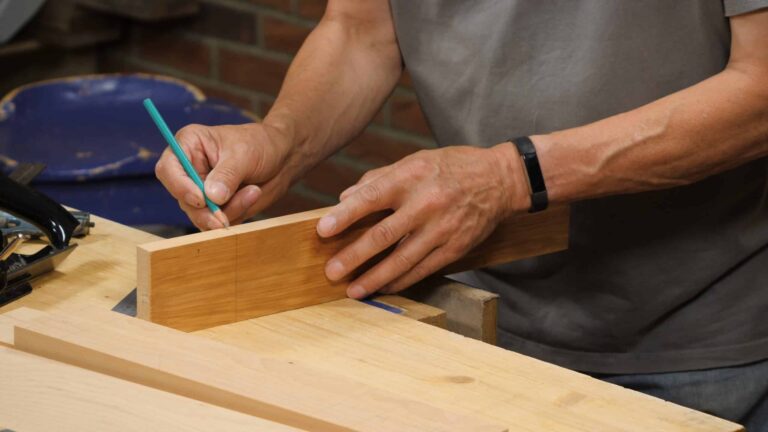
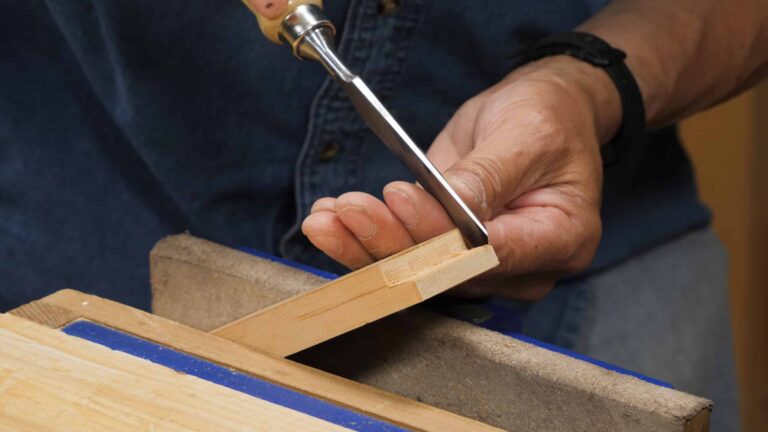
The door is put together using Paul’s mortise and tenon method. The first step is to ensure accurate and crisp layout of the tenons and cut the rebates. Then the tenons are pared to consistent thickness using the chisel and router then sawn to length.
Read MoreBathroom Cabinet: Episode 3
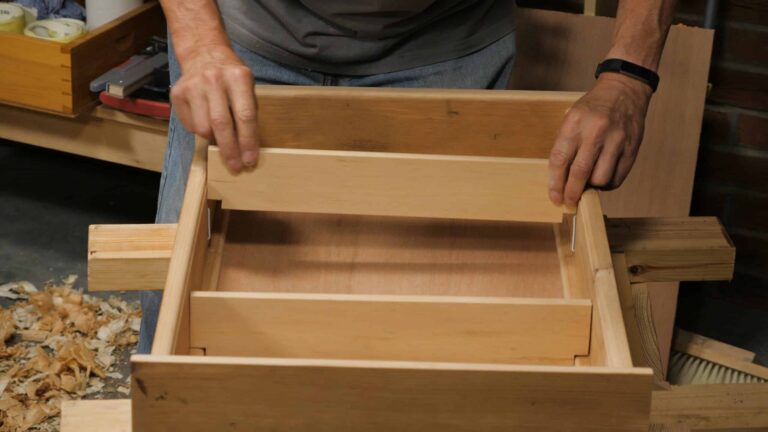
After checking all the joinery, Paul lays out and shapes the various round-overs. Then the retaining strips for the back are fixed in place before the carcass is glued up. The adjustable shelves are then fitted.
Read MoreBathroom Cabinet: Episode 2
The mortises and tenons and cut using Paul’s method to ensure tight joints and parallel surfaces. Then the retainer grooves and back panel are cut and fit in place to complete the carcass construction.
Read MoreBathroom Cabinet: Episode 1
With the stock selected, Paul gets started with the main carcass of the cabinet. The first step is to rebate the grooves, then lay out and cut the housing dadoes. Then the stub tenons on the cross rails and associated mortises can be cut.
Read MoreBathroom Cabinet
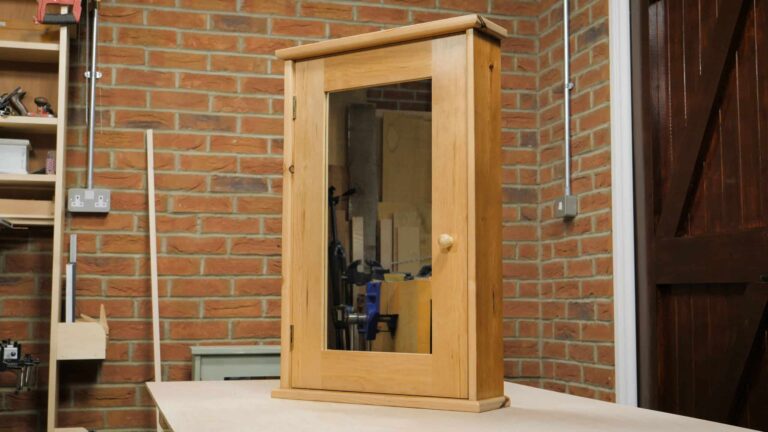
This newly designed bathroom cabinet can be adapted for many uses. It features a mortise and tenoned door with mirror panel, adjustable and removable shelves and a hand turned cabinet door knob.
Read More