Bathroom Cabinet: Episode 4
Posted 15 August 2018
This is an episode in a paid series. Want to watch it? You just need to sign up as a paid member, and you can enjoy this video and many other videos we think you will love.
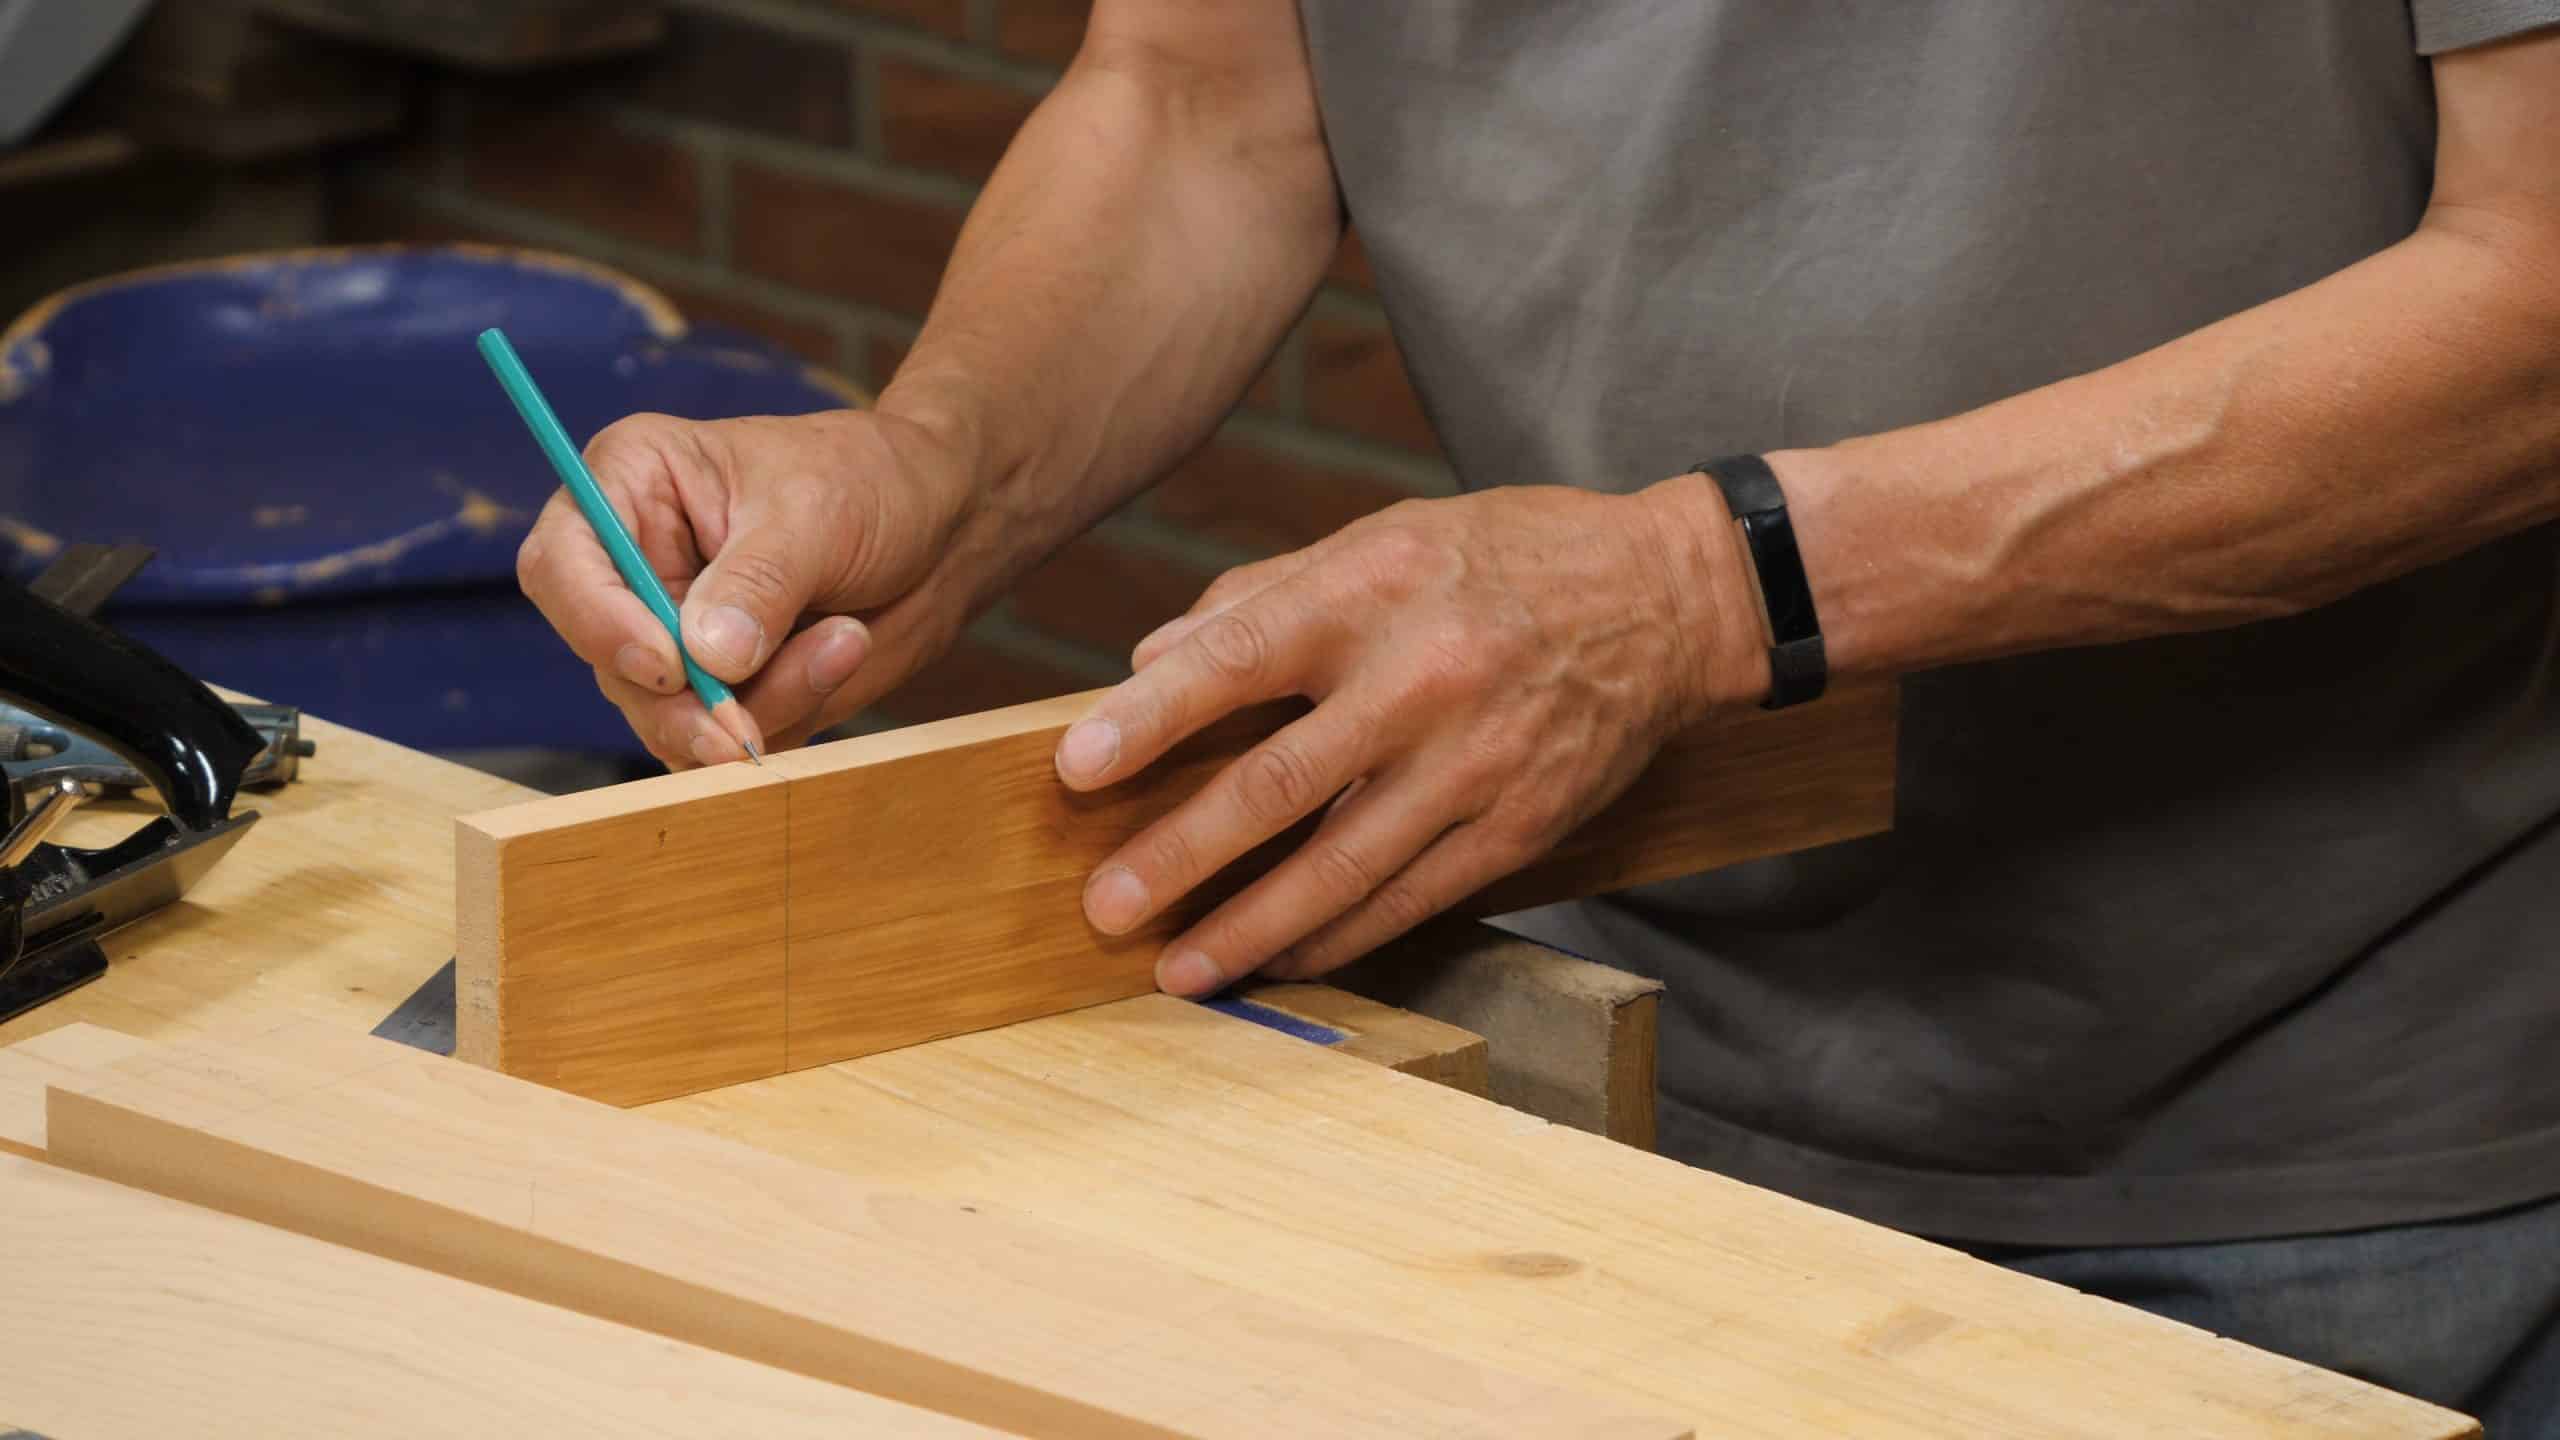
The door is put together using Paul’s mortise and tenon method. The first step is to ensure accurate and crisp layout of the tenons and cut the rebates. Then the tenons are pared to consistent thickness using the chisel and router then sawn to length.
00:03 – The splash screen for this video is titled “Bedside Cabinet.”
Thanks for the heads up. Has now been corrected.
Maybe Paul’s bed is in his bathroom.
That would save me a few steps every night.
This cabinet is definitely high on my list of projects to complete this year. However, I seem to remember Paul making another project that involved a mirror. That build sort of focused on how to hand carve some wheat stems to embellish the piece. I would love to revisit that video series and then incorporate the wheat carving into this bathroom cabinet.
I probably should convince my wife we need a new bathroom cabinet first, but sometimes I prefer to beg forgiveness rather than ask permission! LOL
The rebate plane we made in tools @ technique works very well for throwing out shavings .at least the one I made does.
I made the rebate/rabbit plane as well and it ejects just fine as long as the cut isn’t too aggressive. I can clog it if I try hard enough lol.
Hello everybody,
most of the time I end up with a non square rebate using this plane..an idea about what I’m doing wrong? The blade is parallel to the sole and I focus on pushing the guide against the piece as Paul said.
Thanks for your help.
Cyrille
Which way are you out? Is the rebate not in the same plane as the work surface, or is the side of the rebate not perpendicular to it?
Are you using a commercial plane like a Stanley 78 or one of Paul’s planes?
Hello,
the side of the rebate is not perpendicular to it and I’m using a record 078.
Thank you for answering
Hi Cyrille. Check a couple of things. The cutting iron is supposed to be slightly wider than the body of plane so make sure you have it installed to protrude slighty past the right side of the plane body. It won’t work right if it isn’t installed that way. The shoulder will step out toward the end of the board. It’s also very important that the corner of the cutting iron that is forming the rebate is sharp and square. If that corner gets chipped or rounded off, that will cause the shoulder to step out and not to be square as well.
You’re keeping lateral pressure on the plane and that’s good. The other thing to focus on is keeping the plane level. It’s easy to let the plane lean over and that can cause the rebate to be out of squre. When you’re planing, try making several passes and then stop and inspect the cut. If you see that the shoulder is going out of square, stop and make an adjustment. It won’t get better if you keep going, only worse. Hope that helps you. Practice on some scrap softwood and I’m sure you’ll figure it out.
I had similar problems with it being out of square. I attached a wooden guide fence onto the plane. It made it much easier to apply the lateral pressure so the tool stayed perpendicular.
Let’s call the surface that the plane sole rides on the “floor” of the rebate. Let’s call the other surface the wall of the rebate. The floor is where the shaving comes from. The wall is revealed stroke by stroke as the shavings come away. If you’re saying that the wall isn’t square to the floor, then the problem may be that your blade isn’t protruding from the side the proper amount or isn’t sharp all the way to the edge. Look for blog articles from Paul. I don’t recall whether they were about rebate planes, shoulder planes, or the bullnose plane, but he discusses how to set the blade to keep from having this stepping effect.
If the problem is that the floor isn’t square to the reference edge, then the issue is something else.
So is something else
Hi Cyrille,
I guess you having trouble being square in the rebate. Balancing the planes depth stop is NOT easy, especially on thin edges! After building the cabinet door and having slight gapping on the inside joints I happened upon one of Paul’s postings…maybe it has some advice? Essentially, check squareness as you go.
https://paulsellers.com/2016/05/rebate-plane-no1-78-filletster-plane/
Hi,
I know this post, but nothing about squareness ….just practice and practice again…in fact muscle memory will come.
so…
After viewing, several times, the steps demonstrated in this video, I picked up at time stamp 05:10 the mention of a scrap piece and proceeded to measure and layout this scrap piece. For whatever reason, I cannot understand the rationale for Paul to go through this. What am I missing here? Is it just used to set the gauge and router depths?
Hi Kurt,
It is used as reference piece. With all the measurements laid out on it, they can be transferred to the actual pieces, helping to make sure they are identically laid out. It is not an essential step.
Measuring the shelf spacing as shown does not result in equal spacing. I’m unsure if this was intended. For equal spacing, subtract from the total space the sum of shelf thicknesses, then divide, and add back half a shelf thickness for a center line.
For example, if the space was 21″ and the 2 shelves were 3/4″ thick. The method shown would produce unequal spacings of 6-5/8″, 6-1/4″, 6-5/8″. Whereas (21″ – 2×3/4″) / 3 = 6-1/2″ equal spacing.
PS I really like the coat hanger trick.