Bench Stool: Episode 1
Posted 27 November 2013
This is an episode in a paid series. Want to watch it? You just need to sign up as a paid member, and you can enjoy this video and many other videos we think you will love.
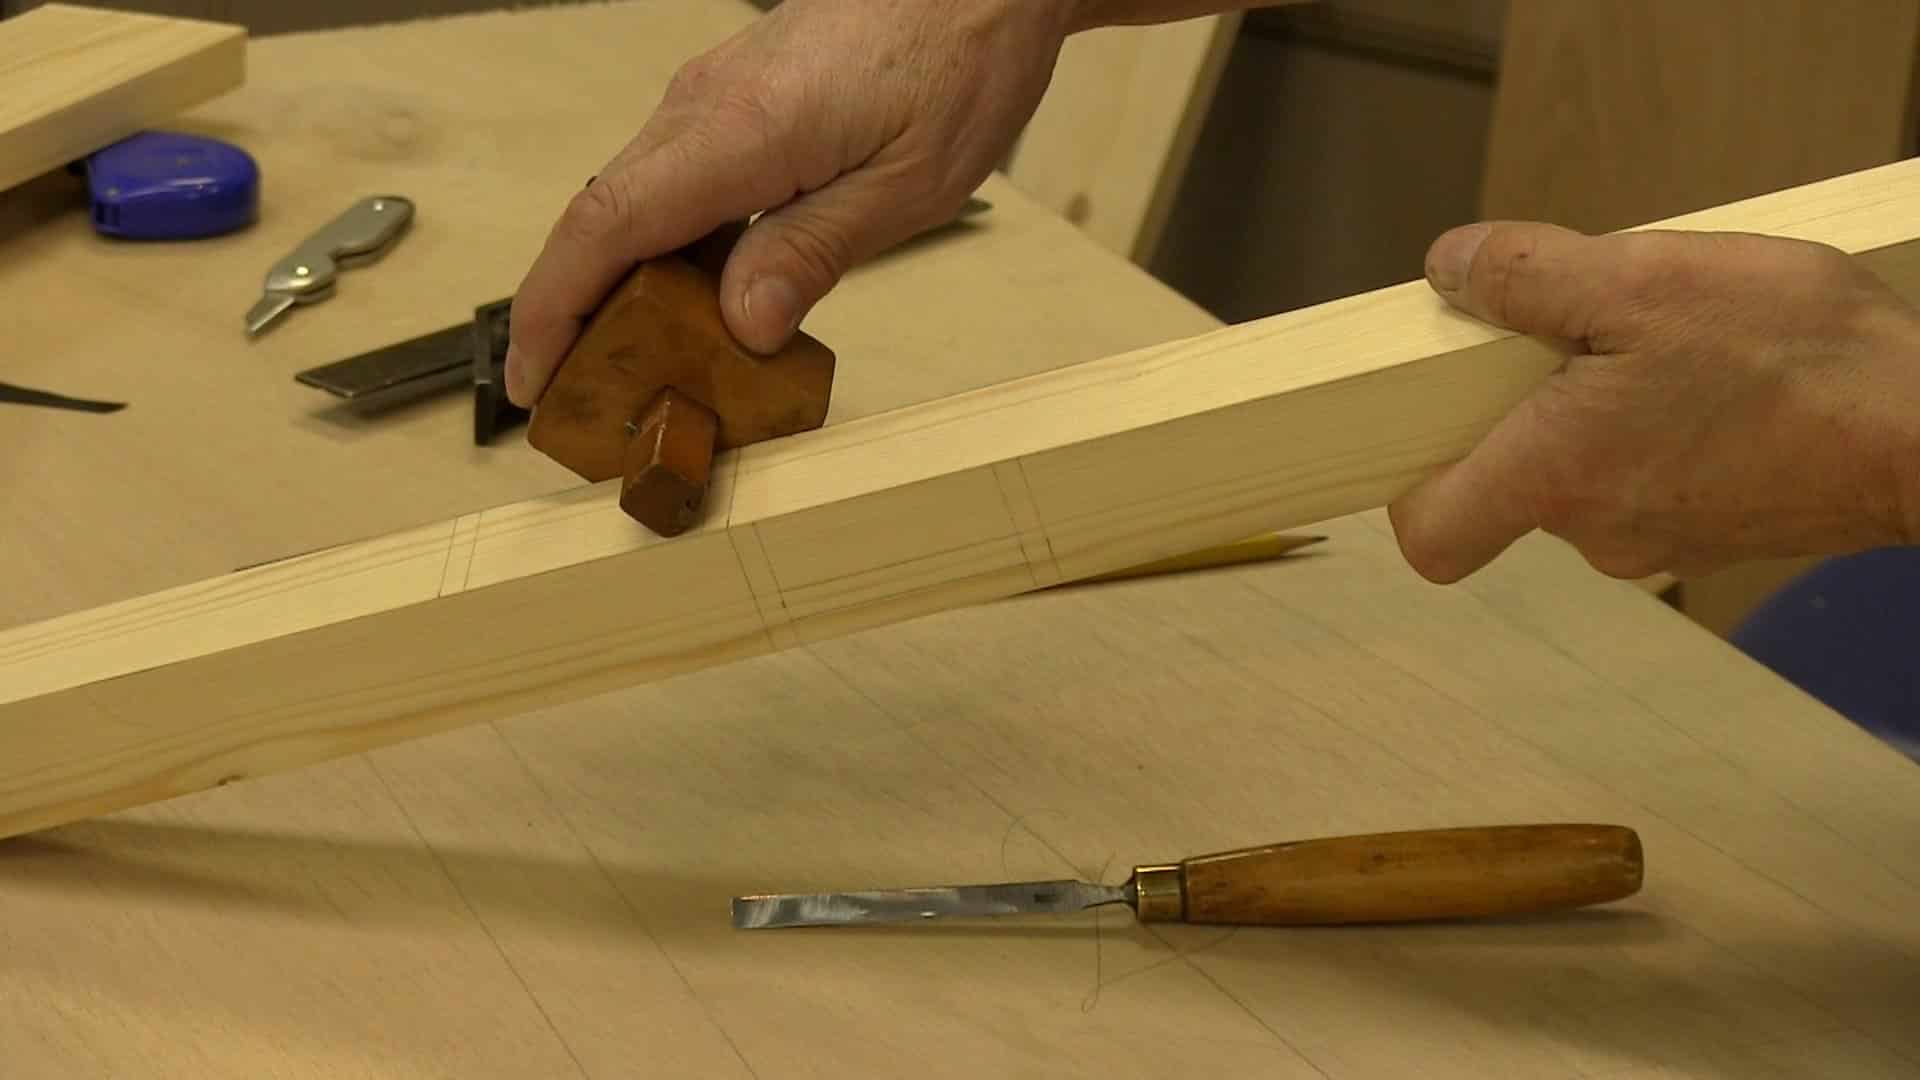
In this episode, Paul talks us through the design and layout of the bench stool. He then goes on to mark and cut the mortices making use of the mortice guide and shows how to angle the ends of the mortice.
Thanks for this one guys. Good job 😉
Whoa, compound angles. This is going to the next level. Thanks.
Thanks for these Paul. I’m not making the projects -yet- but where I’m doing my apprenticeship I get odd looks and rude comments if I try and work on dovetails or with hand tools. My employer cannot grasp the idea that some people don’t want to make things out of chipboard with big machines.
I watch your videos over breakfast before going to work so I can be reminded of what I’m aiming to do and that I’m not alone. My contract runs until September 2015, after which a change of company is in order…
Hey Andy… not a bad way to start the day.
Thats no way to encourage a young apprentice, surely not. Your employer should be ashamed. Show em how its done buddy and get stuck in to dovetailing projects. Good luck.
Andy,
There’s an old saying:”Mediocrity knows nothing higher than itself, whilst talent can always recognise genius”. I can’t help but fell this is particularly apt for your circumstances at the moment. Let’s see how much your employer can get done if the power fails 😉
I had a similar experience to yours back when I was a Photographer many years ago. I wanted to try and do something more than “main overhead light, side light and fill”. My employer didn’t understand either. Good luck with your apprenticeship and future career, you sound like you deserve to succeed.
Excellent video Paul, everything explained so clearly
I am so looking forward to this project as well. I don’t mind telling making these angled mortices and working with angles makes me nervous but I am very much intrigued.
I need and want a comfortable stool and also am anxious to make a chair so this is an excellent resource.
Thanks Paul and staff for yet another great video and project.
Steve
wow! some layout happening there .excellently taught but i am still scratching my head looking back over my notes .will need to watch this one a few times .
Just got a new Sjobergs 8′ workbench and in need of a bench stool. Your videos of a bench stool is perfect timing. I will start my bench stool as soon as I can get the lumber. Looking forward to the rest of the videos.
Hey Paul did you notice you got a mention in “furniture and Cabinetmaking” magazine this month in connection with your ‘poor mans router’ ?
Just noticed you are described only as a ‘teacher’ ! Bit like calling Martin Luther King a ‘speaker’.
To be called a teacher is an honor… Just my opinion.
Have you ever seen some one use this kind of layout? The quality of instruction and depth of knowledge being shared are second to none. Thank you Paul.
I’m also pleased that when I looked at the prototype, the things I would have adjusted are the very things Paul adjusted. As a new furniture maker, the ability to see porportion and make adjustments is a difficult but essential skill. I think the idea of making a prototype must be essential to good design.
Well done Paul and team exellent.
Loved the layout and useful jigs being applied.
Paul, Is there any specific reason for drawing the plan on plywood? Are you going to use it to make the jigs you showed? Up ’till now, I’ve always drawn my larger plans on heavy weight lining paper and the only time I’ve used ply was when I was making a template for a router – you know, the dusty electrical type 😀
For some reason I cannot log in on our computer or my iPhone. I get an error that the page had “too many redirects”. Any help would be appreciated. Thanks.
Daniel, I get that sometimes too. If I clear my browser history and cookies the problem resolves. I hope that works for you.
Is it just me or do you get tickled when you hear Paul say “Oops”? I say that word far to often myself…. :-). Great project. And it is an item I need in my shop so that I can put the kitchen chairs back where they belong… My wife will appreciate that…
Good video. Perhaps the angle of the mortice could simply be drawn with marker onto the brace face of the guide. Seems simpler than cutting auxiliary blocks.
@Paul-Sellers …if you know that the bottom edge of your plywood is parallel to your cross rails. Would it not be easier and more accurate to extend the angled line of the leg to the bottom of the plywood an set your bevel gauge from the bottom of the plywood? In other words, set the fence of the bevel gauge against the plywood and line the blade up with the leg line.
Is there a problem with this?
Additionally, once you have done this layout and made templates, would you just use the templates for all future builds? Assuming the design is final of course.
Thanks,
Greg
Logically what you say makes sense, but there is nothing to stop you from using the edge anyway as long as you don’t start your layout to far from the edge. I like to start up from the edge because I envisage things differently that way. Its more a personal thing I suppose, although it’s also the way i was trained too-not to start at the edge and create your own datum line.
I keep all of my templates and mark them for reference. I often repeat what I design and even if changes are made they are a good reference for other work, space provided.
Thank you Paul.
I believe I understand. I should create a space of known value within a abstract space. The focus is to establish a centerline perpendicular to a baseline and work within these known values. The fact that the plywood edge is 90deg just helps to speed this along.
WHAT!!!
Delete your cookies Ken… normal service will resume shortly 😉
i agree Ken
Was I not clear as mud?
Clear as Greg. E=MC2 is the general formula of relativity given by Albert Einstein. Energy equals Mass times the Speed of Light, squared, and basically means that energy and matter are connected. But it don’t make a stool. 😉
https://woodworkingmasterclasses.com/discussions/topic/geometric-constructions/
Now I get it. Cheers Greg for your guidance and wisdom.
Hi Greg
Have you been smoking them funny cigarettes again
My secret formula………K.I.S.S works for me 😉
A bucket list item…attend classes in person taught by paul sellers 🙂 seriously I could listen and watch this man work all day but to see it in person and to learn in person would be amazing!
great first part,i am sure i will injoy this project,some new challengesfor me ps thank you for allowing me to see this project robertparsons81.
I’m working on some saddle type stools using this method but 2 sides are different because the seat is a rectangle. Is it possible to actually make the top support rails first? Put the stool together, then mark exact length of the shoulders of the bottom support Rails off of the piece itself? My worry is that ff my layout is not perfect on the plywood from front to the sides or my angle gauge is a degree off, that the shoulder length might be off if the mortises are already made. If that makes sense. If I do the top rails first and then clamp them up, I should be able to mark the shoulders right off the legs exactly where I need it ensuring the shoulders close tight. Will this work?
may I have a sketched plan for the bench stool?
Where may I find information on the construction of the mortise guide? If I am required to subscribe to a separate project, please let me know what that project is.
Thank you
If memory serves me he shows how to make one in several projects, like the toolbox series and the sofa table project.
But there is really nothing to it. Two blocks of wood held together by double- sided tape. The piece that is fixed in the vise has to be long enough so that here is something to clamp onto. The other piece governs how far away from the edge your mortise is going to be. I like to use plywood for that.
Good luck.
Wesley
Thank you for your assistance,
Greg
Can anyone please tell me how did Paul square this pine stock? It seems to be very difficult because of the knots, I always tear out. How can I avoid this? Will a cabinet scraper solve this issue?
Thanks
Through my experience, sharp blades, shallow set and skewed angles deal with knots and reversing grain. Some grain is not planable without tearing out and unfortunately scrapers don’t work too well on pine. They do work on the harder aspects of pine though, but results are generally inconsistent due to the variation in density.
I started this project last week (finally). I have used poplar for the legs (2 1.5″ strips laminated together) as that is what Home Depot had that I could make use of (pine boards that thin are always massively twisted and bowed every which way). Chopping mortises is definitely a challenge for me and I’m not sure if it’s partly the poplar’s fault (a softer hardwood?). In any event, getting the angles within the mortises is/was difficult. For my guide/jig, I just used my sliding bevel with the measurement of the bench and cut a couple of pieces of scrap along those angles (one acute, one obtuse as they correspond to each side of the mortise). In the end I’m not sure how accurate they were (and I’m finding that it was difficult to get the 1 1/8″ depth (mine are closer to 1″ deep so I have decided to make my tenons shorter–I hope that does not mean less strength though I suppose it probably does).
This is a project that has excited me because I have needed something to sit on in my garage/shop. Especially when doing things like saw sharpening that can become painful on my back from the leaning over. Plus it is nice to get off my feet for a break after standing up for so long. Looking forward to finishing this one!
Great project, can’t wait to get started!
I was wondering what the advantage of a tenon with 4 shoulders has over one with 2? Also maybe it has disadvantages?
Cheers
Jac
Hello Jac,
A tenon with 4 shoulders will not show any shrinking, whereas a tenon with 2 shoulders may show gaps on the width. As long as the tenon is sufficiently wide, a tenon with 4 shoulders doesn’t have a disadvantage.
Ahhh I see, makes sense.
Thanks Phillip!
Started laying out this project today. Getting the orientation of the mortise holes right just about did my head in. :-). I went back over the video so many times and still got it wrong. Like watching a shell game. Got there in the end with a lot of laughter and the odd Saxon word. Mortise chopping has begun!
There’s no audio!
I just looked at it and had audio.
Thank you, Paul, for this. I enjoy your explanations. I enjoy the journey with hand tools. I’m just starting.
Nice video.
This however assume the feet are perfectly square with the same cross section.
If one is not sure about that, I strongly recommend to do the mortises marking using the internal arris of the feet and not the external faces as shown.
(don’t ask !)