Desk Chair: Episode 1
Posted 21 August 2019
This is an episode in a paid series. Want to watch it? You just need to sign up as a paid member, and you can enjoy this video and many other videos we think you will love.
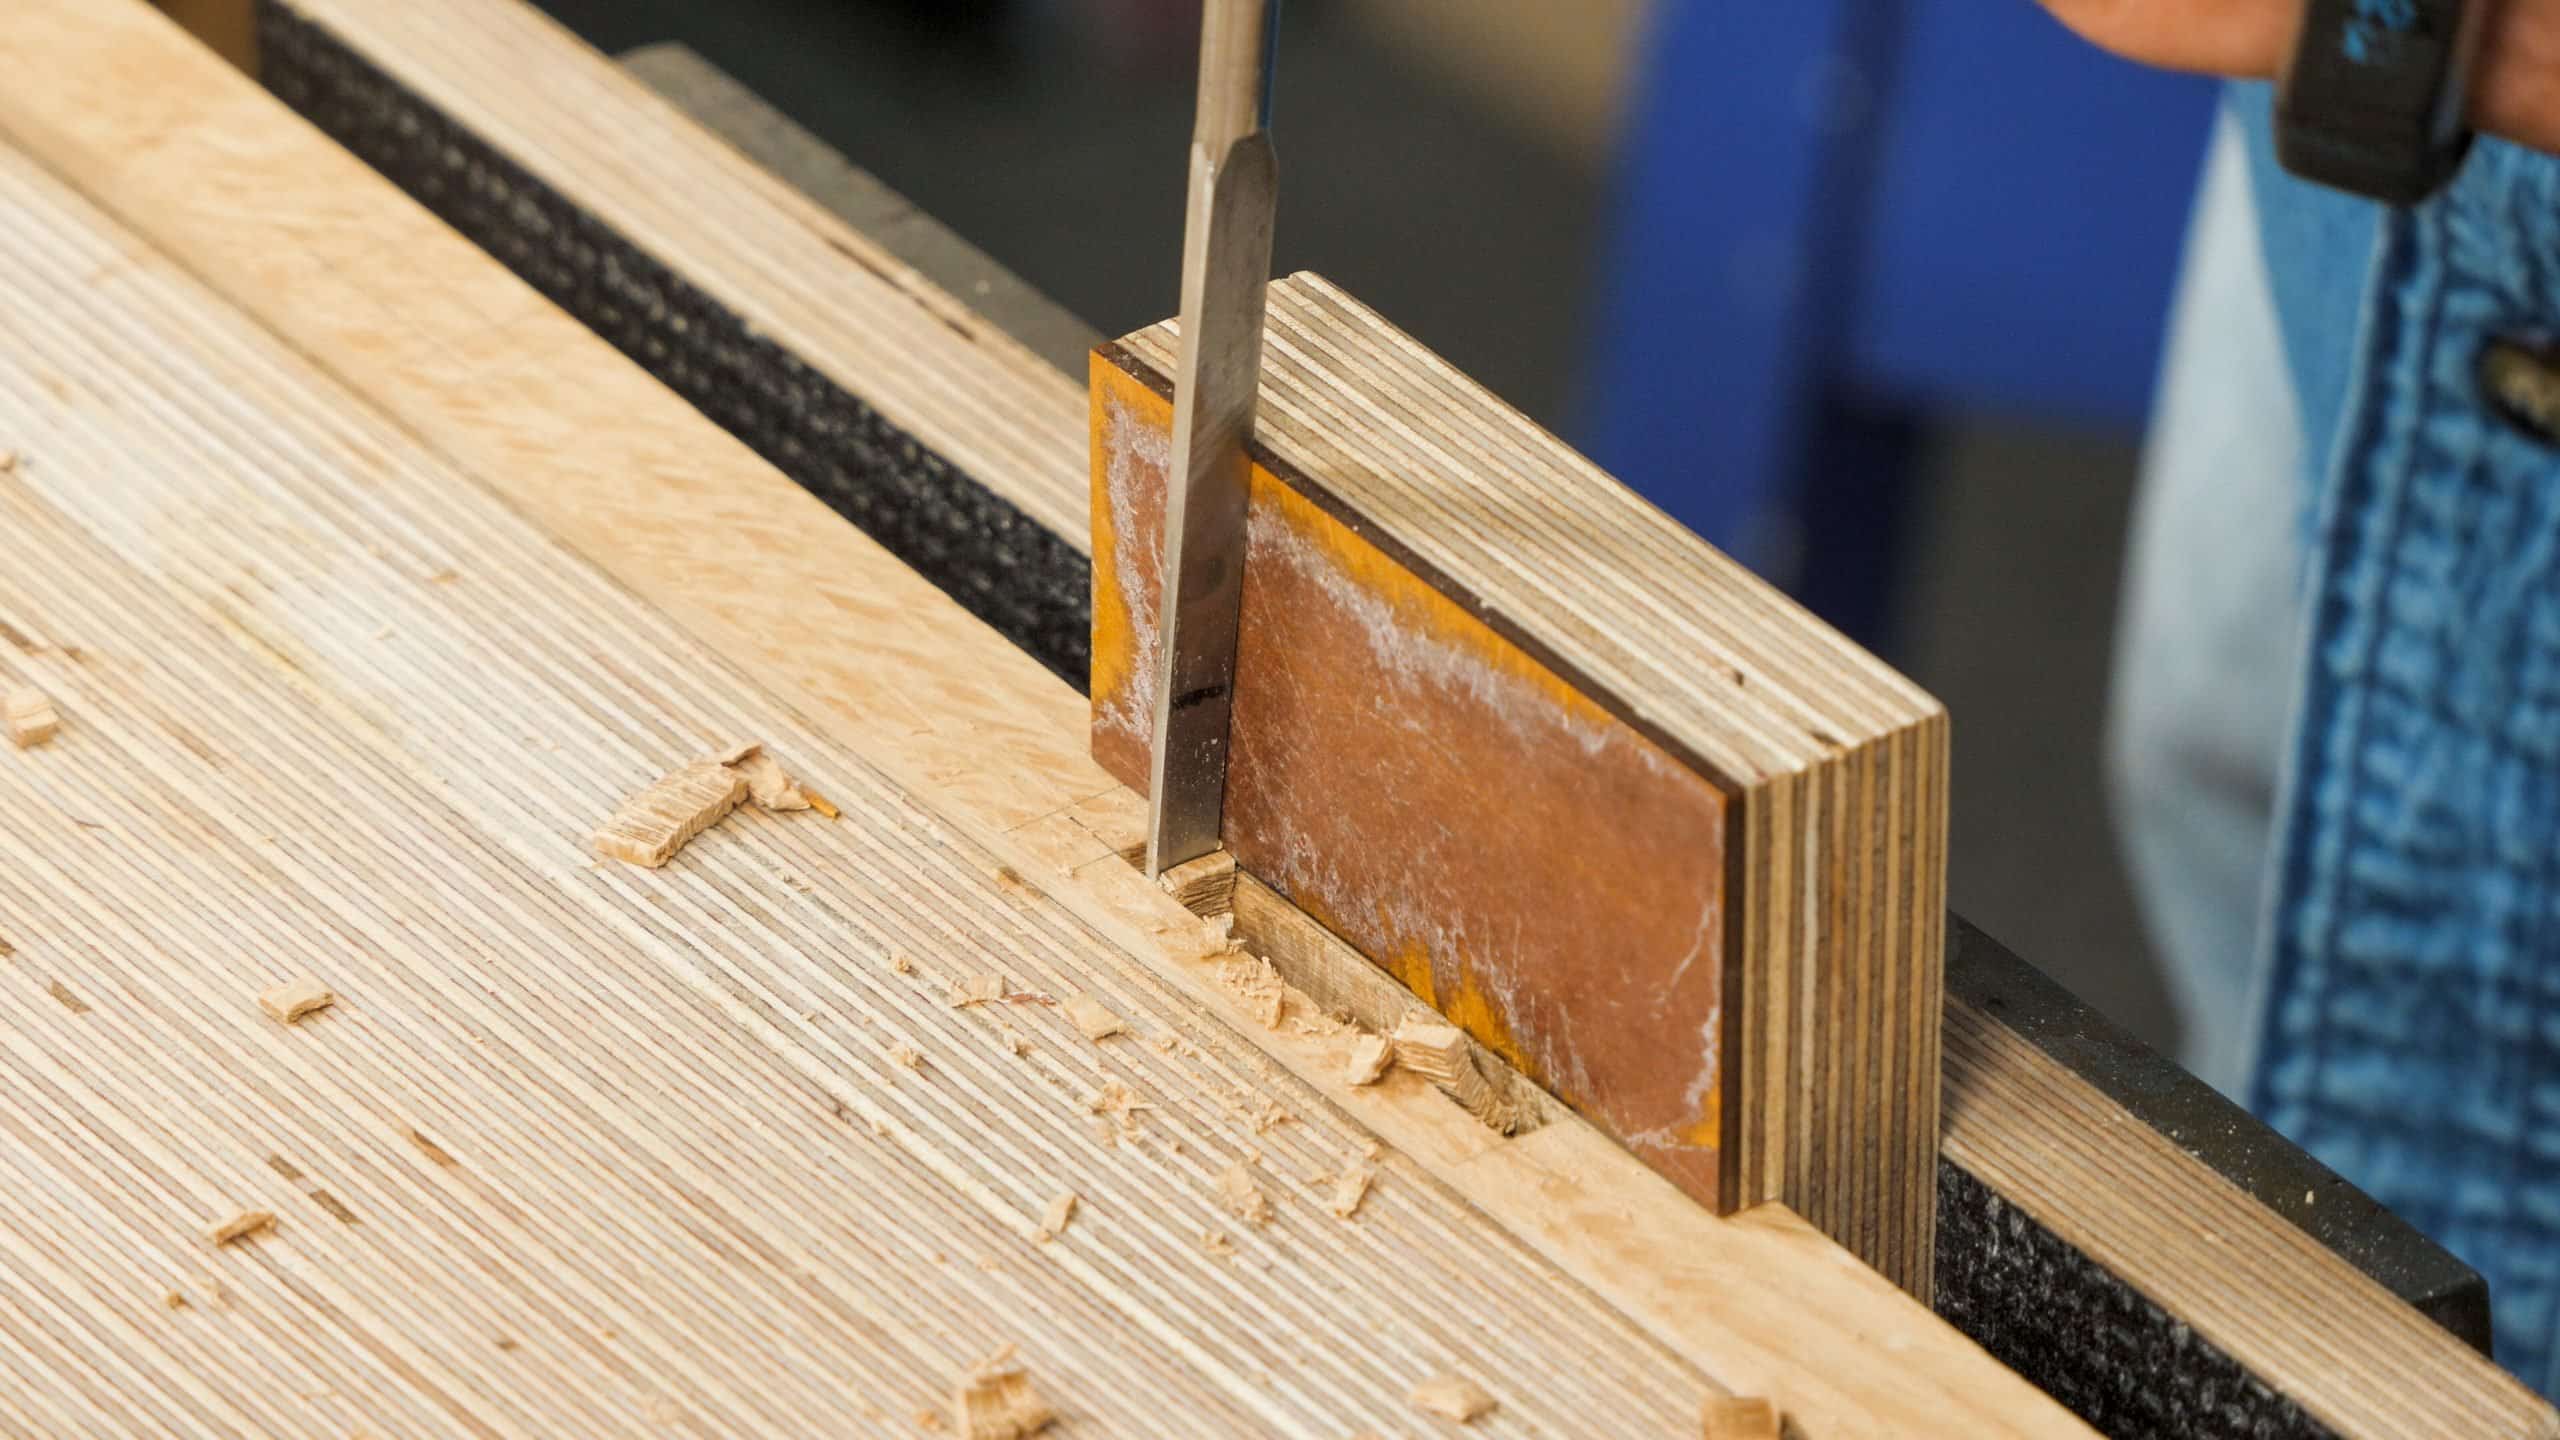
This is the beginning of a unique flat-stock chair. The whole chair is made using wood with a maximum thickness of ¾” (19mm). Paul chose oak as a strong, highly available and beautiful wood. In this episode Paul lays out and chops the mortises in the vertical leg frame pieces. Then it is on to laying out the angled cuts on the legs.
love the aid for chopping straight mortise holes.
Do you think this chair would hold up outdoors in the norther US? White Oak, draw bores, polyurethane glue or marine epoxy?
The bench project was beautiful, but individual chairs are more usable for our outdoor space.
Hi Troy,
Paul says:
Yes, I think it would. The only issue is, would one want to put so much effort into an outdoor chair?
Kind Regards,
Izzy
The music played at the beginning of the video drowns out Paul and he can’t be heard. This happens a lot in the introductory videos. Can something be done about it?
Thanks for the great videos as always Paul and company.
Hi Edouard,
Thank you for you feedback, I will pass this on to our production team.
Kind Regards,
Izzy
Cutting list says 35 3/4” but Paul says 36” in the video. Can anyone clarify?
Hi,
I passed on your question to Paul and he said:
36” until the back leg is cut down, and then we cut it after the whole chair is made so that the chair tilts back.
Kind Regards,
Izzy
I have a question about how Paul decided on the angle for the back. Is it based on any specific standard or is it just on appearance? If it is based on a standard is there a range of angles that makes a comfortable chair?
I want to thank you for all you guys do. Without you I would be lost.
Hi Lance,
Paul says:
Yes, my experience is that an angle between 5-9 degrees works well for a dining or working chair.
Kind Regards,
Izzy
thank you
One of the things I am not sure of with a furniture project is converting the cutting list into a list of timber lengths to order from a supplier. Does Paul explain how he does this in any video?
Hi,
Paul says:
Not really because most suppliers do not cut to size, they cut to volume but I do know of some suppliers who will take your lengths and make their own combination of lengths and then you can work out your most economic cuts from what they can supply you with.
Kind Regards,
Izzy
Hi, I am confused about measurements when Paul is laying out for the mortises. I do not see anyone else asking about this so I am probably just confused. The top rail is 3 1/4 wide and according to the drawing, the top of the lower rail is 3 1/2 inches below the bottom of the top rail. So the top of the bottom rail should be 6 3/4 inches from the top of the leg. But during layout, Paul says he is measuring down 6 1/2 inches for the top of the lower rail rather than 6 3/4 inches. We seem to have lost 1/4 inch. Is this a mistake or have I missed something? Thanks!
Sanford, Paul is actually measuring the 3 1/2 inches from the bottom of the top rail by “burning” 3 inches on the tape measure. This means he is starting the measurement at 3″ on the tape, not the zero end. Then to measure the actual 3 1/2 inches he marks at 6 1/2 inches so in net he has measured 6 1/2″ – 3″ = 3 1/2″. Hope this helps.
Thanks Rafi, I heard Paul say he was burning 3 inches but I guess I did not get what he meant. (I have heard him use that term, “burning,” before, and I do not think I was confused by it in the past.) I think it all makes sense now. I have all my wood cut to size and will begin joinery tomorrow!