Door Making
Posted 10 June 2016
This is the introduction for a free series. Want to watch the whole thing? It is free to do so, you just need to log into the site, and you can enjoy this series and many other videos we think you will love.
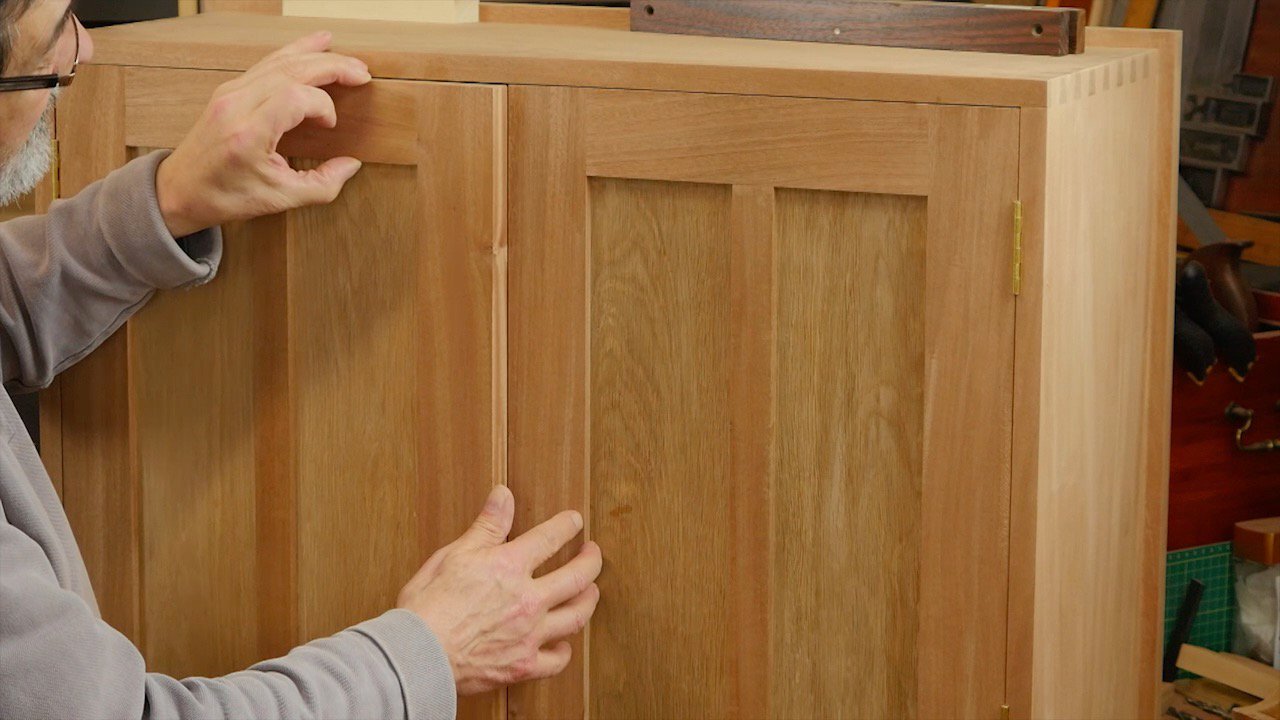
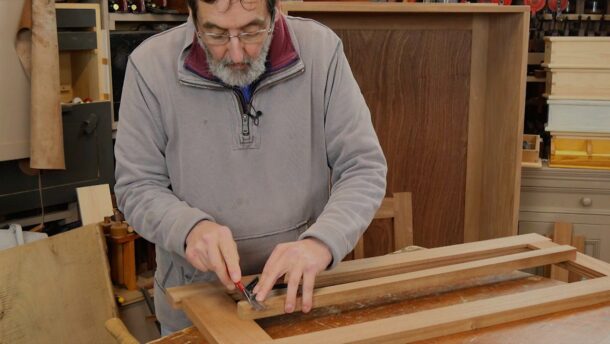
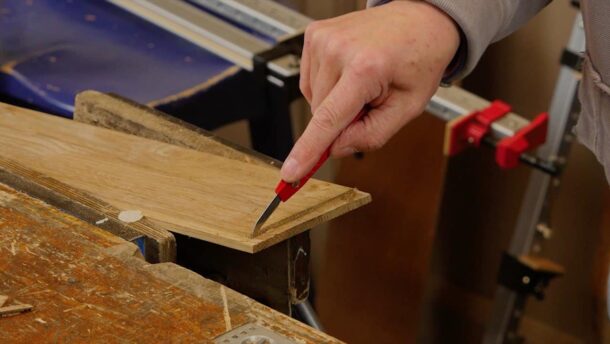
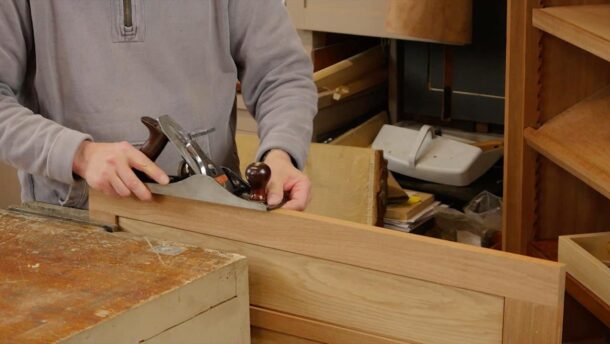
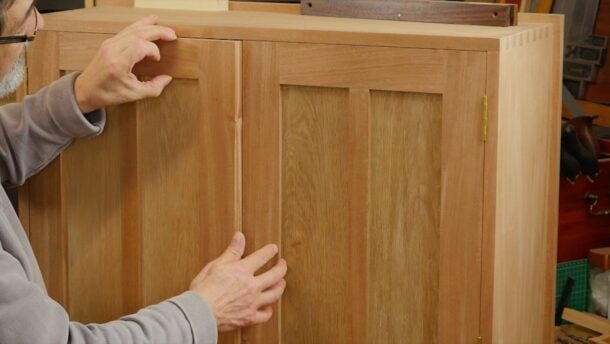
In the videos below, Paul takes us through the process of making doors, in this case for a tool cabinet. The general principles can be transferred to numerous other projects.
Dimensions
Your door dimensions may vary depending on the specifications of your project. The doors in these videos are made to the following dimensions:
| Part | Qty | Size (imperial) | Size (metric) |
| Stiles | 4 | 1” x 2 ½” x 37 ¾” | 25.5 x 64 x 959mm |
| Top Rail | 2 | 1” x 2 ½” x 13” | 25.5 x 64 x 330mm |
| Bottom Rail | 2 | 1” x 2 ½” x 13” | 25.5 x 64 x 330mm |
| Panel | 2 | ½” x 11 ¼” x 31 ¼” | 12.5 x 286 x 794mm |
TOOL CABINET PROJECT
These videos form a small part of our rather epic Tool Cabinet Project, which can be streamed as part of a paid subscription.

Dear Paul,
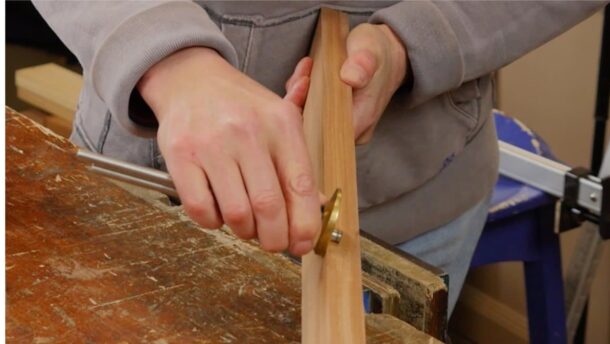
Thanks for sharing this episode. While watching I felt that that Veritas gauge is not really that easy to use, at least I felt that you are not at ease in using that particular one in comparison to your wooden gauges. Can you please comment on this?
Thanks,
K.
Where is the video
https://woodworkingmasterclasses.com/2016/02/door-making-episode-1/
https://woodworkingmasterclasses.com/category/door-making/
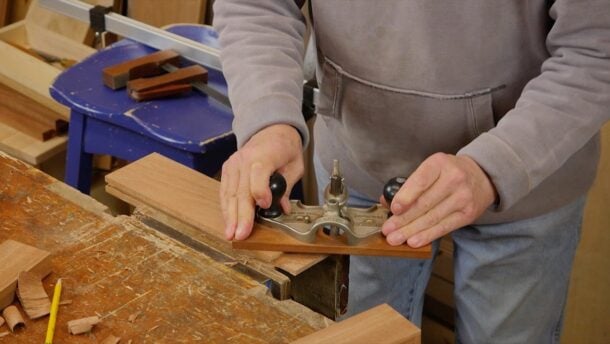
The techniques used in episode 2 to set the router plane depth were new to me. I really appreciate learning how to “sneak up” on the final size. I also appreciate the idea of just shaving a corner of the tenon to test the router plane cut before using the depth setting to plane the entire tenon. These are the things that I don’t get from books or instruction manuals. Thank you very much.
Thank you so much for the shared wisdom. All of the videos are very helpfull.
Dear Paul,
thank you so much for this series of videos. This last one is exactly what I need to know to hang an interior door in my old house. I’ve been putting it off for years because I didn’t know how to begin.
I plan on signing up for the master classes as soon as my budget will allow. See you soon, I hope.
Kathryn
I wanted to share a little success story with those of you who are on here. I have been making cabinets for the last year for both the pantry in our home and the kitchen in a summer cabin. I had been cutting the dadoes for the rails and stiles using a 1/4″ dado blade set up on my power saw. Last year I acquired a Stanley 248 Sash plane (for plowing grooves in window sash) on ebay, but it was missing the screw which held the depth gauge in place — that just arrived in the mail, and I have set up the plane with an additional wooden fence (the iron fence for controlling the placement of the cut is only about 3/8″ deep and does not allow one to register accurately against the work piece), I tried it out. It will take a bit of practice to be sure that I keep the fence registered squarely against the work piece, but it works just they way Paul says it should — and it is so much quieter, and almost as fast as setting up the dado blade and running the rails and stiles through the saw — and I get nice shavings to put on the blueberry plants to help prevent mummy berries.
Thank you again, Paul, for your videos which make the use of these tools accessible to us all.
I want to ask Paul and Co. what might be the practical limitations of using stock standard big-box hardware store type 3/4 ” hardwood to make up smaller doors, except for the obvious twist and wind problems – and thus slightly under thickness door panels. Would there be a size limit for 3/4″stock (dimension wise) making small doors beyond which it would not be wise to go with this sort of stock material?
Or is it pretty much the unwritten rule to use 1″, or thereabouts stock – which generally means starting off with 1 1/2″ plain boards?
Thanks
Mark H
3/4″ stock is strong enough to make large doors with the correct width and joinery construction, so that is not a worry. The tolerances for joinery will be tighter than with 1″ stock, that is all. So 3/4″ stock will work well.
Thanks for your help Philip.
Don’t underestimate the twist and cup problem. I purchases surfaced (S4S) 3/4″ cherry at a decent lumber yard for some doors. I took great care when selecting, but after the wood acclimated to the shop, it was twisted, bowed, and cupped. For the doors that I intended to make, the material would have been substantially less than 3/4 by the time it was true again, even if I cut pieces nearly to length before reflattening. So, the material went in the rack where it has sat ever since as I try to figure out what I want to do with a bunch of twisted cherry that will end up between 1/2 and 5/8 and which is between 1.5 and 3″ wide.
If you can select quarter and rift sawn, you’ll be better off, I suppose, but good look picking through the box store stock looking just for that. I think you’d be better off having some extra thickness and then milling the stock (twice) yourself once it acclimates (twice) in your shop.
Thanks Ed. I will bear that in mind. For some reason the big box hardware outlets in Australia only stock 3/4″. Nothing thicker and very little thinner. Otherwise its a trip to the distant timber supplier – when its open! And they would supply the same sort of materials with internal residual stresses as those which you described. Its probably the kiln drying.
Cheers
Mark
“same internal stresses” There’s a chance that the lumber supplier will have material that has been handled with more care if your big box store is like the ones here in the US. Also, having extra thickness gives you a chance to remedy this. You bring the material to your shop and let it acclimate, during which time it moves. You then mill to approximate thickness, leaving maybe 1/8″ extra total thickness, which exposes fresh faces. Leave it to acclimate again. During this second acclimation, you are equilibrating wood very close to your final surface, e.g., within 1/16″ per side if your first pass was to 1/8″ total. After this second acclimation, you mill to final thickness, shove the thing in a big, thick plastic bag, and then keep the wood there, removing it only when needed to do your joinery, and until you’ve glued up. If it’s not in the vise, it’s in the bag.
You could get the 3/4″ from the box store, just enough for one sample panel, and see how it goes. That will tell you a lot.
Obrigado pela aula. Estou fazendo uma porta para uma armário da oficina, graças ao vídeo. Só que ainda preciso de mais pratica, a minha porta ficou ligeiramente empenada.