Dovetail Boxes: Episode 5
Posted 30 January 2013
This is an episode in a paid series. Want to watch it? You just need to sign up as a paid member, and you can enjoy this video and many other videos we think you will love.
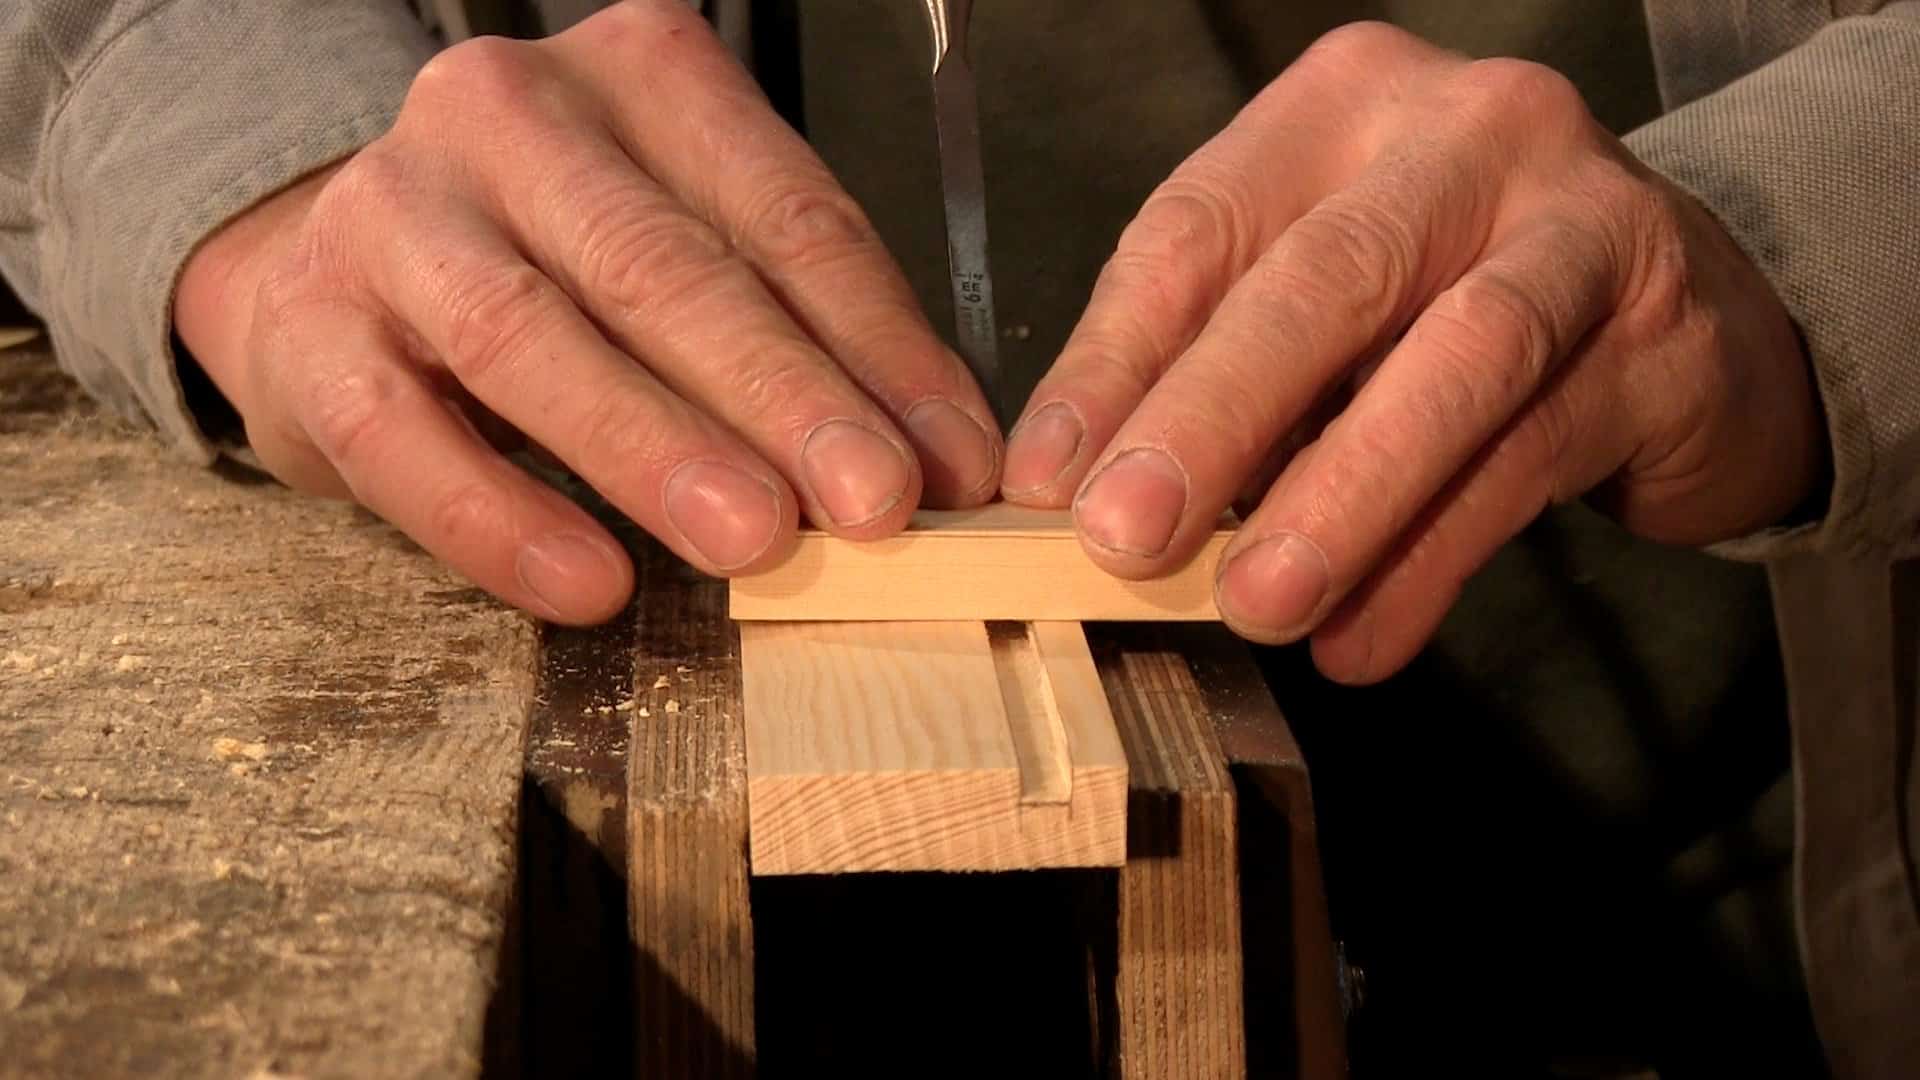
In this episode Paul shows how to run the groove to receive the lid. Paul shows how to make the groove with a traditional plough plane but also how to make and use a ‘poor man’s router’. This makes it more accessible to those working from a minimalist tool list.


Great video, I’m pleased you covers the plugging part, I was wondering how you did that 🙂
Nice job guys, many thanks
Try again, I’m pleased you covered the plugging part in the video 🙂 🙂
Well, you did it again Paul. You replaced another power tool, then replaced the expensive hand tool with a block of wood and a chisel. Well done and I learned a lot as usual.
Another week to wait? Ahhhh!, seriouly good video. 🙂
I enjoyed this video very much, well done Guy’s. I can hardly wait to start a few of these it is going to be so much fun.
Thanks again !
Steve
I am wondering if you would go about the procedure if you wanted to make a stopped grove? Or would it be better to do an operation similar to how you have demonstrated cutting a housing dado?
I did make a stopped groove once. Partly with a plough plane and partly with a chisel to make a stop. In the end I think your approach with plugging afterwards is much easier, since I had difficulties when assembling the whole thing – the little part of wood that should have been stopping the groove eventually broke away, as it is too thin and frail.
Paul,
Do you sharpen the plow plane blade the same as chisels/plane irons?
Hi D. Paul,
here is Paul’s method of sharpening and tuning the plough plane blades:
https://paulsellers.com/2012/09/buying-good-tools-cheap-6/
Florian
Perfect. Thanks VERY much.
When taking full length strokes with the plough, are you letting the depth stop come off the work so that there’s a bit of clunk as the plane comes forward and the stop hits the end of the piece, or do you try to make sure to only draw back short enough that the depth stop is already engaged when you start to push forward? Maybe it only matters, if at all, for the last few strokes.
What does the plug look like from the inside of the box? When fitting, did you try to get it to be the thickness of the box so that it looks plugged on the inside, or are you only concerned with fitting the aperture as seen from the outside?
The depth stop has no bearing until the last stroke, which settles the depth unevenly until all of the strokes refine the bottom of the groove to final, even depth. I keep the plough in the groove without withdrawing if I can as this saves realignment, but sometimes it does jump out. Its the skate of the plough that governs the thickness of the shaving and thereby the depth of cut. I forgot to look inside so I will when I go to the shop. I didn’t think it was critical on a chisel or pencil or fim=le box but it would on something like a jewellery box I think.
I’ll try again with the plow next time I get a chance. It seemed there was a “clunk” on each stroke as I got close to depth that was coming from the stop. Maybe I wasn’t staying lined up in some way.
It’s possible your depth stop rotated slightly during use and caused the noise, but another cause could be the fence striking your vise as it approaches full depth.
I love the vise cam view on this video.
I’ve never used a plough plane, but wouldn’t it be possible to stop the full length of the rebate, so that it wouldn’t be necessary to cover the wholes with plugging?
No I don’t think you can, because the skate of the plow rides in the groove. No groove, no cut. So the best you can do is a sloped groove, not a stopped groove.
To do a stopped groove, you would have to chisel it out near the end, but you could do some with the tenon saw.
Hi Paul (& team),
Great videos and really useful but I can’t find them on your YouTube channel. Is there anyway episodes 4-8 could be uploaded so I can continue to develop my dovetail box making.
Many Thanks
Nige