Craftsman-style Lamp: Episode 5
It’s time to fit the stops/planted rebates to the lid of the lamp. Once these have been mitred to fit, Paul glues up the top frame and fits the stops. He then cuts the recess for the hinges in the main frame.
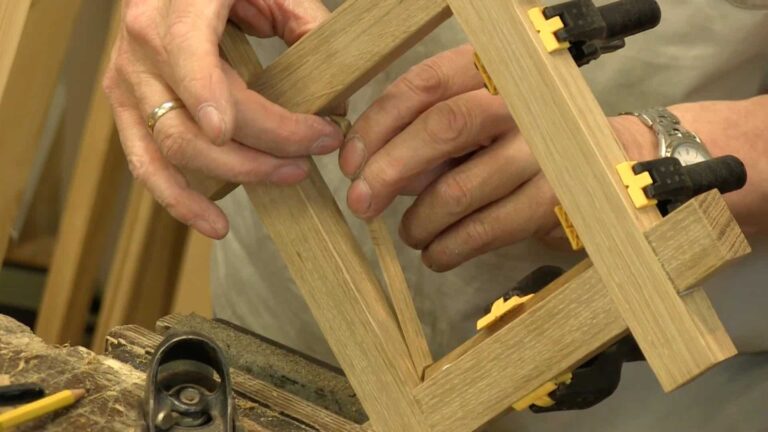
It’s time to fit the stops/planted rebates to the lid of the lamp. Once these have been mitred to fit, Paul glues up the top frame and fits the stops. He then cuts the recess for the hinges in the main frame.
Here’s a useful video on how to safely shape a scraper to just the right size for your project whether the bowl of a spoon or any curved surface.
Struggling to get a good burr on your curved scraper? Paul shows how he does it step by step.
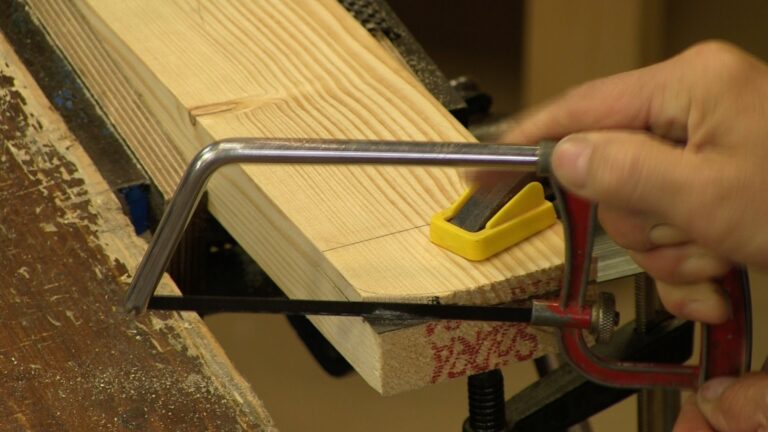
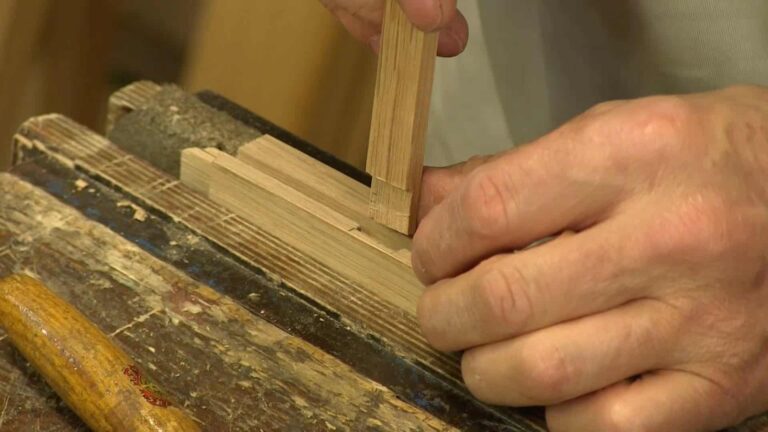
Time to get started on the lamp top by marking out and cutting the half-housing joints. Watch out for the techniques that make sure you get a nice flush finish.
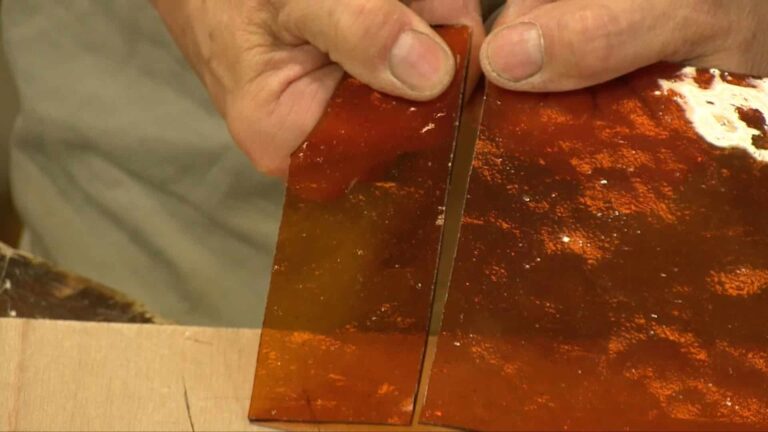
Want to use glass on one of your projects but not sure how to cut it to size? See how Paul cut the glass he needed for one of the panels of his lamp project.
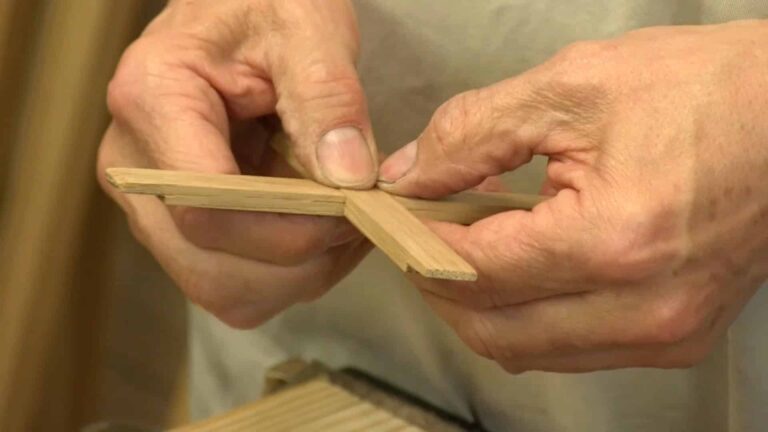
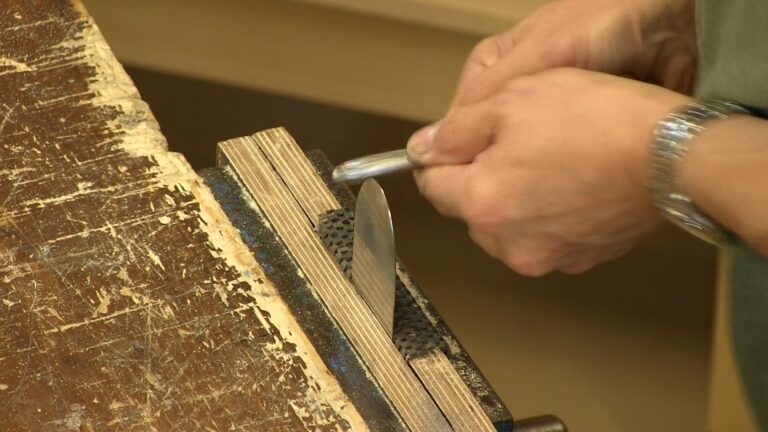
It’s time to cut the half-housing to fit the two glazing bars together and put together the side panels. Once that is done, Paul shapes and fits the small ventilation panels which fit in the top and bottom of each side.
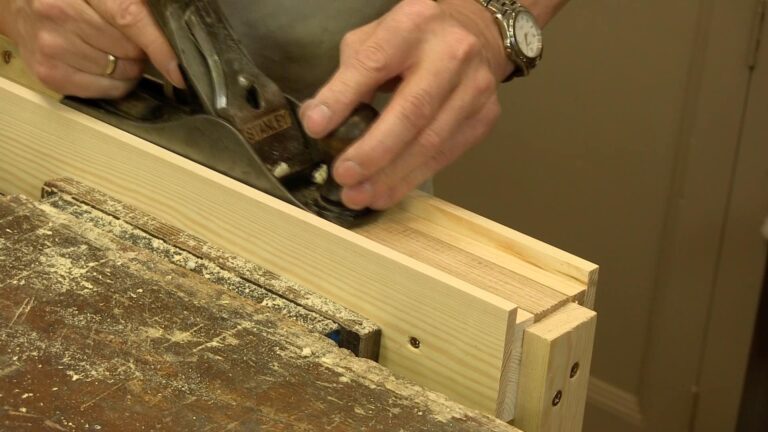
Working on a fine project and struggling to plane all your stock to the same thickness? Here’s the solution, a neat little jig that guarantees accuracy!
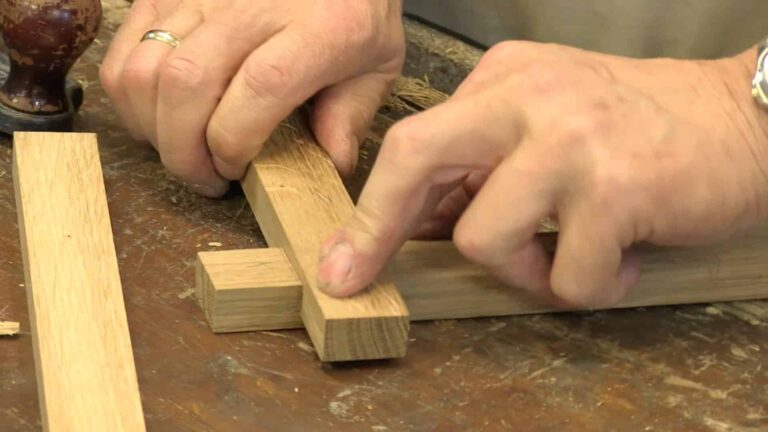
In this episode Paul marks out and cuts the very fine mortices and tenon for the glazing bars. There is more to come on fitting the glazing bars together and finishing the frame.
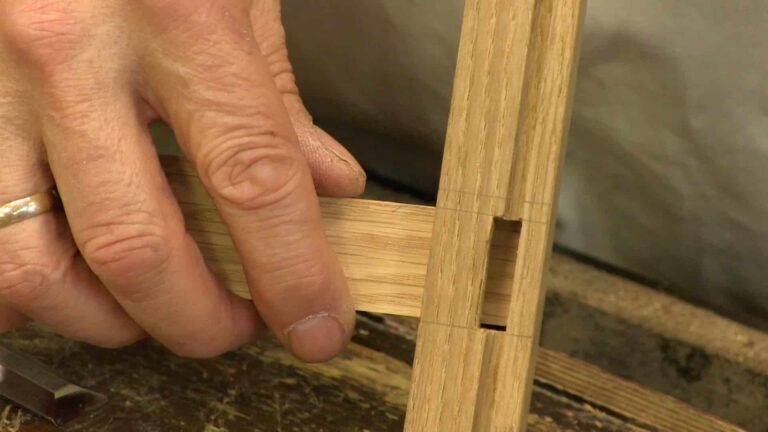
Paul gets started with the lamp by showing some of the design aspects and construction methods used in this projects. He then lays out the uprights, ploughs the groves and lays out and cuts the mortices and tenons for the cross rails.
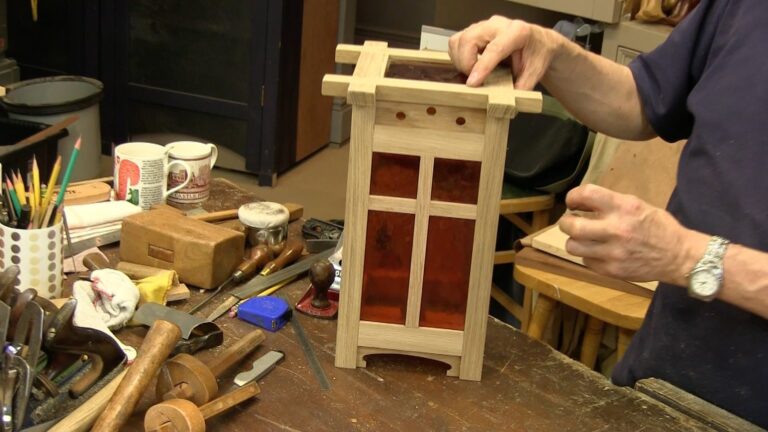
Join Paul as he makes this craftsman inspired lamp. The main construction methods are mortices and tenons with grooving for the glass panels. Watch out for the techniques Paul uses to get accurate joinery on this fine project.