Shoe Tidy
Posted 26 December 2019
This is the introductory page for a paid video series. Want to watch more of this project? Select the best option below to get started.
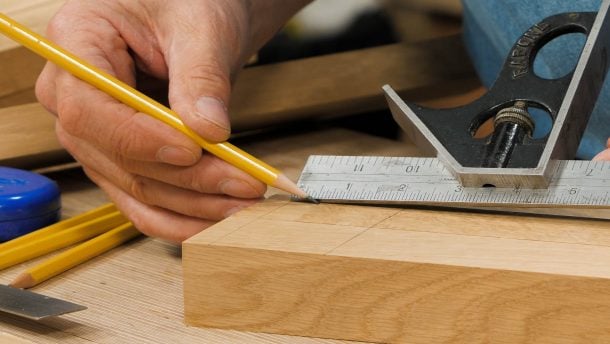
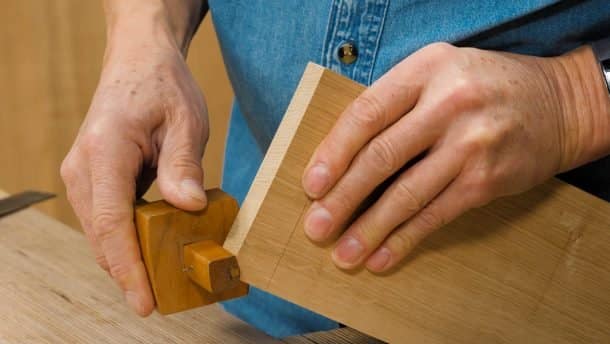
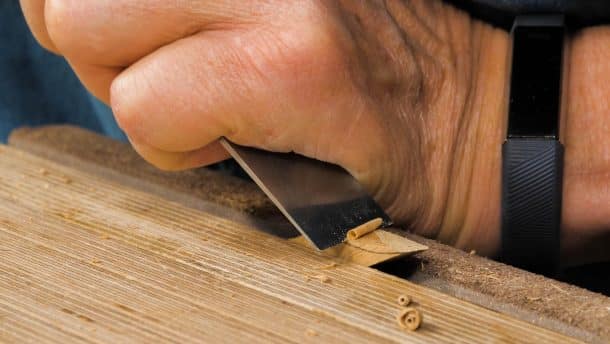
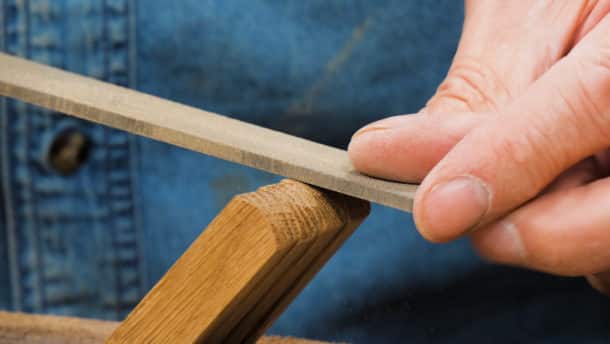
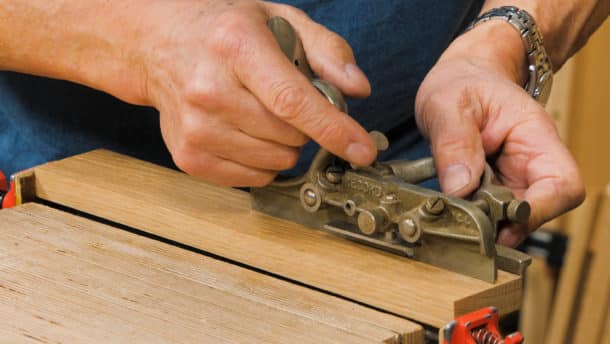
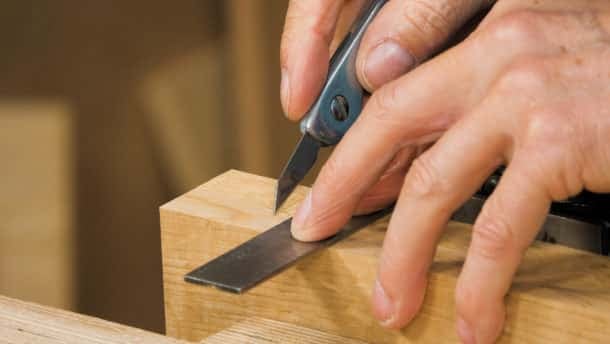
This shoe tidy has a distinctive tambour front which rolls up and down to give access to the shoes inside. It also has a lift-up lid which allows the storage of hats, gloves, and scarves in the top. While the overall cabinet construction is fairly simple, the tambour and the track it runs in are new to Woodworking Masterclasses and introduce a new and adaptable technique we think you will enjoy.


What??? Paul Sellers took Christmas Day off instead of finishing a project? And my faith in mankind takes another shattering blow!
Interesting looking project for me. I’ve been thinking about going to a “shoes off” living style. I live in a very sandy yard and going in and out tracks a lot of dirt. So I’ve been looking around for where to keep my shoes when I go in and out. It could be kind of convenient if it also provided a place to sit and maybe some storage to keep the other odd bits I need when making random voyages out and about.
Season’s greetings Paul & crew! Heck, you can even have New year’s day off too. No slacking about for the rest of the year mind you!
John
Happy holidays to all –
Practical and needed, seems more useful than what is available for purchase. Looking forward to this one.
Travis
What a nice Christmas present😀. A while back I suggested (a cabinet with) sliding doors in “project suggestions” on Common theWoodworking forum. My wish came true but even better with this tambour front🤩. Looking forward to it.
Happy holidays to all
Perfect! Just the thing I needed. My shoes are in a heap on the floor near the closet. It’s about time I get them organized.
Hi Paul and the team,a big thank you for the last 12 months,hoping you had a great Christmas as well as a great New Year ,great new project looking forward to making it many thanks robert parsons
Thanks Paul. Looking forward to this one!
Looks like another really nice project. I hope you hope you and your family had a great Christmas. I look forward to seeing this one and put t on my to-do list… !
I need to find out what is a “tambour front”?
Can’t wait!
regards,
Matt
A tambour is like the cover on a roll-top desk.
https://en.m.wikipedia.org/wiki/Tambour_door
It’s like a roll top desk if I’m not mistaken
Thanks!
Is there a cutting list for this somewhere yet?
Regards,
Matt
Merry Christmas Paul,
This serves two purposes, obviously a place for the shoes thrown in the closet. It is also a project I can finally use some White Oak I purchased several months ago.
Let’s make some sawdust!
Thanks Paul. The “tanbore” looks interesting. My dad has an old rolltop desk. I’m guessing learning how to make these flexible wood segments will have all kinds of potential applications.
I can’t seem to find the project dimensions, cut list, and required tools list.
Thanks,
Bob McConnell
Hi @SIMSY and @BOBMCCCT,
Paul is currently working on the drawing and cutting list which we hope to publish next week.
Kind Regards,
Izzy
Thanks Izzy.
Izzy
Izzy working on it and is it finished, yet?! I couldn’t resist! haha
Can’t wait to see what this is going to look like. I’ll probably have to increase the scale of it by about 1000% given all the shoes my wife has!
Happy Christmas and Happy Birthday Paul
Thanks Team Paul
bob w
Regarding the fabric for the tambour. Would canvas,linen or cotton be the best option?
thanks
joe
Hi Joe,
Paul says:
I would say cotton, I used curtain lining fabric for mine.
Kind Regards,
Izzy
Is the lid strong enough to sit on? Looking forward to making this, already ordered the hardware, ;P.
Hi Joe,
Yes it is.
Kind Regards,
Izzy
Thanks
Quick question regarding the cutting list.
The Tambour Strips are dimensioned as 27off 578x232x10mm. I’m confused as to the 232 dimension. Seems very large.
Is this correct?
Many thanks
Hi,
Thank you for pointing this out, we have now amended the drawing.
Kind Regards,
Izzy
Yes, that is rather large!
I reckon it must be 9/16 inch not 9 1/16
Hi Paul
Makes sense I guess.
Thanks for your reply.
Folks,
I’m ready to go with this, but have become very confused by some changes, which I hope Paul, or someone else, can answer….
Having cut all my wood for this I’m just about to start making it so I’ve revisited the videos… Only to find that in the past few days, (27 Aug 2020), the drawing has been updated to give a smaller groove, (7/16″ instead of 1/2″) in the front legs for the tambour to run in…
Why is that? I’m guessing it’s because it gives a better fit for the tambour? However, it seems to me that as a result of this change the mortice and tenons now need to be thinner at 7/16″ as well. Is that right or have I completely misunderstood something?
Also, half way through episode 4, when adding the bottom rail to the tambour, Paul switched to a 9/16″ thick cutter for the groove in that rail, and therefore makes a 9/16″ tenon on the end of the piece which fits into the previously cut 1/2″ groove in the side, (which you’re now saying should be 7/16″)?? I’m really confused as to what’s going on there, can you please explain what’s happened… Otherwise I have all my wood prepared and can’t start the project!!
And finally, just to confirm that the tambour strips have the wider dimension, (9/16″) as the front/back of the tambour… the 13/16″ dimension is the thickness of the tambour when complete, (plus the cloth!) Is that correct?
Thanks,
Matt
@Matt I haven’t made this but had looked at this carefully with an eye to making it one day.. Now watched some parts again and can make a few comments about the confusing measurements.
I think Paul repeatedly misspoke 9/16″ while making the tambour bottom rail (week 4) — he must have meant 7/16″. Watch from 34:45 in episode 4 where he says “the groove is half an inch and we are at 9/16 (he is referring to the “tenon” on the bottom tambour rail here) .. so, that gives a little bit of play, but no too much….” This “tenon” on the bottom rail must be a loose fit into the 1/2″ groove for it to run smoothly and that’s the “play” he is referring to. For that little bit of play it has to be less than 1/2″, not more. So, I would say he planned for a 1/16″ play between tambour and the groove on the legs.
For some reason the latest drawings calls for 13/32 tambour and 7/16 grooves reducing the play to 1/32 along the way. I can only speculate that Paul might have found the play of 1/16 a tad too large and revised those measurements. No idea why the groove was reduced to 7/16″ — but that makes the tambour thinner and lighter which I like. If you go with that I will also reduce the mortise and tenons to the same 7/16 and not the 1/2″ in the drawing (an error?). But the tambour bottom rail will now have to get a 13/32 groove and 13/32 “tenons” — an odd size for a plough plane iron.
In the end, I would say you can either stick to 1/2″ grooves and 7/16 tambour as Paul used in t he build or 7/16 grooves and 13/32 tambour as in the drawing. It may not make a big difference in the end. If I were to make this with those new dimensions I’ll use a 3/8″ groove on the bottom tambour rail and plane down the bottom-most tambour strip a little for a tight fit. Paul does something like that to account for the cloth thickness, but take out a 1/32″ more. That makes both grooves very common sizes: 7/16″ and 3/8″.
Hope I did not confuse you more than before.
Yikes, now the site has some irritating captchas that never pass and a few seconds wait.. We don’t get that much spam do we — this is pure pain.
Thank you Selva…
“Hope I did not confuse you more than before.”… No, not at all!
Yes I wondered if Paul had just “misspoke”, but at the point you mention in part 4 there is also an onscreen graphic indicating 9/16″, which would perhaps suggest it was deliberate, otherwise that’s duplicating the error??
The thing about the tambour groove being changed in the drawing in recent days to 7/16″ I suspect is because 1/2″ has proved to be too much now that he has had it in operation for a while… The problem is that I don’t have a 7/16″ chisel with which to cut mortices through that groove, and cutting 1/2″ mortices through a smaller grove is darn tricky to keep clean! I’ve overcome that, (just today), but cutting the mortices for the front rails at 1/2″ before cutting the groove. It gets a bit delicate and fiddley around the haunch, but I’ve managed it OK.
I follow all you say about the tambour sizing, and bottom groove, and had pretty much came to the same conclusion myself…
I have come to another sizing issue though… which I’m working through, length of side rails…
Diagram shows distance between shoulders as 13 1/4″, which makes sense, and corresponds with the panel sizes, and a groove depth of 3/8″… But cut list shows these rails as 16 1/4″, which means a tenon each end of 1 1/2″…
Now I think somewhere in the videos Paul does say that these side mortices should be 1 1/2″ deep, (but I can’t find that point now!), but I think that is too long… it leaves very little room for error before coming out the face, and the geometry doesn’t work right for where the mitred tenons “meet”… The legs are 1 3/4″ x 1 6/8″ (i.e. one face is 3/8″ longer), so I think the tenon on that side should be 3/8″ longer, (i.e. 1 3/8″… not 1 1/2″)… So the net result of all that is that the cut list shows 16 1/4″ length and it should be just 16”
I wouldn’t matter… but for the fact that I’ve cut all my pieces as per the cut list already and obviously can’t make the other corresponding pieces, (lid, divider, base, shelf), longer!
I’ll need to check carefully to see if there is a similar issue with the front and back… I’ve taken an awfully long time getting those 27 tambour strips just right!!
Thanks for your interest… I’ll report back on how it all goes!
Regards,
Matt
Just found it… 1.26 into part 2 Paul says, (with accompanying onscreen graphic), tenons to be “one and a half inches”
Matt
Yes I wondered if Paul had just “misspoke”, but at the point you mention in part 4 there is also an onscreen graphic indicating 9/16″, which would perhaps suggest it was deliberate, otherwise that’s duplicating the error??
From the way the graphic of metric conversions appear onscreen on many videos I’ve always felt those are cued to the editor by some text to speech and somewhat mechanically translated, not necessarily cross-checked —- I wouldn’t take that to be a re-affirmation of what was said. To the team’s credit sometimes they do notice such errors and correct with a subtitle, though not in this case. I think somehow 9/16 got stuck in his thoughts and he repeatedly said it instead of 7/16. Doesn’t make sense otherwise. I do that all the time, but in my case its not just the lips that latch on to a wrong number, the brain does too with terrible consequences. ha ha..
For the 16 1/4 – 13 1/4 = two tenons of 1.5″, I would keep the total length as is, use the 13 1/4 and then trim the tenon length as required during fitting. In other words tenon length is nominal, or that’s how I treat it, generally. All that matters is the side rails come out same shoulder-to-shoulder length which is guaranteed while marking.
I haven’t checked this, but as the grooves are offset identically from the outside edge, the non-square legs will need non-identical tenon lengths where they meet (mitred), as you say. But again, cut all to the 1.5″ length and then trim and mitre later.
This is a very enticing project.. have fun.
hmm.. edit button has gone missing.. The first sentence in the above was supposed to be a quote.
“All that matters is the side rails come out same shoulder-to-shoulder length which is guaranteed while marking.”…
Yes… That’s what I’ll do… But it’s not “All” that matters… lots of other parts need to be of appropriate size. That’s why it’s important that cut lists are correct!
I’m sure it will will be just fine when finished!
Thanks,
Matt
@SIMSY @SELVA
Hi,
Paul has checked through the recent queries again and has spotted the mistake. We are currently changing the drawing named ‘view of end from inside’ from 7/16″ to 1/2″.
We apologies for any confusion caused!
Kind Regards,
Izzy
@izzy
Looks like the drawing has gone back to the 7/16″ version currently.
please provide the imperial dimensions of the last entries on the cutting list
I read the stop as 5?? feet x1/2×1/2
and the shelf support as 10??feet x1x1 1/2
I do not understand the part I marked with the ???
I am envious of Paul’s handwriting but I can’t figure what this means
thanks
KS
KS
The entry is Lin Feet, which stands for a length in linear feet.
So that 5 lin feet x1/2×1/2
Just means 5 feet x 1/2x 1/2
is it dumb to ask why not write feet?
Thanks
It indicates that you need enough material to cover that length, but not necessarily as one piece of material. You can often get that total length from shorter pieces.
For instance, you might be able to get 5’ of crown moulding from two 1’ pieces for the sides of a carcase and a 3’ piece for the front. This enables you to use cutoffs from other cuttings.
You need to look at the plans to see what lengths you actually need and still be economical.
Thanks a lot Larry
I appreciate your explanation. Thank you very much.
That’s very informative. It makes a lot of sense. Thank you.
The cutting list calls for 1/2 inch plywood is that a nominal measurement or the actual measurement?
Thank you.
Also thank you Larry for your final explanation of Lin ( the website would not let me post a thank you)
Hi KS,
It is a nominal measurement, in the UK plywood comes in metric thicknesses so 12mm would be the equivalent. If your cutters for the grooves are imperial then I don’t think the odd 0.5mm will be a problem. In fact it might make assembly a bit easier!
Thanks Paul Rowell for getting to the practical nub which is should the plywood be exactly the width of the groove or shy of it?
There is always uncertainty in accuracy
I would suspect that the groove made by an 1/2 blade would be slightly larger than 1/2 inch (if the blade is actually 1/2 inch)
Of course, the conversion from millimeters to inches is never precise
And making your shoe tidy is not the same as making a jet engine as far as tolerances go
As far as UK versus US, Home Depot does sell 12mm sanded plywood
Which I shall go with.
Thanks for your interest.
Ken.
The back panel on the cutting list is 22.75” high. If it fits between the 2 rails, it should be about 17”. What am I missing?
Thanks
Ken
I think that the longer dimension is the width not the height.
Thanks Paul Rowell
Ken