Wall Hung Tool Cabinet – episode 6
Posted 30 December 2015
This is an episode in a paid series. Want to watch it? You just need to sign up as a paid member, and you can enjoy this video and many other videos we think you will love.
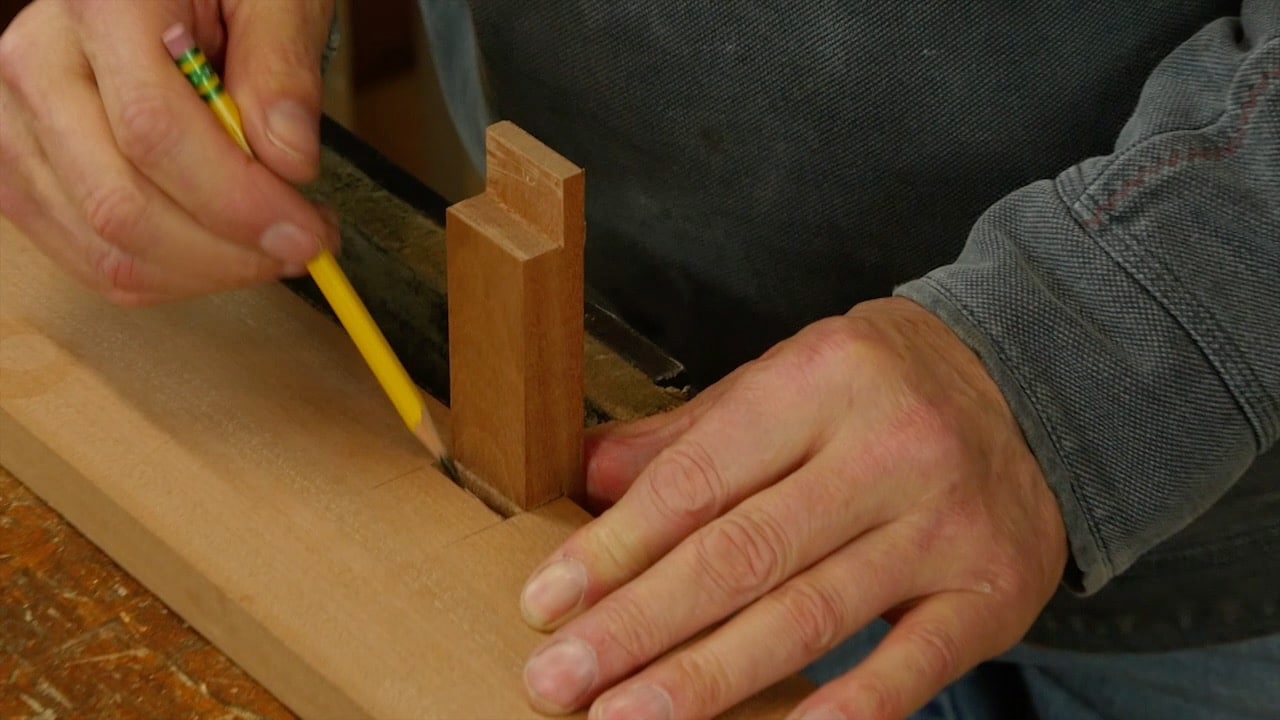
The next stage is to cut the mortice and tenon for the divider which sits between the two drawers. He cuts the mortice and then cuts the tenon accurately to fit, before housing a parting piece into the bottom.


Thanks for this one, nice job
Thanks.
thanks for the precis work !
Thank you for the lesson.
Christmas again, thanks.
even after all these years of watching masterclasses (and now and again working wood) I still can’t believe that just two swipes of a #4 is the difference between it not fitting and fitting
I know, I never think a single swipe or two will make such a difference!
I always am encouraged by watching Paul chop mortises. My own still are terrible, to my eye. Practice, practice. One day they will look that clean and crisp.
Thank you
I am wondering about why no shoulders were used for the central divider. What principle do you apply for when you use tenon shoulders and not?
Happy new year to all.
john
My guess is that it is not necessary since the frame prevents any tilting of the divider and the other side is never seen. That saves a small amount of time. Also it allows for planing to fit as Paul does, which wouldn’t be possible with shoulders on both sides.
Is there a PDF set of drawings for this project? I wasn’t able to find it in any of the previous episodes.
The PDF is posted alongside the introductory video. See here below Cutting list and drawing. It supposedly will be updated later as it says there.
There is a “temp” drawing for now listed under “Cutting List & Drawing” portion of the project info video “Wall Hung Tool Cabinet – project info”
Do the screws holding the divider go through slots rather than holes to allow for movement of the bottom relative to the (long-grain) divider piece? Or is it enough just to use screws instead of glue?
It seems that a couple of battens, taped or clamped to the inside of the carcass could have relieved a lot of the stress involved in keeping the router plane inside the lay-out lines. Maybe a plug in the mortise hole as well to prevent a slip that might blow out the front edge. It would be a shame to make a mistake now with all the hours invested in the existing pieces.