Tool Drawer Organiser: Episode 5
Posted 27 March 2019
This is an episode in a paid series. Want to watch it? You just need to sign up as a paid member, and you can enjoy this video and many other videos we think you will love.
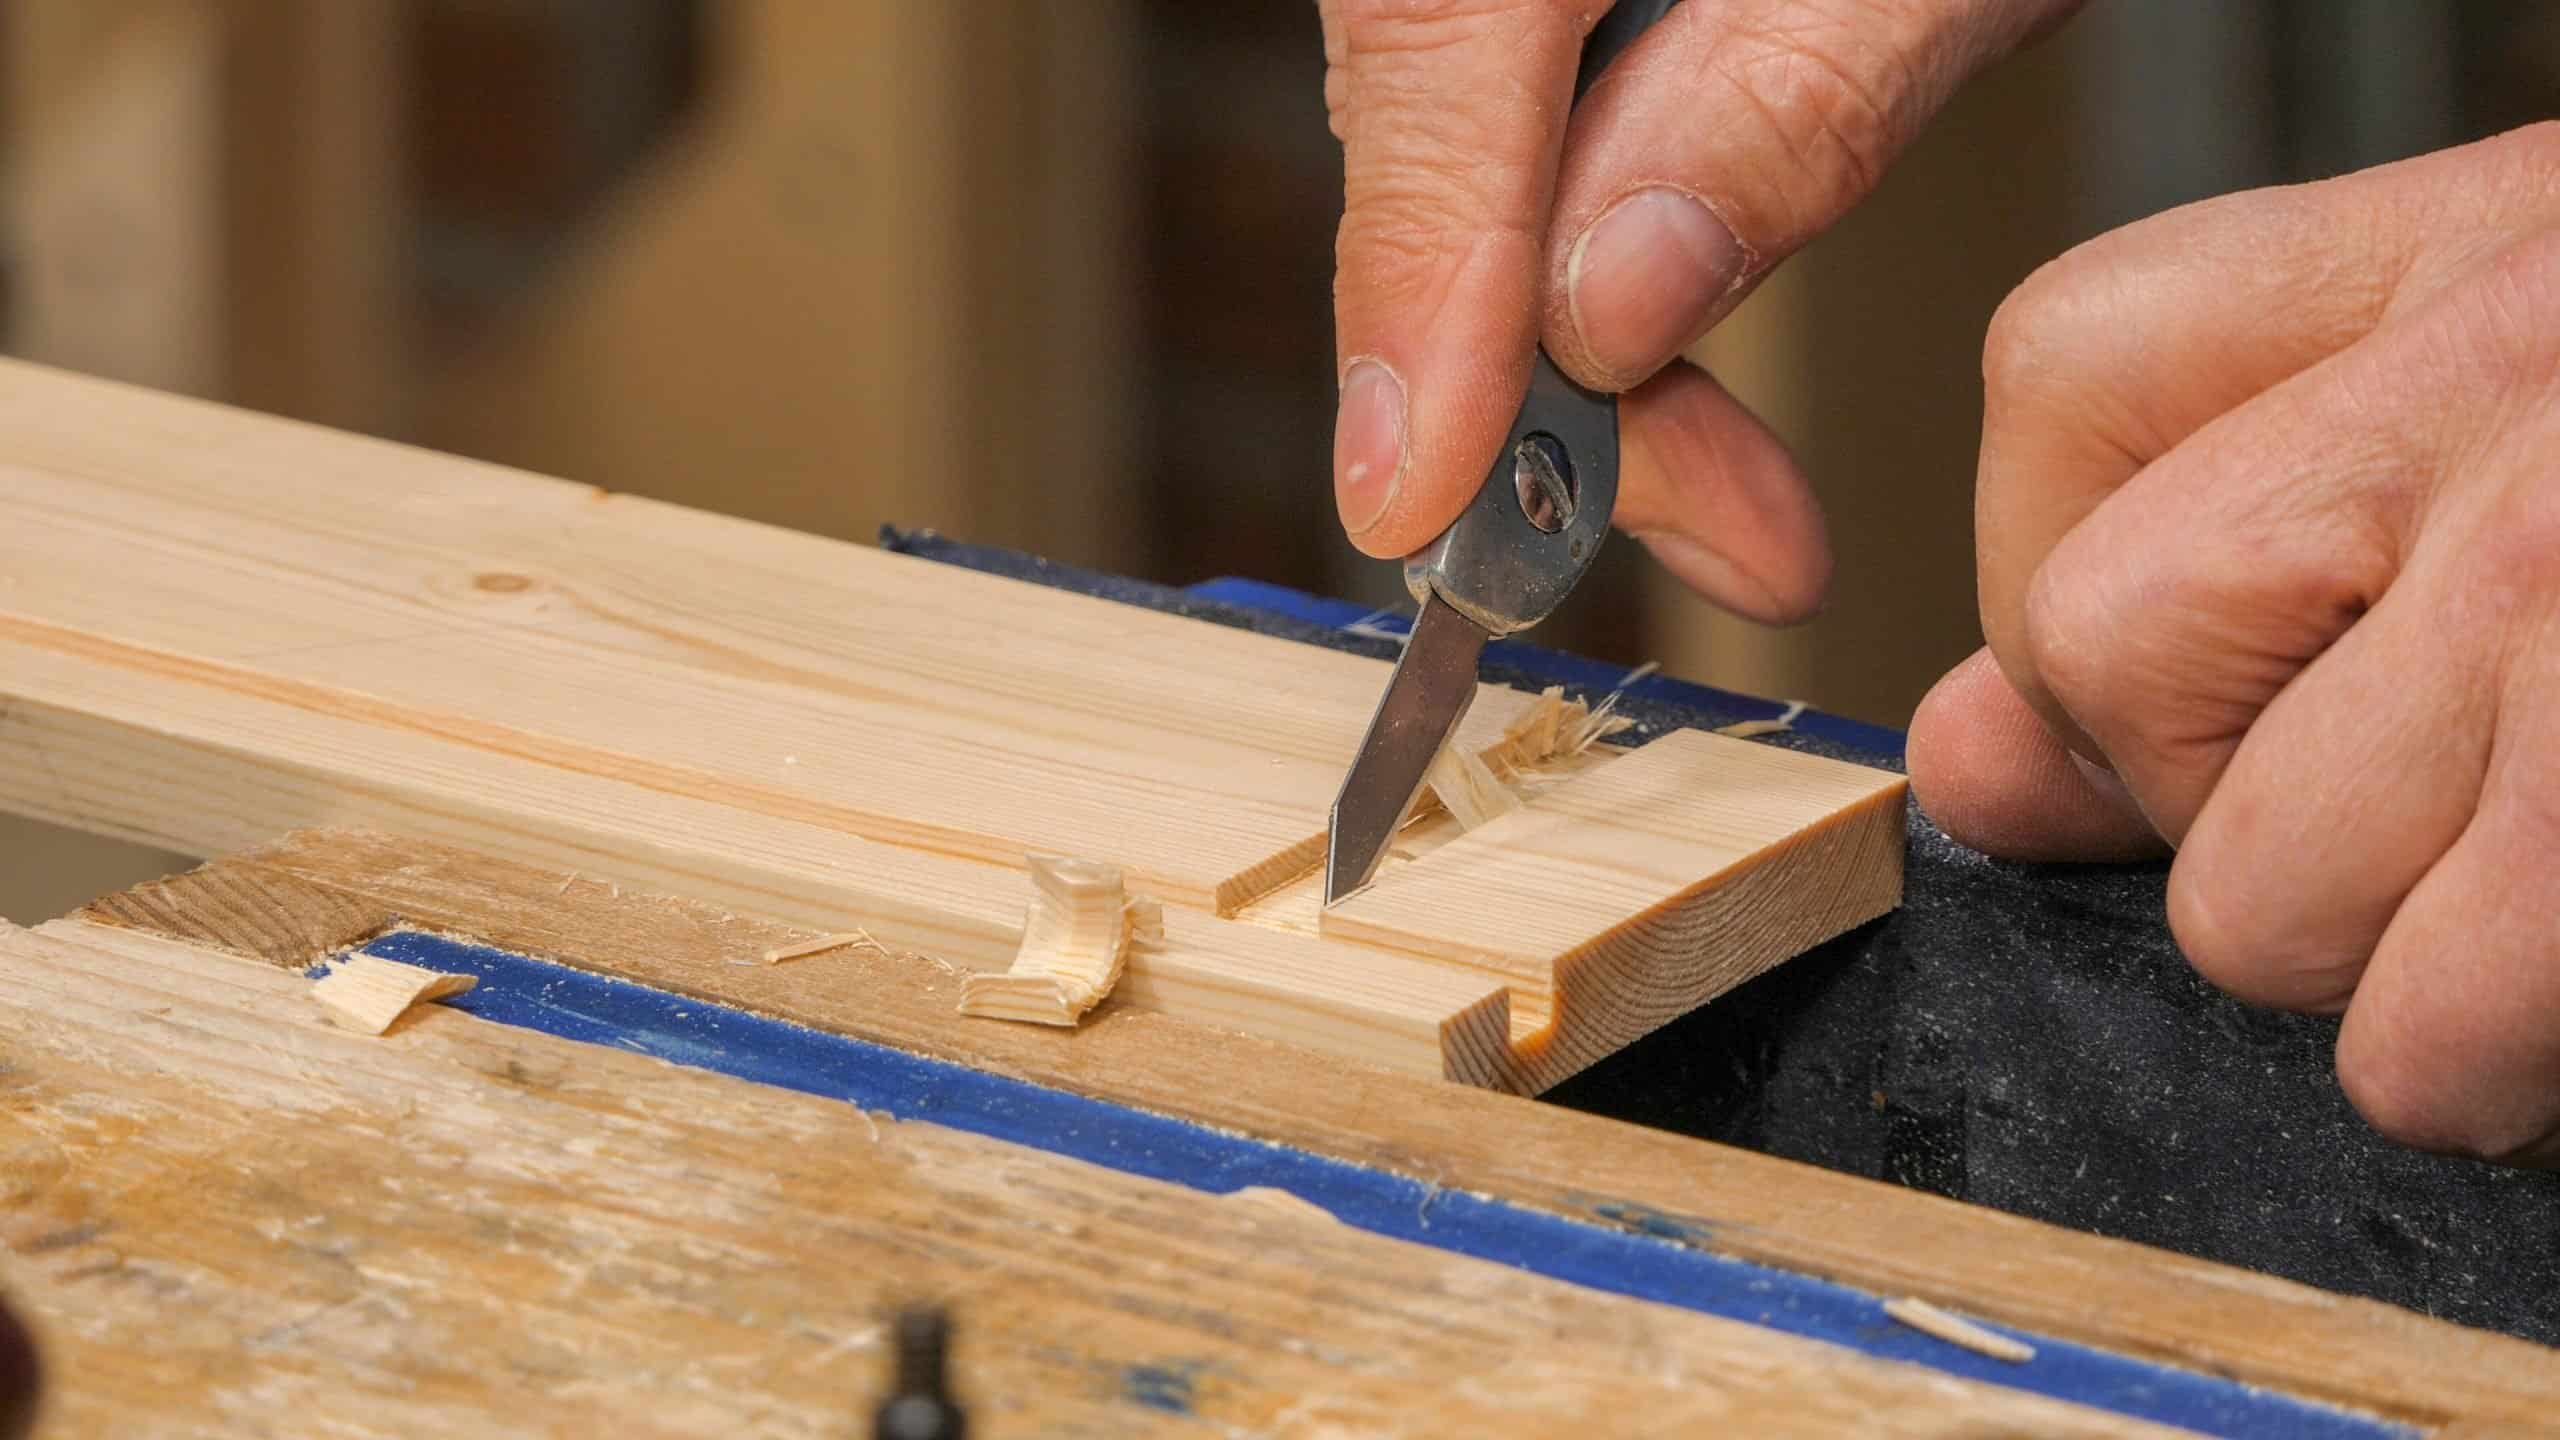
Drawer bottom grooves are up first in this fifth episode. Paul uses a plough plane to make the grooves and then moves on to cutting the housing dadoes for the back of the drawer. Paul has a few tricks of the trade that make this process a bit faster. He then fits the drawer bottom by bevelling the sides of bottom piece to fit the groove.


Which plough plane are you using in the video?
It is a Record 044
Paul,
A brief comment would be helpful on your thinking for your technique here for fitting the back and bottom using feathered, planed edges, the as opposed to your other method of the mortise and tenon for the back and a rabbited edge. I suppose the choice is driven somewhat by the lesser stress for this small box, whereas on your M&T method for the back, it is found in a tool box with heavier drawer contents.
Is there a particular reason to bevel the drawer bottom to fit the groove, rather than rebate it?
A big advantage of a bevel over a rabbet is that it is easier. The rabbet would produce a tongue that would need to match the groove. If it is a little thin the panel will rattle, a little thick and it won’t enter the groove. The bevel, though, can just sink in as far as needed. If you think too mathematically about this, you’ll think they are the same, but in practice, they really are different.
OK, but the video does show matching the bevel to the groove, so I still struggle to see how a bevel is going to be really much different to a rebate.
Once you load the drawer, you won’t notice any rattle from either too loose a rebate, or too shallow a bevel.
It may be that there was no particular reason.
A perfect rabbet with tongue a hair thicker than the groove needed for a tight fit is very hard to sink in, a bevel with its variances can give a snug fit much more easily. I prefer the latter.
And when the fit is lose it does rattle in my experience, loaded drawer or not. Though a few blobs of silicone can silence it 🙂
Hi Colin,
Paul says:
No, you can go either way, but my way is easier.
Kind Regards,
Izzy
Loose-sided beveled boards in a groove is a traditional drawer or panel construction technique going back centuries….. quick, effective, only one bench-top tool (a plane). Assembled loose in a grooved housing it allowed seasonal movement of the base-board or panel without any visible gaps that would result from the side wall of a rebate meeting the edge of the board.
………….you could use a rebate though, if you prefer.
But the effect of seasonal movement would be seen on the cross grain width of the board, which you would either have to cut with some clearance to allow for said movement (if for some reason the panel was oriented such that the movement happened across the drawer), or do as shown in the video and have the movement front to back, regardless of how you dress the edges.
It may be that there was no particular reason. I was just curious.
I wonder where Mr Sellers finds stock thin enough for the bottoms. I can only find stock that thin in annoying long strips that then need lots of laminating. I wonder if he makes his on a bandsaw.
I’m curious about the decision to not through dovetail the back of the drawer? Seems it would eliminate all the measuring with the dado construction. Personal choice?
Way late with this but since I’m on….Personal choice but with reasons too. 1. Having some depth beyond the back of the drawer allows pulling it out to access the very back without tipping; 2. The extra length can also be used to refine said length to use as a backstop for keeping drawers flush 3. As always with Paul, over time, he’s showing several ways to do it, builds up your repertoire to chose as necessary or to help you find your preferred way.
at about 19 minutes, I might be tempted to cut the other end of the piece for the drawer back rather than go through the knot. 1/2 of one; 6 doz of the other I suppose.