Bedside Cabinet: Episode 11
There’s a bit of rounding to do next…
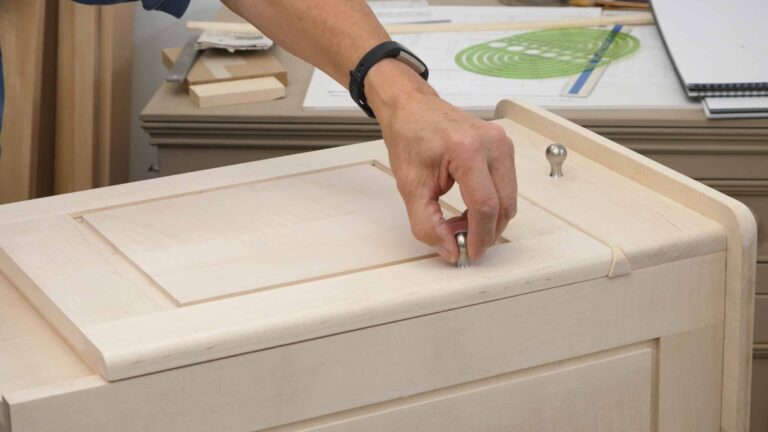
There’s a bit of rounding to do next…
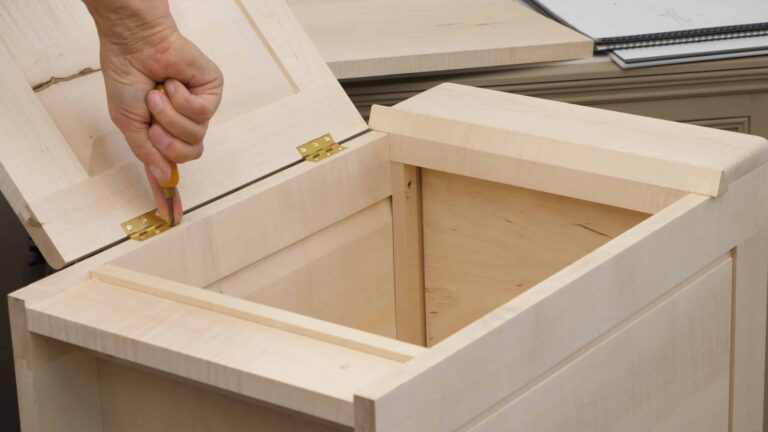
We’re ready to fit the drawer and drawer runners so that it runs smoothly. With that done, Paul shows how to make the rebated turnbutton rails used to attach the top of the cabinet. The door top and bottom of the drawer front are angled to fit the chamfered divider rail, then the side edges are rounded in preparation for hanging and fitting the door.
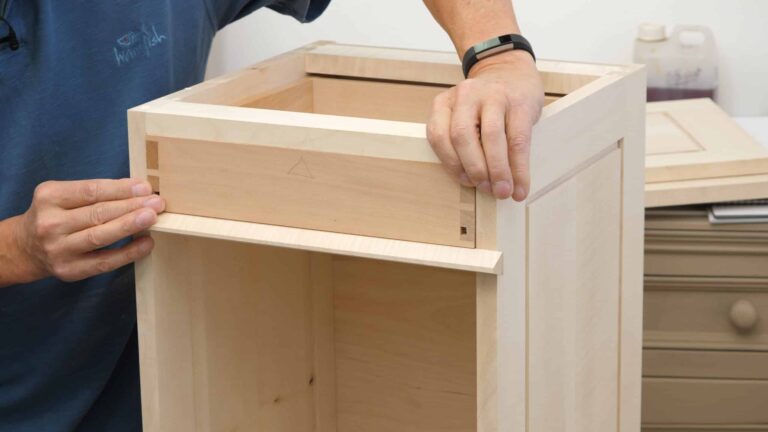
With the drawer dovetailed, some grooves are run in the drawer bottom. Housings are cut for the back of the drawer, then the drawer bottom and back are fitted which is the final step to do before the glue up.
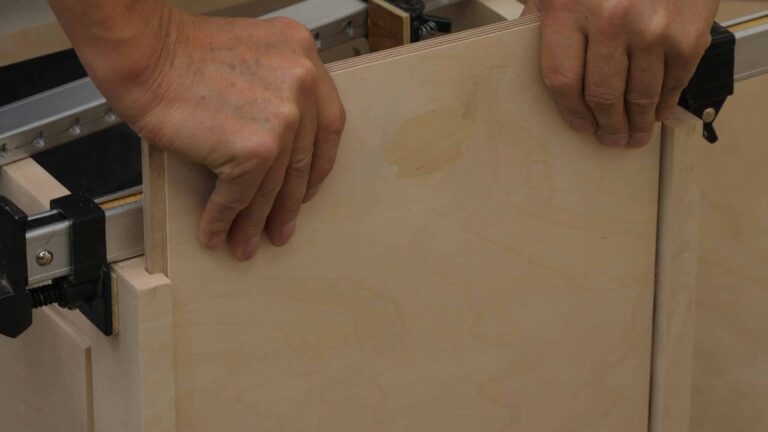
The back panel is cut to size. Then it is rebated and fitted into the groove in the sides of the cabinet. Then the drawer crossmember is beveled in preparation for the glue up. With that drying, the stock for the drawer is prepared before the dovetails are cut.
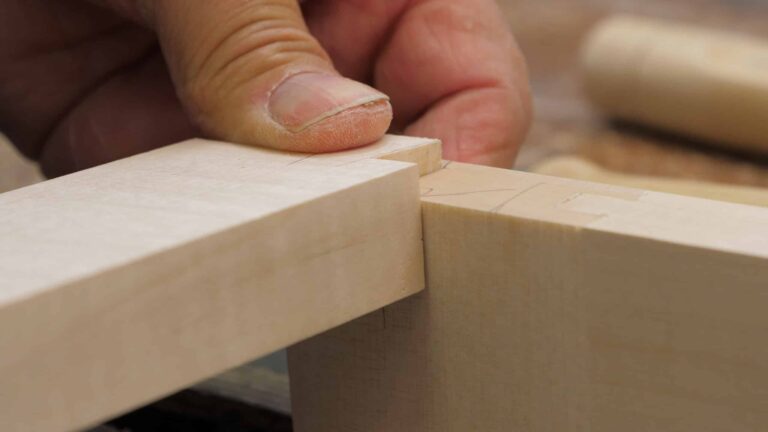
The top rails provide structural strength by dovetailing into the side panels…
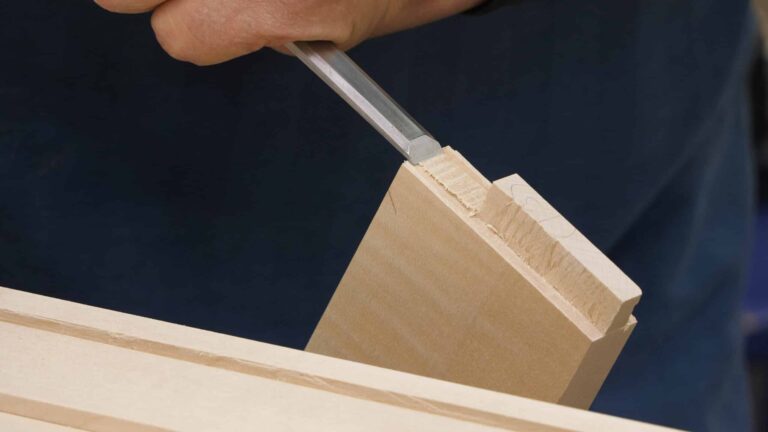
The shoulder lines on the cross rails are defined with a knife…
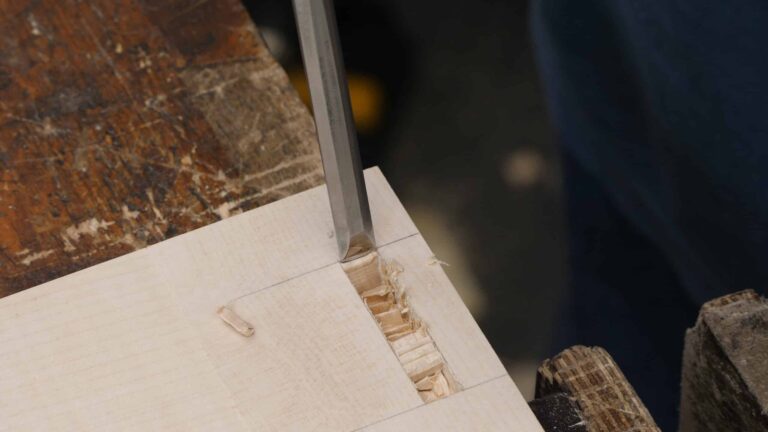
With the frames together, the joinery for the case of the cabinet can be laid out. The mortises are cut to exact depth and the rails prepared.
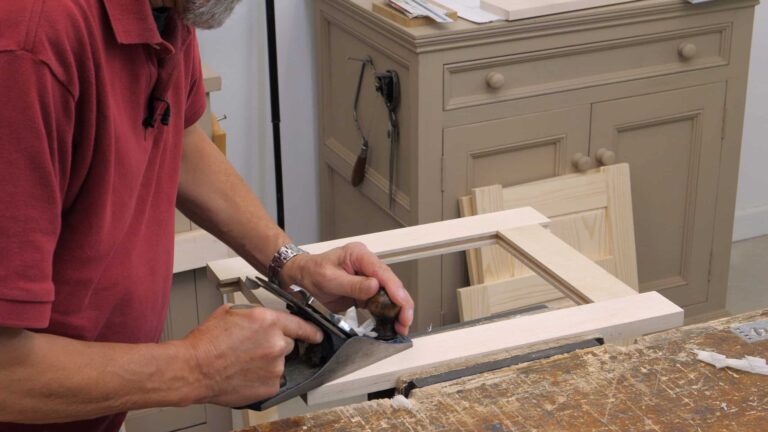
With one side of the panel rebated, the other side is beveled to fit in the ploughed groove.
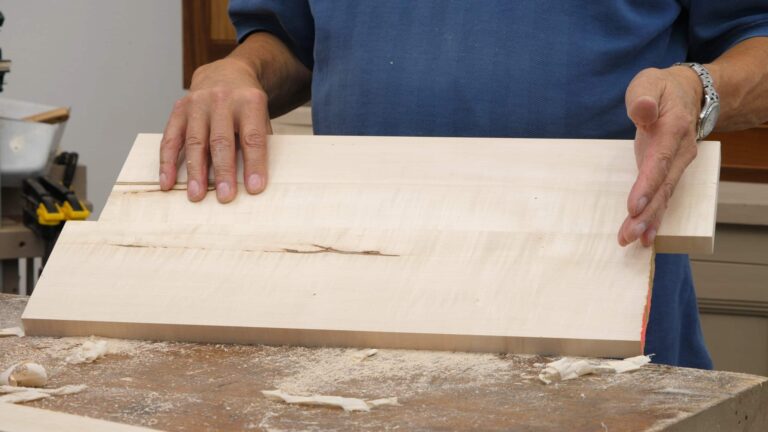
The panels can now be prepared. They are glued up, then planed and cut to size…
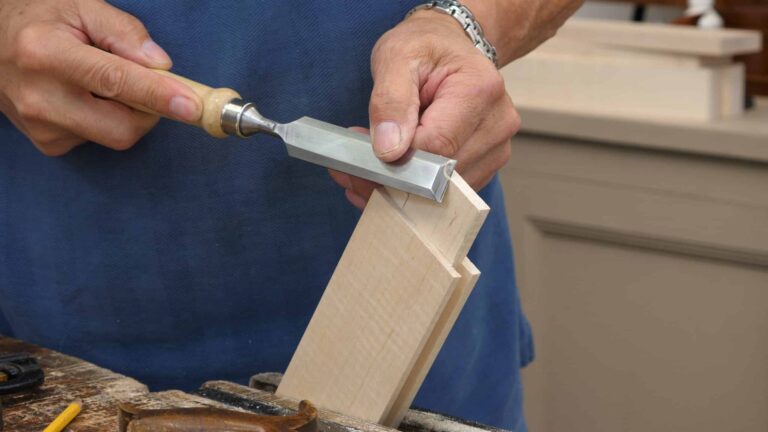
The mortise holes are laid out with the aid of a router plane. Then the groove can be ploughed in the stiles and the mortises cut.