Bedside Cabinet: Episode 10
Posted 17 January 2018
This is an episode in a paid series. Want to watch it? You just need to sign up as a paid member, and you can enjoy this video and many other videos we think you will love.
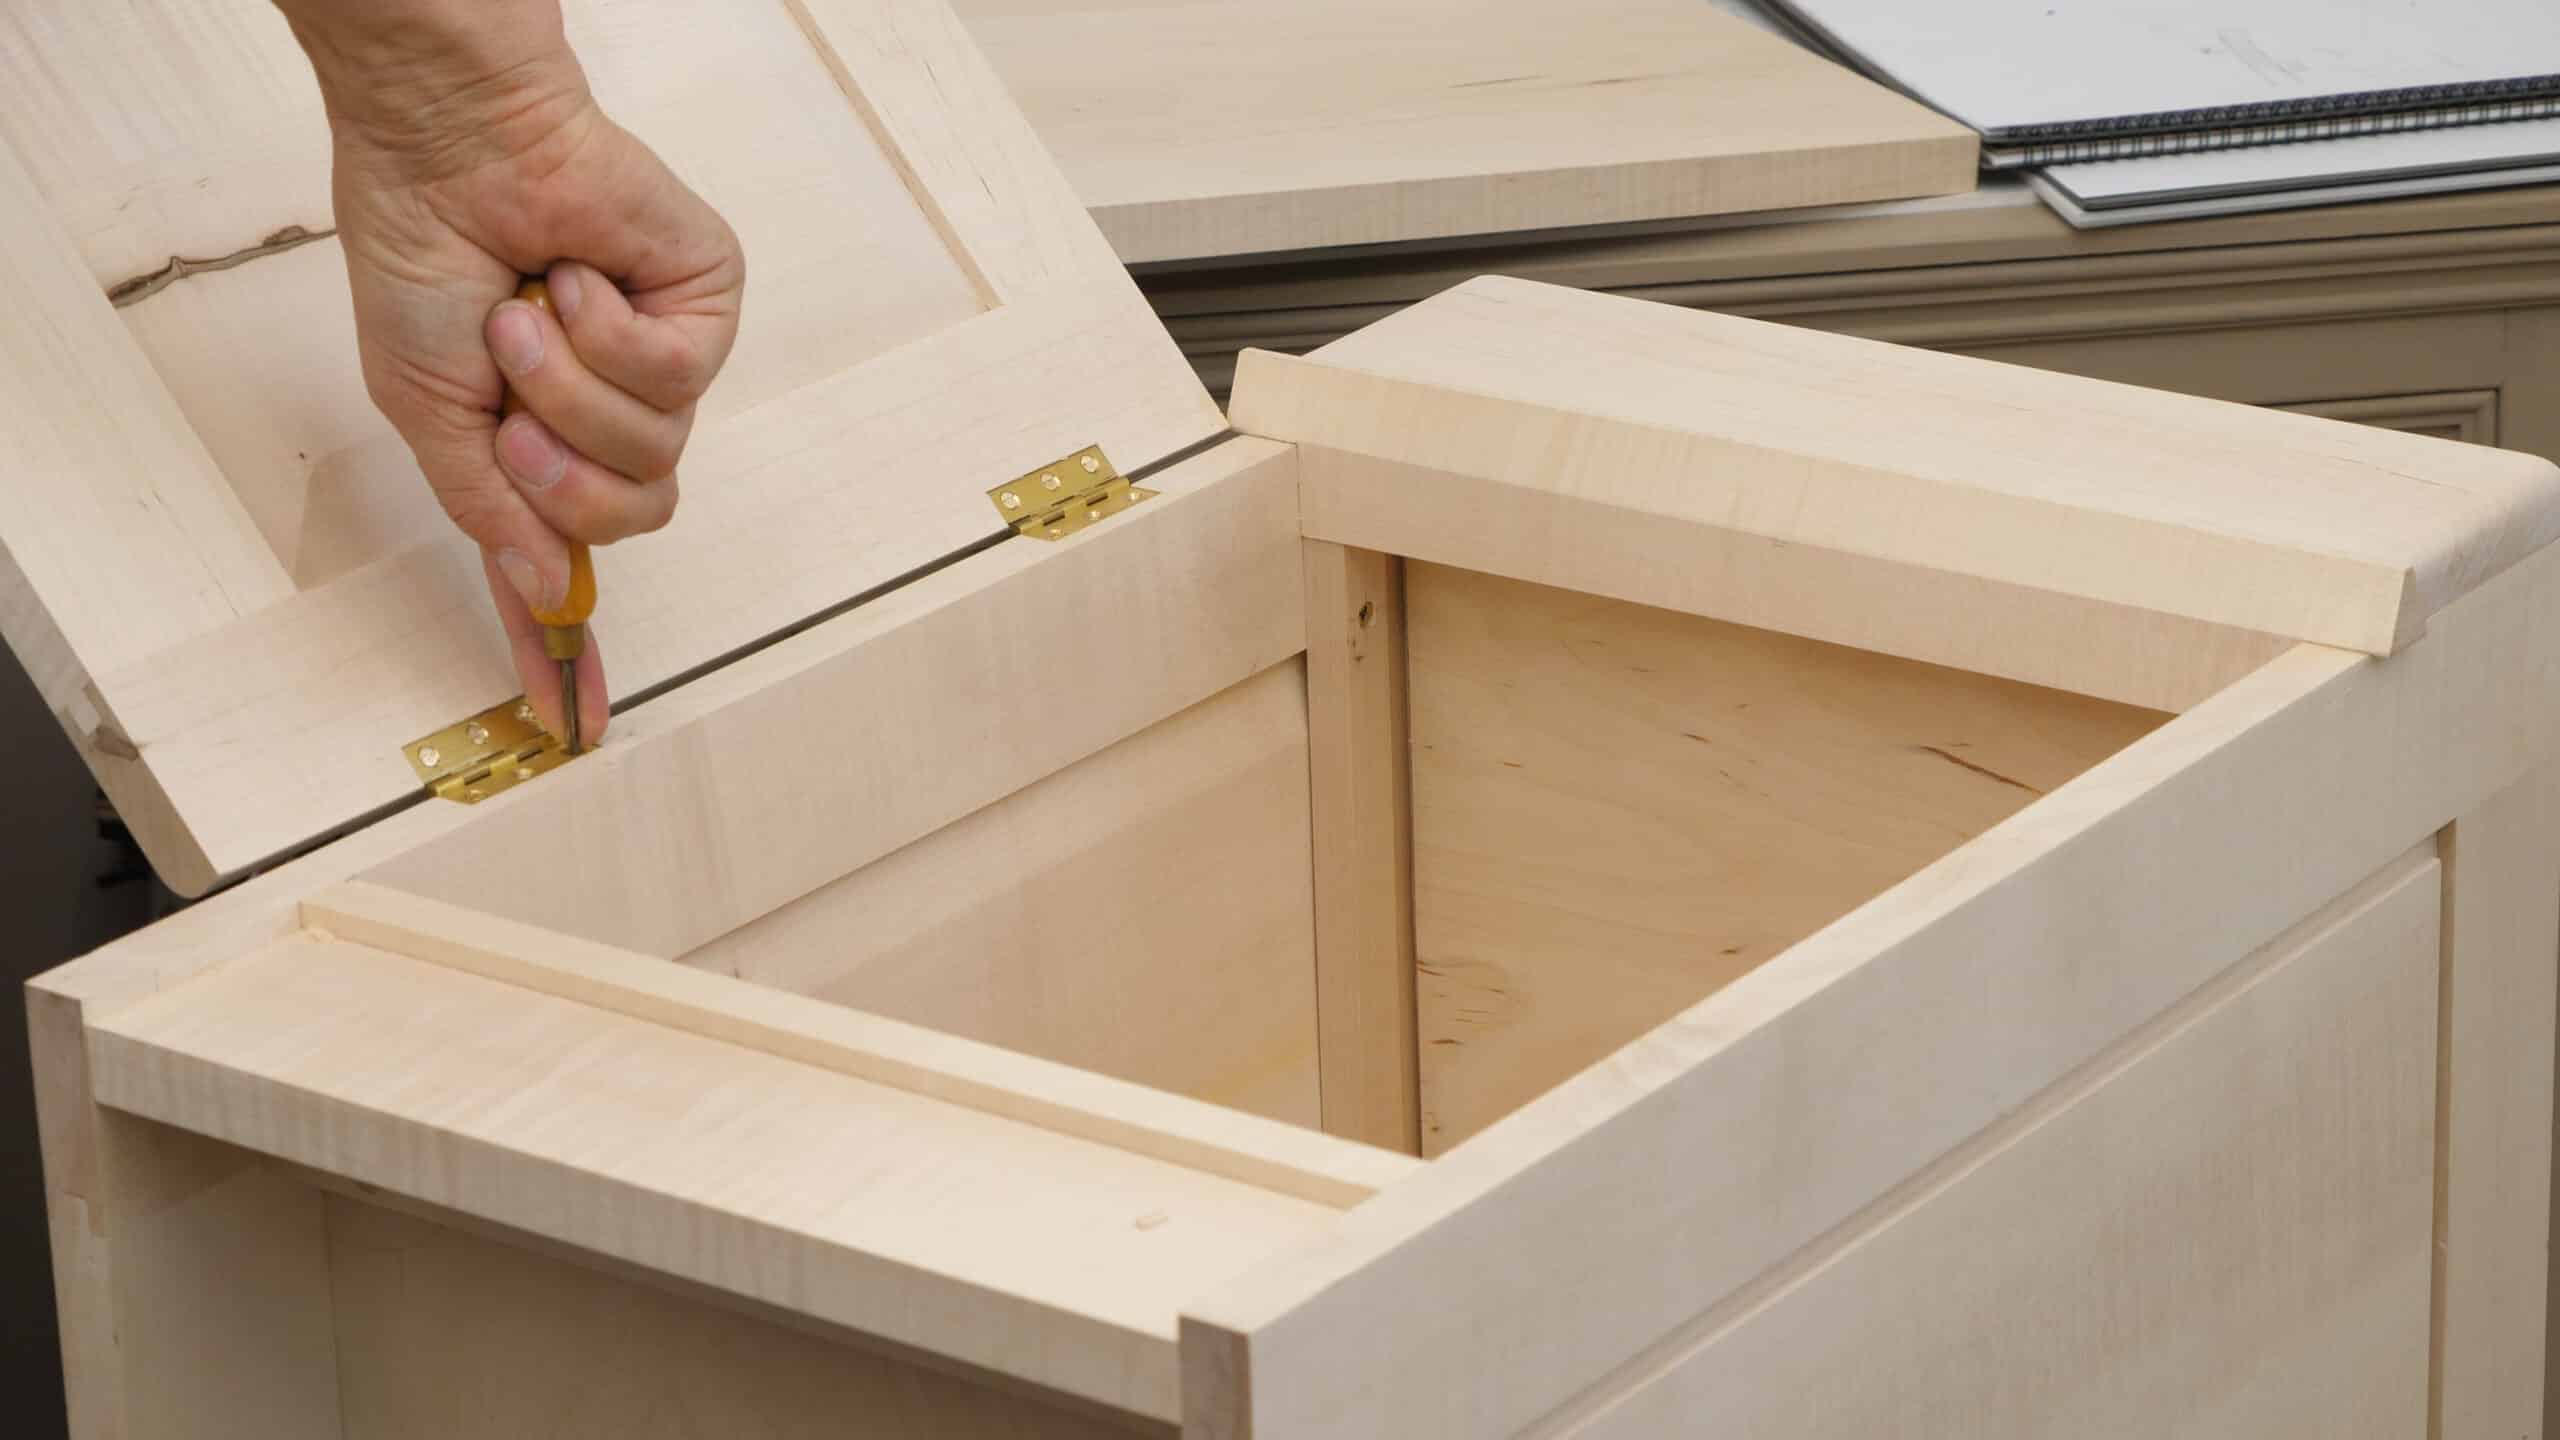
We’re ready to fit the drawer and drawer runners so that it runs smoothly. With that done, Paul shows how to make the rebated turnbutton rails used to attach the top of the cabinet. The door top and bottom of the drawer front are angled to fit the chamfered divider rail, then the side edges are rounded in preparation for hanging and fitting the door.
Great stuff as always. I do wish that there weren’t so many things “fast-forwarded”. I really enjoy watching Paul work through all of the project without skipping ahead. Thanks!
ha, i’m the opposite:) i wish more things would be fast forwarded, as it gets to repetitive in some of the more obvious parts. i guess they always have to balanse that in the editing.
I agree. I could do with less “fast-forwarding” as I enjoy a level of repetition. Repeating the “same” element will usually be different in some ways just because it’s impossible for anything to be exactly the same (different areas, grain direction, problems/issues that arise) & I believe that repetition helps one retain the knowledge & expertise that Paul demonstrates. Awesome videos regardless. Thanks Paul & everyone involved.
1st class work and presentation as always. Thank’s.
Great stuff as ever Paul. One thing I don’t quite get though. Could you elaborate on what you meant about pushing the drawer to one side when you attached the new drawer front please? I don’t understand why this doesn’t simply result in the drawer front ending up too far the other way (i.e. standing slightly proud on the left as you view the cabinet) once the front has been attached.
Thanks
I think that if Paul’s drawer was slightly undersized, and if it was sort of tilted, then by pressing one side up against to the runner, would guarantee that the drawer face will be flush. But since Paul always makes sure his work is square, then such domino effects are not seen in videos.
Once fitted so that the drawer can run freely, there will always be a small amount of side to side motion, the 0.5mm Paul mentions. What Paul did ensures that there is no point at which the front of the drawer exposes the sides of the cabinet. Paul left the front 1mm wide to enable this to work.
Thanks Philip. I’ve rewatched the vid and I get the intention. Still not quite sure why when the drawer is running central in the cabinet the front isn’t simply pulled off centre but I’ll have a play with a drawer unit here and see if I can clear this up in my head.
I was confused about this too. @FILADAMS are you saying that there is 0.5 mm play, side to side, in the drawer box itself and then the applied drawer face is oversized by a full mm? So, if the face is flush and the box is pushed over, then really the face is centered on the box. Now, when the drawer finds its center on the rails, the face will be centered, too, and will overhang 0.5 mm on each side. No matter how you shove the drawer at this point, left or right, you’ll never expose the edge of the side panels. Is that’s what is going on and Paul’s steps when he applied the face was just a method of centering it?
@ed Yes, that’s it exactly.
Thanks, the project is moving along nicely.
However, my heart sank at the disappointment of seeing the Spear and Jackson, plate down, against the cabinet..
Does anyone recognize the brand of chisels Paul is using here? I like the length of the blade and handle.
The Aldi chisels but he turned his own handles. There is a video on it.
Looks like the Aldi chisels with modified handles
“ I don’t want to go too far because I can’t put the shavings back on.”