Sellers Home Wardrobe: Episode 14
It’s always comforting to see a project coming together in the final stages. In this final episode, we go through the finishing steps of applying the finish and transporting the wardrobe.
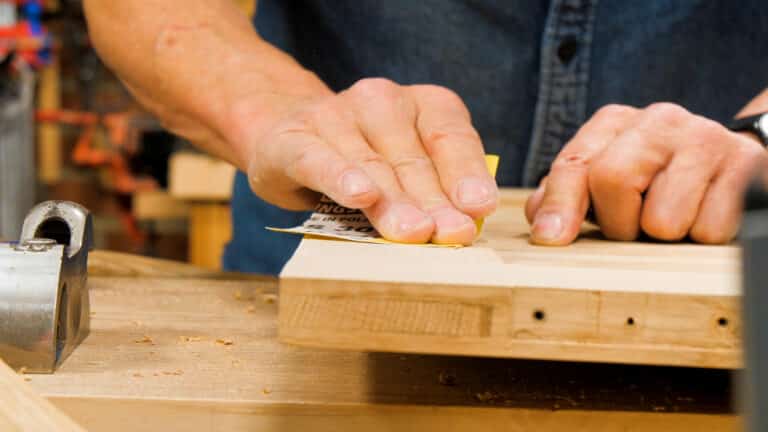
It’s always comforting to see a project coming together in the final stages. In this final episode, we go through the finishing steps of applying the finish and transporting the wardrobe.
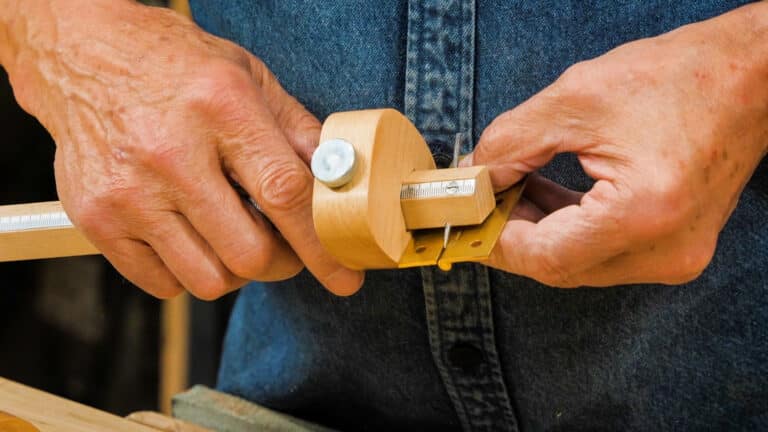
Making the handles is straightforward and especially so if you make a template to lay out with. Paul always tries to include as many techniques for making as possible, and there are one or two in this episode of the series that you may never have seen.

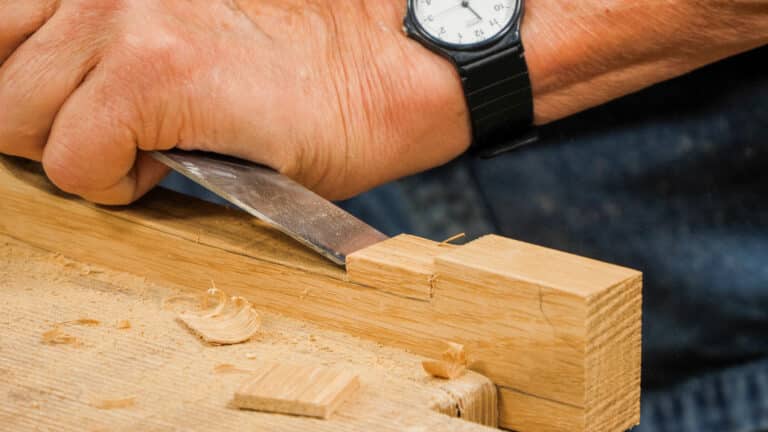
With the drawer dovetailing completed, we use the plough plane to create grooved pieces to attach to the inside bottom rim of the drawer and glue them in place.
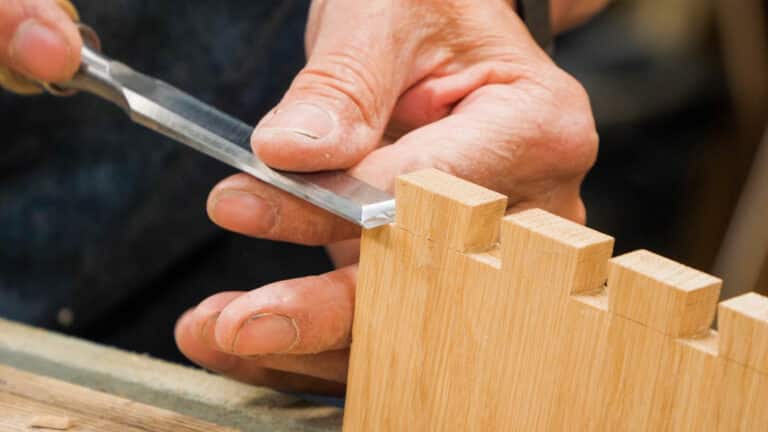
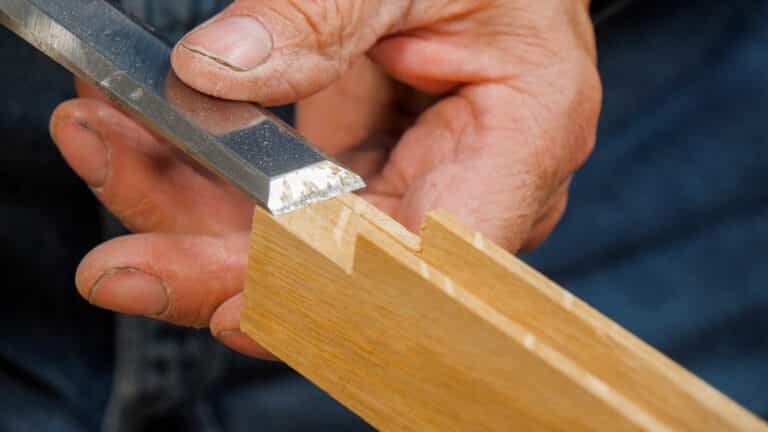
In this episode, we go from rough stock to completed joinery for each drawer corner.
Assembling the doors follows the same pattern as the side panels for the main body of the wardrobe, and we must focus on squareness and accuracy to minimise the risk of distortion.
Making larger doors can be challenging, and getting it right, especially in pairs, makes the process all the more exacting.
By the end of this episode, we’ll have all of the plywood shelving and back fitted, and installed and moulded the outer facings to shape. We’ll also shape and fit the feet to the wardrobe facing.
In this episode, we walk you through the first stages of assembling the wardrobe in the awkward and restricted place of the garage workshop.
To prepare the wardrobe for assembly, Paul uses appliqued stops rather than rebating the solid wood because of the added wood Paul needed to seat the screws.
With the side panel frames concluded, we prepare for the addition of plywood panels that give the benefit of rigidity in the final assembly. The oak lippings are grooved and fitted to add a complete look, ready for assembling the main carcass of the wardrobe.