Picture Frames: Project Info
Posted 24 September 2014
This is the introductory page for a paid video series. Want to watch more of this project? Select the best option below to get started.
Description
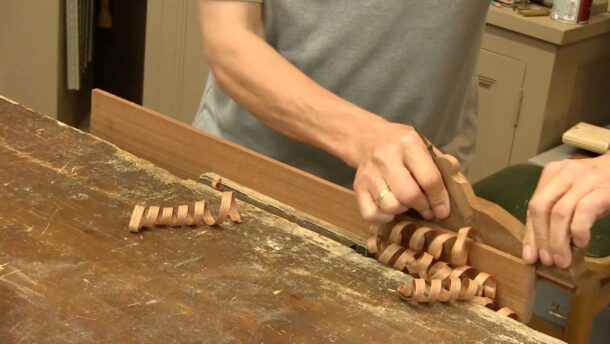
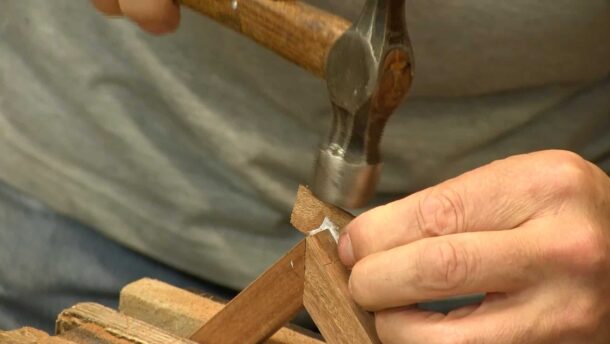
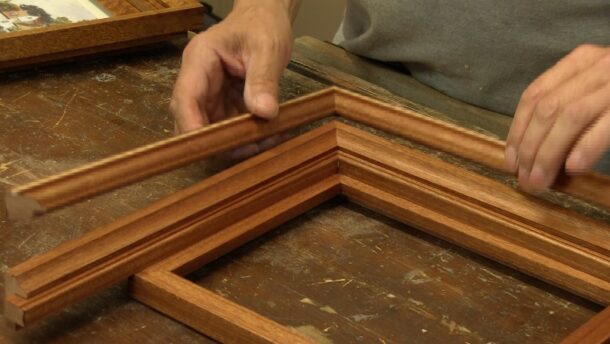
Learn what it takes to make picture frame by hand that have crisp mitres and splined corners. Paul shows how to make everything from a basic frame to a stacked frame using a number of different techniques.
Tools needed:
- Square
- Marking gauge
- Tape/Ruler (or both)
- Smoothing plane (No 4)
- Rebate plane*
- Moulding plane or scratch stock (see 3rd episode)
- Poor man’s beading tool (video coming soon)
- Poor man’s mitre box
- Shooting board
- Handsaw
- Tenon saw/dovetail saw
- Small steel hammer
* = optional
The joints used in this project:
Mitre joint


Paul
Who is that smart looking bloke in the picture?
I’ve been wanting to do something like this project for quite some time as my wife loves pictures and every time she wants to hang another she buys a frame and I always tell her that I can make that……….now I will be able to! Great one!
I miss speaking with you in person and hope that you will be making a trip to the Woodworking Shows in the states this year especially in Somerset, NJ where we first met.
thanks,
mygranddadsaw
bob
Now I can frame all the pictures I’ve taken all over the world.
Minor typo – the video says ‘rebate plane’ not picture frame..!
Thank you for the heads up Richard. Now corrected.