Chest of Drawers: Info Page
Posted 3 February 2017
This is the introductory page for a paid video series. Want to watch more of this project? Select the best option below to get started.
Description
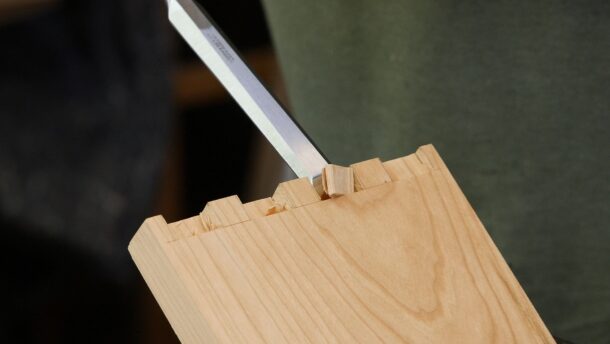
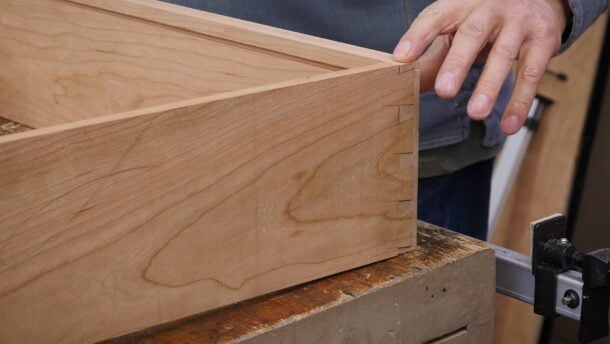
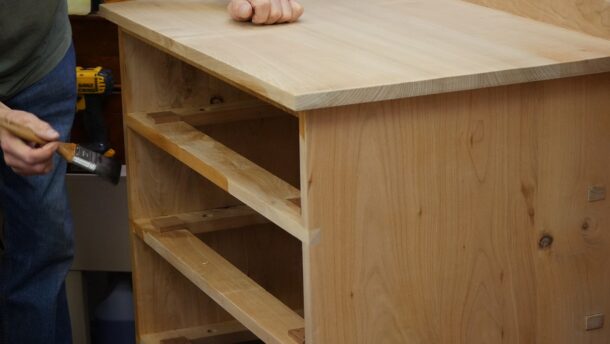
Paul has designed and made this Shaker-style dresser or chest of drawers to demonstrate the techniques and considerations needed in larger case work. There are features surrounding the joinery that allow for the contraction and expansion of the wood, yet the same joinery ensures longevity in a piece designed to last through centuries of use. It can be adapted to individual needs and specification and is a great project to advance your woodworking skills.
The tools you will need are:
- Knife
- Square
- Combination gauge (or marking gauge and mortise gauge)
- *Cutting gauge
- Tape/Ruler (or both)
- Dovetail template
- Chisel hammer
- Chisels (at least 1/4″, 3/8″, 1/2″, 3/4″ and 1″)
- Hand router (see how to make a ‘Poor Man’s Router here)
- Smoothing plane (No 4)
- *Jack Plane (No 5) (optional but recommended if preparing your wood
- from rough sawn)
- Spokeshave
- Plough Plane
- *Scrub Plane
- Mortice guide
- Winding Sticks
- Handsaw
- Tenon saw
- Dovetail saw
- No 80 Cabinet Scraper
- Card scraper
- Brace & bit and hand drill or drill driver
- *Rasp
- File
- Screw driver
- Compass saw
* = optional
Joints List:
- Housing dado
- Housing dado with single dovetail (front to side divider rail)
- Housing dado with integrated through mortise and tenon (rear divider rail)
- Slope-haunched mortise & tenon
- Half-lap dovetail
- Rebate

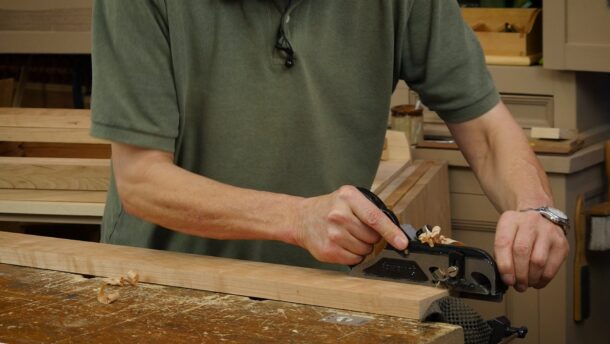
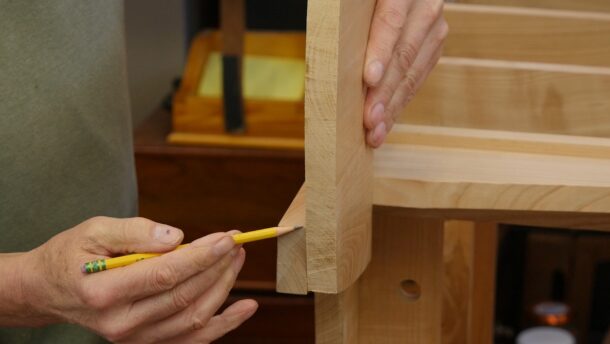
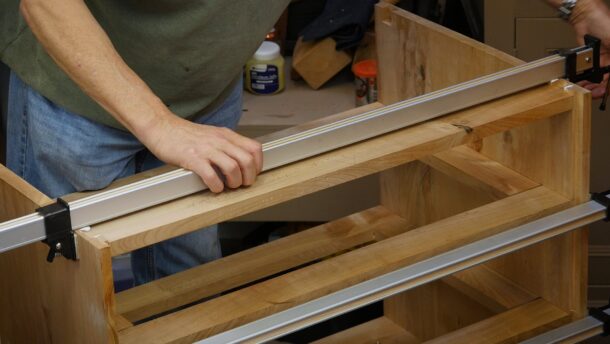
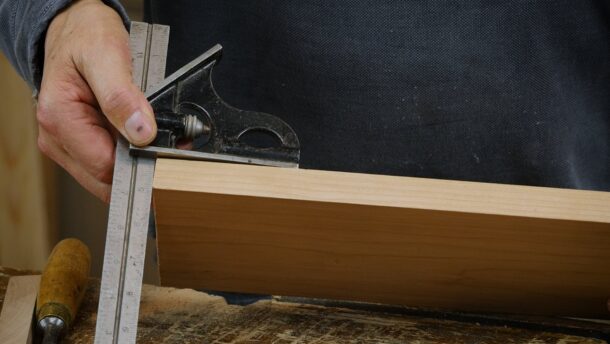
I do not not like bending down to access drawers that are close to the ground. Do you think this design could be adapted to have longer legs? Something along the lines of an arts & crafts/shaker highboy?
Seems to me you can just make the legs 6″ longer, or whatever you like.
Pretty good height off the ground already, no?
@robinhc,
There would be no issues with doing this as long as you use straight grained, knot free stock at for the bottom section of the legs for strength.
So… Did you build it with longer legs?
Yes! Can’t wait, this one’s gonna be awesome.
Another 3-4 month project? Are we being Shakered /Arts and Crafted to death? Always look forward to all the projects….
Exactly what many of us were looking for! Thanks Paul and all.
You do not have to copy a design exactly. Use the information as fundamental to a piece of furniture construction and then make it your own.
A project we can sink our teeth into.
What stunning design and craftsmanship. I would love to see Paul show how he works his initial concept into a prototype, and then into a final product.
Paul and Crew
I am looking forward to this project. This will be a great foundation build which I can use to make night stands and an armoire. Cherry has to be one of the best hard woods to work with.
Thank you
Jamie
Looks like a great design Paul. Look forward to seeing exactly how it is made.
On my very short list of projects was to build dressers for the wife. This will fit the bill perfectly. Thank you.
Very much looking forward to making this chest of draws in the Shaker design. These pieces are classic and wonderful examples of tried and true workmanship. Will probably make several for the grandchildren!
Bill, USA
Looks like a great project. Is there a bedframe in the future?
We will take in into consideration. Thank you for the suggestion, Phil
Awsome. Great timing on this one as I just started preparing a small drawer cabinet project.
Can I be a first to ask a question for the Q&A session? Namely, I’d like two top drawers in stead of one, side by side. How do I construct the now needed mid devider rail (flat and upright) and connect it to the now needed upright front devider rail and the existing horizontal front devider rail? I did some sketching but end up with a joints nightmare..
Mic
Amsterdam
@Mic van Reijin, have you taken a look at the Tool Cabinet video? He does a divide drawer there that should give you an idea of where to go.
Yeah but those are bottom drawers, they ride the bottom of the cabinet. With two top drawers, 4 pieces of wood (the deviders) come together in one place, which has to bear some load too.
Hello @micr,
You would need an additional divider rail tenoned into the panel to support the inside bottom edges of the drawers. Of the same width and thickness as the edge dividers would work. make sure not to glue the rear mortise to allow expansion and contraction.
You would want a vertical divider in the middle, around 7/8″ x 2 or 3″ which either houses or dovetails into the middle of the top front rail and front divider rail of the divider below.
Then a 1” x ⅞” x full depth piece between the two draws which acts to seperate and align them.
Does that all make sense?
Best, Phil
Hey @filadams,
Thanks fro the explanation!
This bit is confusing: “You would need an additional divider rail tenoned into the panel” – I suppose you mean “tenoned into front divider rail”?
If so, than that makes sense. If I look at page 3 of the above PDF, then there’d be an additional divider rail in the middle. The vertical divider then houses also into the front divider rail. And then a separator that could house into the vertical divider.
My concern is then that in the front divider rail I’ll be chopping mortises from the top and the back. Wouldn’t that weaken the front divider too much? I see the length tenons on the side dividers are more than half of the width of the front dividers. That doesn’t leave much meat for the vertical divider. Or should I use smaller tenons here? Or tenon one tenon through the other tenon?
Regards,
Mic
@micr, the divider rail would need to be tenoned into the front and rear divider rail. The vertical divider would then house into the top of the front divider, or dovetail into the front edge of it. You would have to take this into consideration when thinking through the width, length and position of the tenon, as well as the depth of the housing. You could shorten that tenon a little.
The separator could be glued or glued and screwed. It is not necessary to house it.
@filadams,
Okay, I have the picture. I’ll piece it together from here. Thanks for your help!
Mic
Paul & The Team,
Quite a stunning piece of furniture.My imagination is already taking me to picturing a wardrobe and two bedside cabinets all in the same matching wood. Well we can all have dream can’t we.
Well done everybody.
Hi Paul it looks beautiful I am going to enjoy this one.
Regards Larry.
Really looking forward to this new project. I’ve cobbled a few dresser type projects together in the past so it’ll be interesting for me to see how close I was to getting it right.
Can’t wait to get started! Small side comment — I really like the background music;
who is the artist?
Paul or maybe Joseph had this piece of music commissioned for the videos Paul did give the artists name (if i remember correctly) in one of his videos
https://soundcloud.com/henry-horrell
Really looking forward to this one!
Wow awesome project can not wait. I love the excitement from Mr. Sellers on this one so much passion still shining through.
I get this funny feeling I call “Project Lust” when I see these;, you know a deep-seated “Gotta Have It” or in this case, “Gotta Make it” sensation. It’ll be a year or so before my skills are up to this task but Oh My. What A Beauty!!!!!!
I am really looking forward to making this project. Your instruction is superb.
That looks fantastic Paul, great proportions, beautiful lines, and eye catching structural details.
Well done Paul.
Well Done.This is going to be a wonderful project.
Many thanks Paul and team.
I like the detail you put into the drawings. But I have a question. Why do you not put the total board ft. needed to make the project? All the projects I’ve looked at seem to be the same in that the individual part sizes are listed, but you don’t total out the amount of board feet. Why is that?
I do really enjoy your videos and instruction. I think I learn a lot from them.
thank you,
@powerdad, board footage is more an americanism. The rest of the world doesn’t use that system or a metric equivalent, so we don’t calculate it or put it in the information. Best, Phil
Questions on the drawings:
1) On page 3 of the drawings you show the rail assembly. Everything makes sense to me except for the 3/4″ holes in the side rails. What are these for?
2) I assume the through tenon rear-rail retention feature could be created without going through the side of the carcass. But maybe I am missing something critical with this design. Is there a functional/structural reason that this should be a through tenon?
3) Is there a cut list for the drawers? Not that this really matters since I already have enough curly maple for this project.
In your point 1, I agree, there appears to me to be no structural purpose that’s apparent in the drawing for those holes, nor an explanation of their purposes in the drawing.
However tight-fitting drawers have a piston effect that can make withdrawal difficult and pop adjacent drawers out when shoved home. Some makers provide small holes in the rear panels to overcome this.
My reasoning is that they are intended to equalise air pressure internally and to improve the drawer action, an alternative to rear holes, perhaps……. no doubt Paul Sellers will elaborate on this point in due course. One disadvantage of the rear-hole approach is that it can introduce dust into the chest, so moving air about internally is a good idea.
In point 2, plenty of examples of this type of furniture exists without tennons protruding through the sides.
I just can’t find that picture, but I saw it somewhere that he uses the holes in the side rails for clamping. When he is gluing the tenons on the side rails to the front rails, he used a small clamp, putting one jaw inside the hole, and the other against the front rail.
looky-looky …. Found it.
https://paulsellers.com/2017/01/good-morning-monday/
I little bit down that post, and you sdee what the holes are for.
Since the back tenons are not glued to allow for expansion and shrinkage, you cannot use a clamp across to the back rail.
Thank you for that link Kjell. Now I understand.
Hello @charmston,
2) You could do a stopped tenon, but the added length increases strength.
3) Sorry about the lack of a cutting list for the drawers, we are working on it and will get it up as soon as it is ready.
Got a question…I see the plans call for 7/8″ thick shock. I have some 4/4 (13/16) I would like to use. Do you think this is a mistake? Looking forward to the project…
@bobmans, that should work fine as long as you make the relevant allowances in the layout.
Obviously one doesn’t need to build this project in Cherry (as more of a beginner here, I am hesitant to buy a bunch of cherry (I’m guessing that is $100-200 worth of material? Maybe I’m wrong) in the event that I make a mistake and have to buy more. So my question is, given my experience/confidence level, would this be a good project to do with a softwood like pine (with the assumption that I’d be more likely to paint it vs. shellac/wax coat)?
I mean, don’t get me wrong–how awesome would it be to build a mahogany dresser–that seems like an incredibly awesome project. I just don’t know that I’m ready to take that leap. Of course, maybe I have overestimated that amount of stock that one needs–and maybe some shorter boards can be had for less than longer boards that would need to be chopped down to size anyway?
@dbockel2, pine would be great. Paul’s pine prototype will be fully functional and used.
Pine would work great for most of the projects in WWMC as far as I can tell, with the exception of the rocking chair (I would NOT make that on pine, maybe I’m wrong, but I wouldn’t take the risk) and the walking cane.
Talking about projects here, not tools. And again, just an opinion
So many projects I want to do. But I think this one is going to the top of the list, mostly because I can use two in our house now. I want to do the rocking chair also, but don’t feel ready for that just yet, but it’s still high on the list.
This looks right up my ally.
Looks like the drawer face fits very snugly, do you worry about seasonal changes causing the drawers to not close?
It is a matter of planing it to fit, and then making any adjustments that are necessary if/when it sticks. Once it has been through a whole year, it will be more settled and unlikely to stick.
I’m a bit concerned about the drawer dividers back rail ⅛” gap becoming a step that will hit the drawer box when closed. I wonder if the back of the drawer box is shaped, rounded a little to solve this foreseeable issue.
Hello Jake, Paul didn’t consider this to be an issue, but it could be resolved in the way you mention is necessary.
Question about the divider frames. Why the need to secure them using a tenon in the back and a dovetail in the front? Wouldn’t the housing dado be strong enough, like in a bookcase?
Wesley
I think that since the side boards of the carcass are pretty wide and may move/warp, that is why Paul has designed the frame in such a way, that the front dovetailed and the beck tenon rails will keep the frame inside the housing dado, hopefully always.
They are added details to ensure longevity in the event of wood movement. Housing dadoes might well be enough, but Paul felt these additional details ensured it.
It would be great to have a list of clamps needed, length + approx number. Thanks.
I was very excited about starting this project until I obtained a quote for the wood in Cherry. I’m in the UK and the cost of the cherry and birch ply came to £950. So a just a word of warning before you get too excited.
More than £950, if you make a mistake! If only it grew on trees.
That’s why Knotty Pine became so popular – and distressed paint to cover it up.
I can’t source a small piece of ply from B&Q or woodyards for vice jaw liners. They’d laugh if I asked for Cherry or Birch. The Oak Furniture Store had their advert pulled because their table legs are Oak veneer. Perhaps they couldn’t find enough proper wood here in the UK either.
It would look great in pine, and save you a fortune.
As I watch this series on the Chest of Drawers, Paul talks a great deal about his plans, the process, the revisions, going back to them again and again. With how much emphases he puts on this I was wondering if it would be useful to take the pans that are provided for download ( thank you very much!) and draft them into my own notebook. Would I end up having a greater understanding of the how and the why of the development of the design by doing so? Do you think it would further my own design capabilities?
Thank you.
When I first started I was having a heck of a time with the dining chair. Trying to figure out there all the mortises went. I was confused. When I drew it out on paper it cleared up the locations and measurements a lot.
One day I’d like to make a chest of drawers with frames and panels on three sides, instead of these full width boards. Could such a piece possibly be part of the Sellers Home furniture? Even if that does not happen, I think this series gives a lot of insight. With some extrapolation the change of paradigm should be feasible
Christoph B.
you could combine what you learn here and what you could learn watching the project “blanket chest”.
You will have to figure out how to joint drawer runner frames to the four stiles.
The runner frames will also have to provide lateral guidance. So the stiles have to be thick enough to provide space between the runner frames and the lateral panels. For lateral guidance, have a look at the drawer installation in workbench customisation.
Hej Christoph B,
A link to a photo (haven’t been able to figure out how to attach them to project comments) of a prototype chest of drawers, made as frames-and-rails.
The bottom drawer rests on runners seated into grooves of the sides bottom rails. The mid and top drawers are grooved for runners, which are simply glued to the tiles of the side frames. The drawers are 860 mm wide (34″), full of quite heavy cooking pots, with no signs of the runners giving in.
https://www.dropbox.com/s/qnnidw0ah8owp87/Temp_Chest_Of_Drawers.jpg?dl=0