Bookshelves: Project Info
Posted 29 January 2014
This is the introductory page for a paid video series. Want to watch more of this project? Select the best option below to get started.
Description
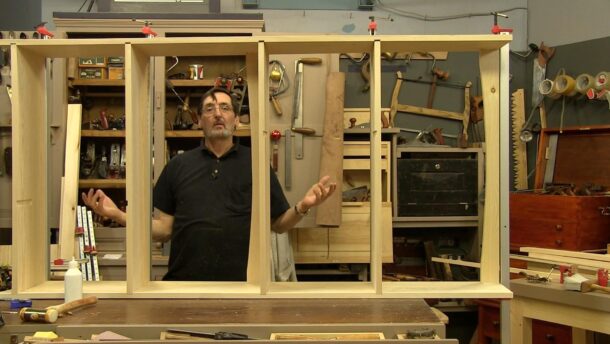
Join us as we take our housing joints to the next level by making a Shaker inspired bookcase. It will also include a mortice and tenon back frame and a few options in some of the construction details.
The tools you will need are:
- Combination square
- Chisel set
- Chisel hammer or mallet
- Combination gauge
- Knife
- Hand router (you can use a poor man’s router)
- Tape measure
- Tenon saw
- Tongue and Groove planes or Plough plane or Rabbet plane (to be discussed)
The joints we are making are:
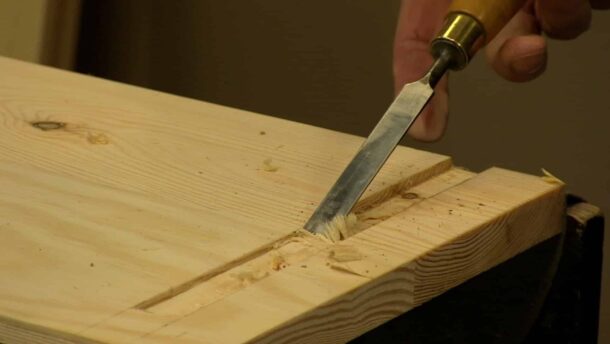
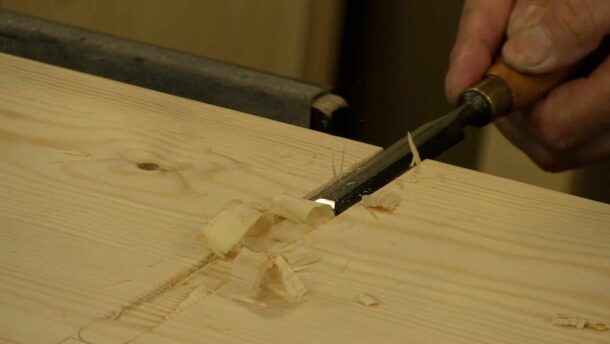
- Through housing dado
- Stopped housing dado
- Mortise and tenon joint (through)
- Mortise and tenon joint (stopped)
- Mortise and tenon joint (stub)
- Mortise and tenon joint (haunched)
Techniques and methods
We will be discussing face frames for added lateral stability to case goods using mortise and tenon frame construction.
Here is a link to a blog post that Paul did on building these bookshelves.

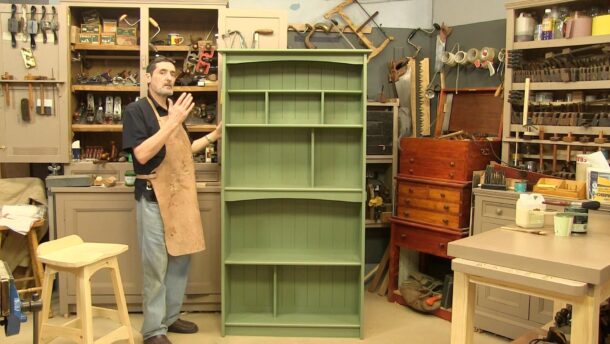
What type of timber is the bookcase made from, It looked like very flat clear knot free wide boards, better than Pine I have seen available.
Also the top board looked like it was made from two boards edge joined , did Paul buy them like that or did he join them together.
The side boards are laminated as well, I don’t think you will find boards as wide from a single trunk, and if you do, I suspect the price to be very steep. But I agree, I haven’t seen boards as neat as Paul’s anywhere I went looking for wood, yet.
Sorry, I didn’t read your question correctly. But Paul does mention the facing of the inner tree side when he plains the ends square, which sounds to me like he bought them like that.
The bookcase is made from pine or more accurately, redwood pine, which we get from the local timber merchant. This is the same type of pine we have used for all the projects so far. This is a very nice, clear batch that Paul managed to get this time. We bought them already edge jointed and sanded, but you could edge joint them yourself if you can’t get hold of the wider stock.
Phil
@Paul: what I didn’t understand is why you clamped the cupped board in the vice flat. If you release it, it will still be cupped. Won’t that be a problem when it comes to joining them or come to think of it, will they be pulled straight by the joints?
When I am planing wide boards like these, I simply follow the cupping because all I want is to plane them smooth and not flatten them as they will flatten when clamped and glued. This works less the narrower you go down in width. Also, I often position my board in the vise in such a way that when I apply vise pressure, the cupped boards compress half the thickness of the board and so flattens the board for planing. My boards were consistently flat for the main part.
Marty its a notational error. Move the decimal one space to the left. i.e. high res is 82.4MB
Yeah, I got it. Just though whomever is entering the descriptions might want to fix it.
Hi all, thanks for spotting that one!
Correction now made.
happy woodworking, R
When you give us a cutting list is that the thickness, length etc the boards should be to start with or how they should end up?
I realise that I plane a board down I’ll lose a few mm so will a 21mm board end up as 17-19 perhaps in the finished piece?
I think most people don’t realise how little I take off when I am planing. It’s always a very small fraction of a millimetre. I am literally shaving a little over 3-4 thou off the surface to remove the machine marks and other defects. I planed most of the sanded surfaces because I didn’t like the look of the sanded surface too.. the I applied shellac as sanding sealer and sanded with 240-grit.
Also, re finished thickness. My boards remain close to the 21mm thickness and are never less than 20mm after planing both sides.
ok thanks
I’m curious about Paul’s notebook. Who does the drawings?
Paul does…have a look at this blog post…
https://paulsellers.com/2013/02/drawings-journals-and-stuff-like-thatyou-ask-about-keeping-a-journal/
1/8″= 3.2mm
1/4″= 6.35mm
3/8″=9.5mm
5/16=7.5mm
3/4″=19mm
13/16″=21mm
7/8″=22mm
1″=25.4mm
1 1/8″=28mm
1 1/4″=32mm
1 1/2’=38mm
2″=51mm
2 3/4″=70mm
3″=76mm
4″=102mm
5″=127mm
6″=152mm
7″=178mm
7 7/8″=200mm
8″=204mm
9″=229mm
10″=254mm
11″=279mm
12″=305mm
15 7/16″=392mm
2’=610mm
34″=864mm
34 3/4″=882mm
3’=915mm
37″=930mm
38 1/2″=978mm
39 5/16″=998mm
71 5/8″=1820mm
6’=1831mm
72.16’=22 linear meters.
I was board measurements close approximates
sorry should have read
37″=940mm
Thanks for that Mark, that was very helpful and saved me a lot of time. I am putting together an imperial cutting list. I will just check it with Paul, then ask Resi to put it up alongside the metric cutting list above.
Phil
Phil,
I agree that having the imperial measurements listed alongside the metric ones on the projects would be VERY useful for those of us in America that foolishly still work in the imperial measurement system. I love the fact that Paul usually references both imperial and metric measurements in the videos as this is helping me to become accustomed to thinking in millimeters. I doubt that I will ever switch to the metric system entirely since I have so many thousands of dollars invested in imperial tools making the prospect of converting to the metric system rather impractical. However, I frequently wish I would have gotten my woodworking start those many years ago using metric measurements. Unfortunately, I was self-taught and I didn’t know that this would be a consideration. If I ever mentor an aspiring woodworker I will ensure that s/he learns to think in mm and acquires metric tools. The math (or maths for my friends across the pond) required of metric measurements seems so much cleaner and easier and makes me less prone to error. If one of Paul’s future projects winds up being a time machine I will go back 12 years and start my woodworking career using the metric system. 🙂
xjumper,
“foolish”
synonyms: stupid, silly, idiotic, witless, brainless, vacuous, mindless, unintelligent, thoughtless, half-baked, harebrained, imprudent, incautious, injudicious, unwise; ill-advised, ill-considered, impolitic, rash, reckless, foolhardy, daft; informaldumb, dim, dimwitted, halfwitted, thick, crack-brained, crackpot, pea-brained, wooden-headed, dumb-ass, chowderheaded
There’s a considerable discussion over in the site technical forum under Metric vs Imperial.
Best,
Craig
Updated with imperial measurements now.
Happy woodworking, Resi
Resi, thanks this is very helpful.
Steve
I am really looking forward to starting on the bookcases (3) for my living room. I really love the design and the joinery looks to be quite sufficient for a sturdy case over the long haul.
I noticed a small error in the cut list. the Imperial measurements for the two dividers should read 13/16″ x 7 7/8″ x 15 7/16″.
Hi Paul and team
I am planning to build the bookcase, having attended a recent course. I find 21mm timber very difficult to locate. Do you think using 18mm timber would weaken this design?
thank you!
John B
Would it be unreasonable to substitute 3/4″ boards for the rails and stiles? All the other boards are about 3/4″.
Hi Joel,
Paul says: That’s fine, there’s no reason why not.
Kind Regards,
Izzy
Think this shelf would still be ok if I didn’t include the bottom shelf? I need to create a book shelf that leaves all that space open (For example, if I were to put it over the back of a commode). I can still put some boards across the back of the bottom for stability, I was just curious how well it would work with one shelf missing and the majority of that lower space empty.
Hi Robert,
I have passed your question on to Paul and he says:
Yes, that’s fine no problem.
Kind Regards,
Izzy
Thanks for this wonderful design and series. I’m in process of building my bookshelf. As I prepare to layout the dadoes and mortises on the sides, I’m wondering if I should reconsider the approx. 15″ spacing between shelves. I’ve read elsewhere that bookshelf spacing is typically 8 to 12 inches, and my kids, who I’m building this for, do tend to collect a lot of short paperbacks. Smaller spacing, at least on the top shelves, may allow space for an extra shelf or two and therefore store more books.
Had anyone else delved into the most efficient mix of bookshelf spacing?
Any feedback from Paul on why he went with 15 1/16″? Thanks.