Sellers Home Chest Of Drawers
Posted 15 September 2023
This is the introductory page for a paid video series. Want to watch more of this project? Select the best option below to get started.
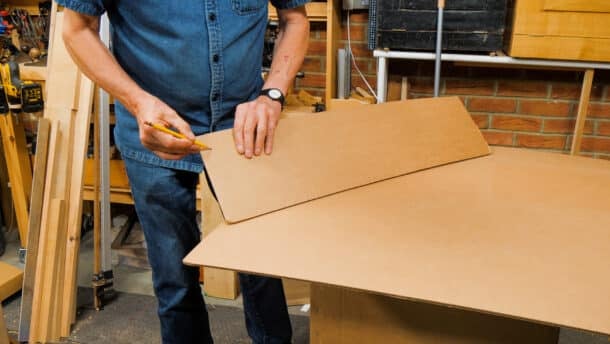
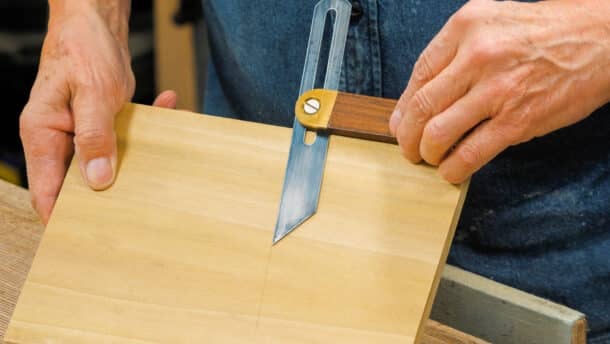
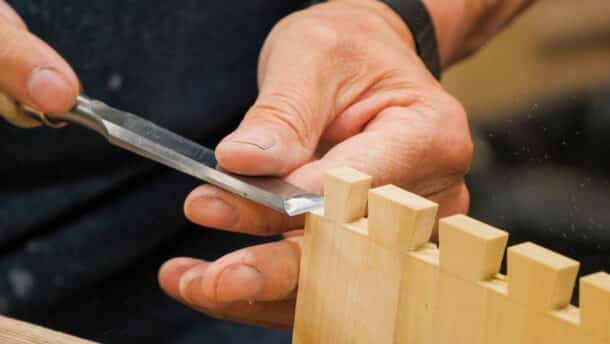
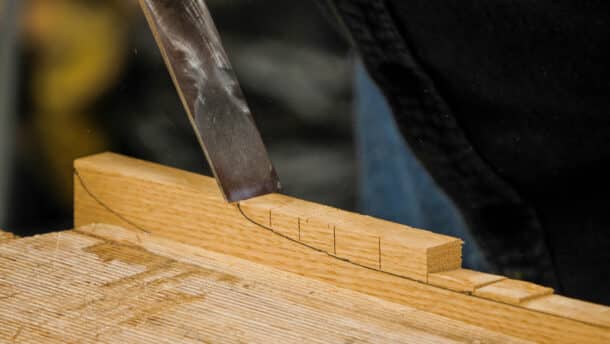
Woodworking of all types ultimately involves a design process that takes us from a concept, through various stages, to establish all the elements of the work and ensure a solid outcome. Perspective in design is everything, so scaling a drawing is the perfect way to size the project and visibly see the idea, but then too, creating a placeholder from cardboard also enables you to see how much space a piece will occupy when done. For this design, Paul first worked out a quick sketch, followed by the drawing and then the cardboard mockup of the overall dimensions to show him what he was dealing with. From this, in just two weeks, he had a beautiful chest of oak drawers built for a lifetime of use.



I’m very much looking forward to getting into this specific project when the cut sheet and plans are available.
Also looking forward to a series of great teaching videos, and I very much will enjoy and look forward to the coming journey!
This is a beautiful piece and am looking forward to trying to make it from you plans. Thank you so much for your teachings I truly have learned so much from you. I hope to continue to learn.
Hi Paul & team,
Again a very nice project – really looking forward to it! Thanks for your teachings and inspiration!
Nifty. What are these blue plug things you’re using? I sometimes make mock-ups with cardboard to get a sense of look/feel/size of the end product, but meddling with cardboard & tape and then making changes to it always ends in a mess.. this looks a lot easier.
Dear Mic,
Makedo is one company providing these cardboard screws, I believe.
see last picture of Paul’s blog “making a bed” dated 24 November 2022.
As Sven-Olof Jansson said.
google make.do
1:01-1:15
This is what I strive for. I am making several of the items in this series. Either per the project or adapted to my needs.
Thank you Paul, for your expert tutelage.
Are there any plans for this project?
Cockbead: Are there any plans in the future to show us how to do a Cockbead surrounding the edge of the drawer … you have referenced this several times in the past… way past in some cases! Would love to see it!
thanks much
Pete
I don’t remember them being taught here in WWMC, but if you look in the video library for the 22 Nov 2013 episode, “MAKING WOODEN DRAWER HANDLES,” you can see a drawer with cockbeading. Maybe that will help you to figure it out? You can see that the cockbead is made from some thin material, approx. 1/8″ thick, rounded over on its front edge. This is let into the perimeter of the drawer by cutting a rabbet in the drawer. The cockbead is mitered around the perimeter. If you look at that video, you can get a sense of the size of the cockbead and rabbet. You don’t need to make a drawer…just get a bit of wood the size of a drawer front and practice on it. You will need to be able to make a rabbet across the end grain. On a real drawer, that would be where the tails are from the sides, which makes it a bit easier. One consideration is that the rabbet not be of a size that compromises those tails, which really shouldn’t be a problem. Hope this helps in the interim.
Sorry, I wasn’t thinking….the cockbead does not touch the tails because of the half-laps, but is just next to them, in the end grain.
thanks!
I asked Paul and he replied:
No plans but that doesn’t mean I won’t.
ok thanks… wanted to put on his radar!