Tool Chest: Episode 3
In this episode Paul assembles and glues up the main frame of the tool chest. This concludes the section on the large dovetail joinery for this project.
In this episode Paul assembles and glues up the main frame of the tool chest. This concludes the section on the large dovetail joinery for this project.
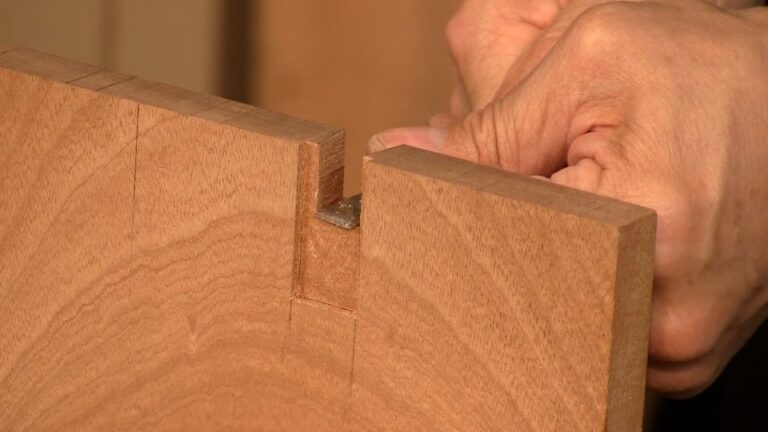
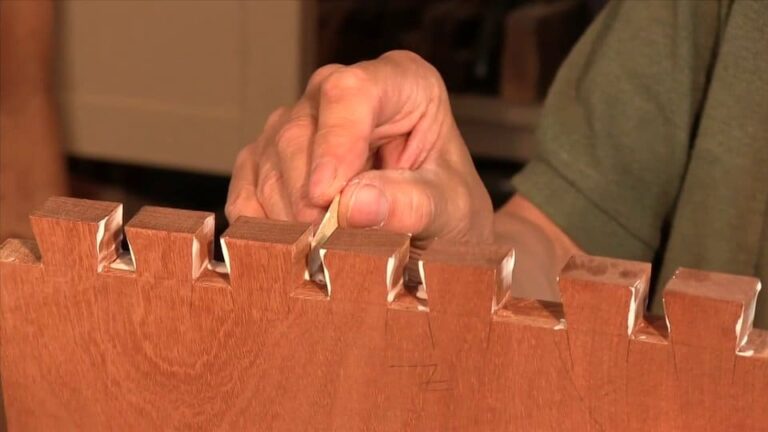
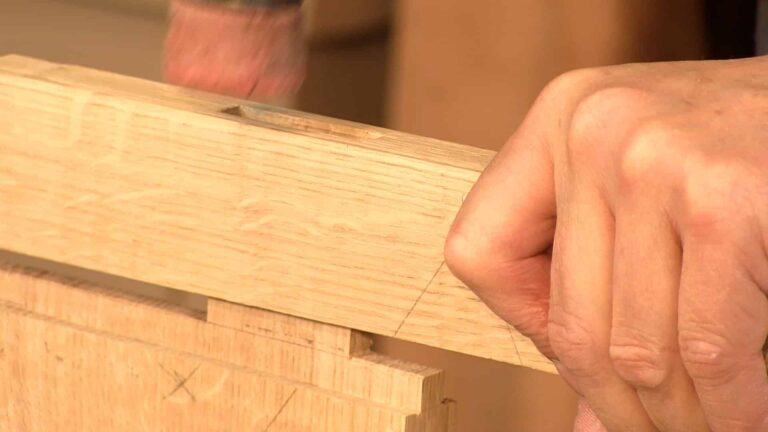
In this episode Paul continues to cut the dovetail joint. He progresses to cutting the pins. He also shows how to cut an unusual variant on the traditional dovetail for the cross-rail.
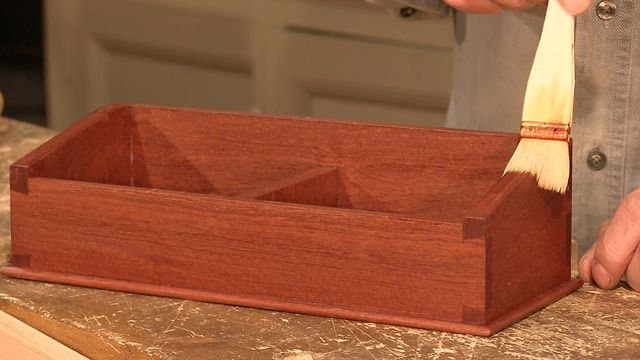
This is the final episode of this mini-series. In this episode Paul shows how to shape the sides. This gives the box a more refined look. Paul also shows how to finish the project with a simple shellac finish.
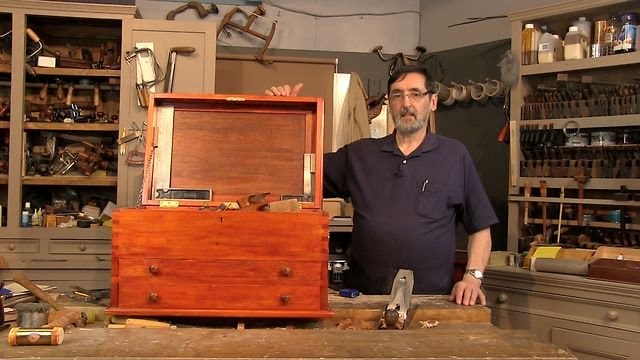
This page includes important information such as wood dimensions and a short introductory video.
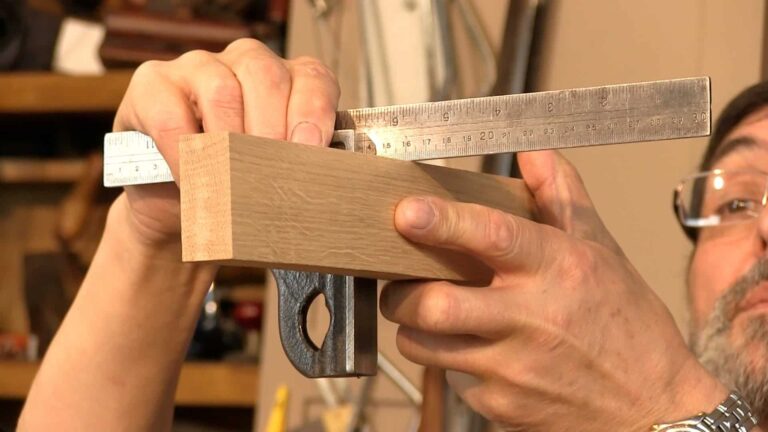
This is the first episode in which Paul discusses the material and dimensions to begin with. He then shows how to begin to lay out and cut the dovetails.
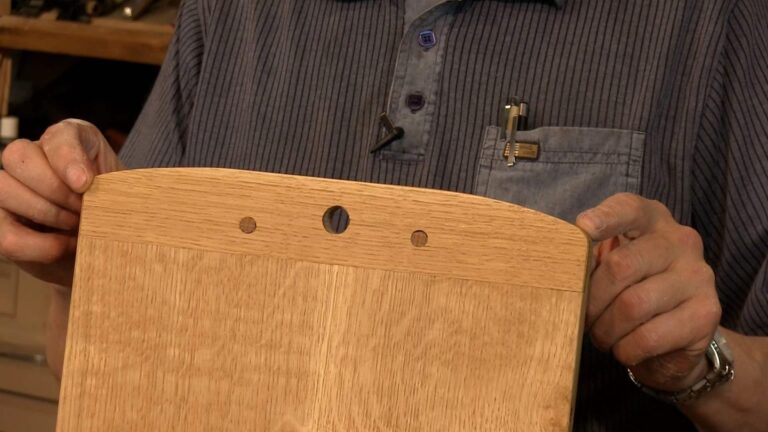
This is the final episode for this project. Paul shows how to use the pegs in offset holes to hold the joint. This is a great ‘clampless’ method of joinery which is great for creating stable table tops as well as cutting boards.
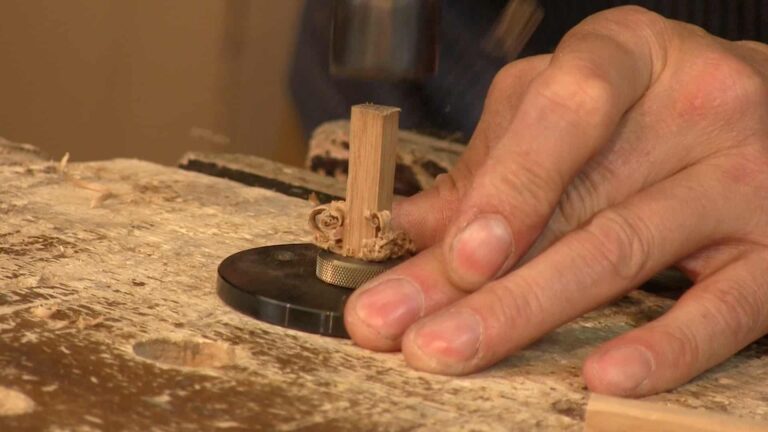
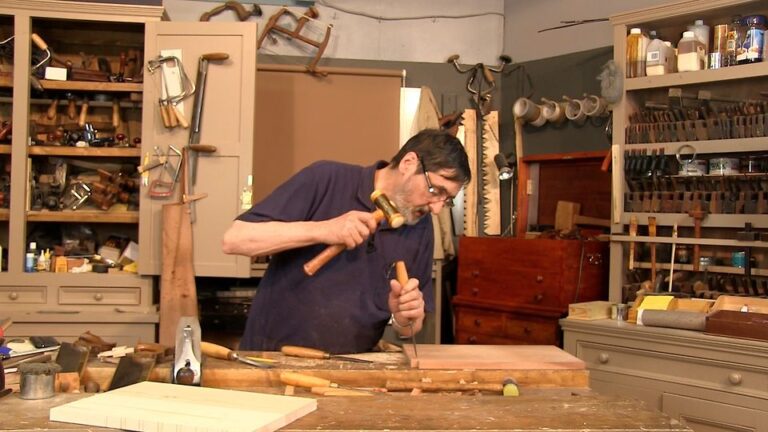
In this episode Paul shows how check for a final fit then he shows how to make drill the hole and make the pegs. He shows two methods, the first is a minimalist approach with a chisel and a plane, then, for those who have them, how to make them using a dowel cutter.
This is the key episode in making this project. In this episode Paul shows how to cut the mortise and cut the haunches on the tenon. He also shows how to fit the tenon into the mortise.
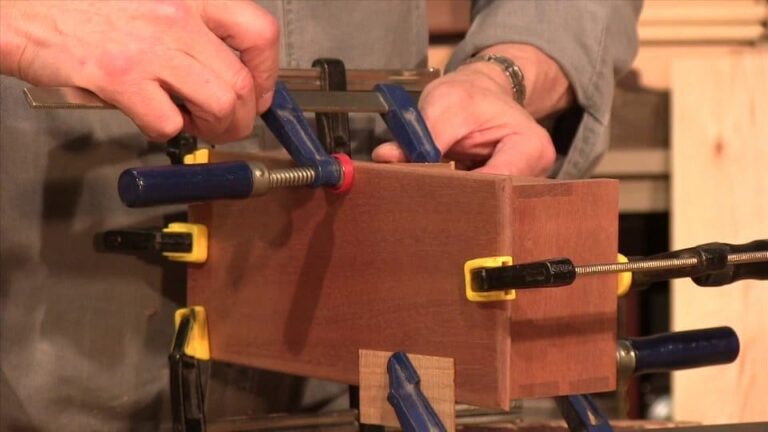
In this episode Paul glues the dovetailed corners of the box and then, using a plane, he rounds over the edges of the bottom. He then glues on this bottom piece.
In this episode Paul shows how to cut the groove in the end pieces. He does this first with a plough plane and then, for the minimalist woodworkers, he shows an alternate method using only a saw, mortise gauge and a chisel.